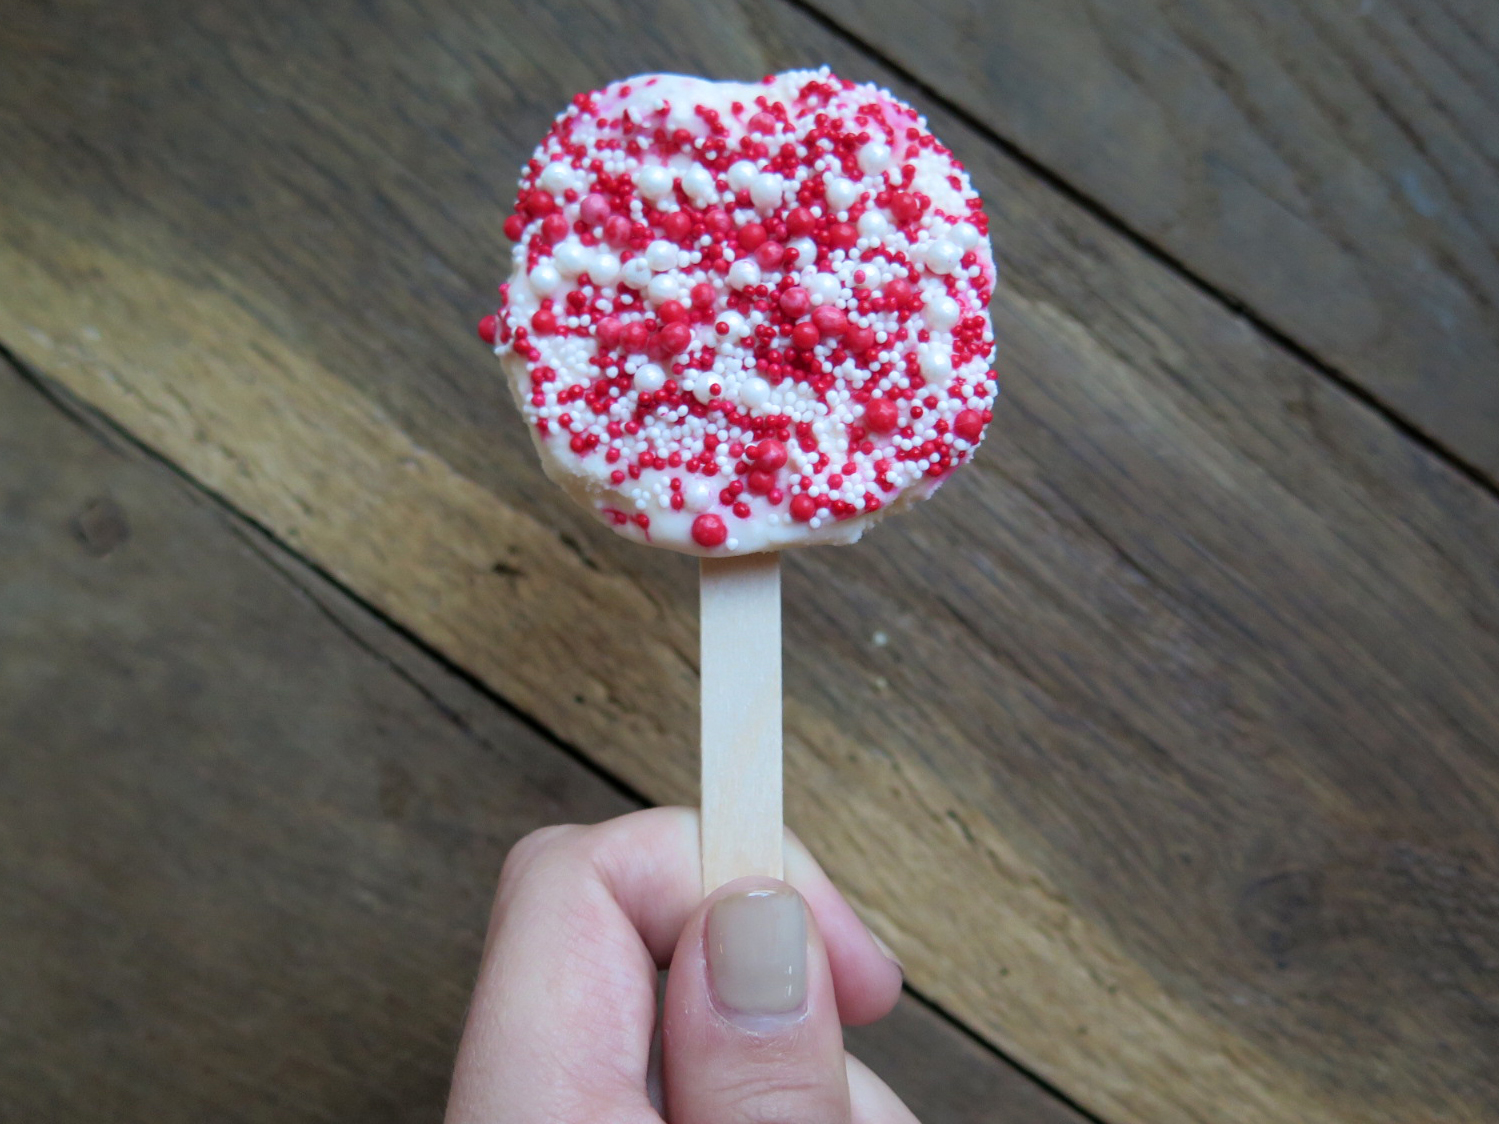
We all have those friends who post anything and everything on Instagram (PSA: I am most definitely that friend). From last night’s party to today’s hangover cure, pictures from this and that and the other thing seem to be everywhere.
If you are feeling #trendy, then you most likely have posted a picture of latte art, an overflowing ice cream cone and whatever avocado toast you are snacking on today. In today’s world, what you eat is also what you post, so let’s get out our smartphones and whip up some delicious looking and tasting noms to beat this summer heat and reach our peak number of likes.
We all know everyone loves a good Insta as much as they love a good popsicle, so why not combine the two?

Ice Cream Pops
Ingredients
Instructions

To begin, lay the 3.6 oz containers on their sides with the base perpendicular to your cutting surface. Though I recommend strawberry and vanilla ice cream, you can choose whatever flavors you so desire.

Begin to slice the ice cream containers parralel to the base to create small rounds. Each container should create two to three rounds depending on the desired thickness.
#SpoonTip: thicker rounds will make the popsicle process easier in later steps.

Complete as many rounds as you want popsicles. Keep in mind that the ice cream will begin to melt, so you may need to put the rounds back into the freezer before you continue.

Remove the packaging from the exterior of the rounds. The ice cream may not maintain the perfect circular shape, but, don’t worry, the more homemade, the better the Insta.

Take each round and slide a popsicle stick into the center of the ice cream. Here, your popsicle should begin to form.

Finally, add whatever toppings you so desire. I prefer sprinkles, but you could easily dip the ice cream in chocolate or caramel or keep the popsicles undecorated.
#SpoonTip: After decorating, you may want to pop the ice cream back in the freezer before snapping a picture, but you may not be able to resist this cool treat on a hot summer day.


