While Sanford Stadium may be taking a seasonal break from its role as gatekeeper of school spirit and all things football, it is never the wrong time of year for your stomach to enjoy its own tailgate-style celebration.
As Spring-cleaning resurrects relics of the 2014 football season, there is a good chance you will find a set of bulldog-branded Jell-O molds thrown in with your stack of red and black shakers, sweaters and t-shirts.
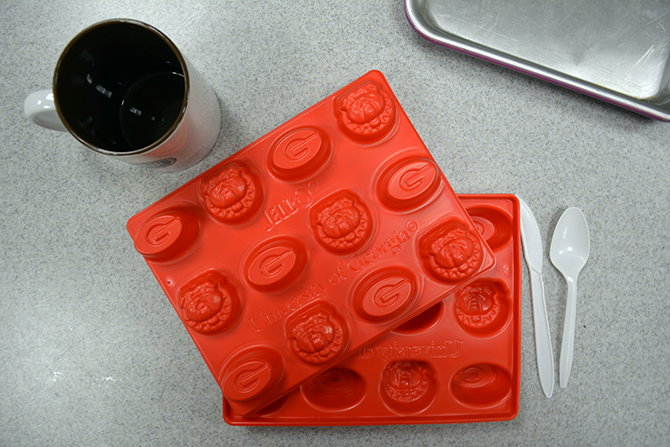
Photo by Zoe Schneider
These molds, given out as freebies during the Tennessee game, are part of a series of college-themed items sold by Jell-O. But, if you thought they were just for creating cherry-flavored, gelatinous, alcohol-laced shapes (like these), you are missing out.
Although the molds can’t be put in an oven (unless you enjoy the fumes of burning plastic), they can still be used to create unique desserts in the form of themed peanut-butter cups.
Using the recipe below, you can start practicing your [snack] game to get ready to impress come September’s scheduled match-ups and this month’s G-Day game.
Prep Time: 5 minutes
Chill Time: 30 minutes
Total Time: 35 minutes
Servings: 12
Ingredients:
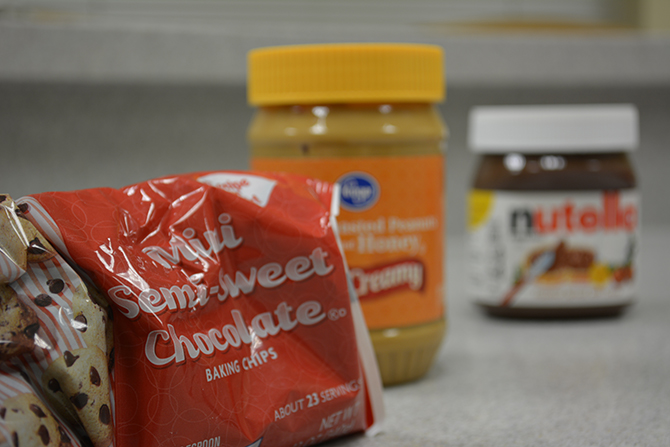
Photo by Zoe Schneider
1½ cups chocolate chips
2 tablespoons honey peanut butter
Directions:
1. Place the chocolate chips in a mug or container and microwave on normal power for 45 seconds. Remove the dish and stir, then continue microwaving in 15 second intervals until the chocolate is smooth and melted.
Pro tip: If you don’t have a microwave, check out this alternative melting method, and if this is your first time melting chocolate, check out these tips.
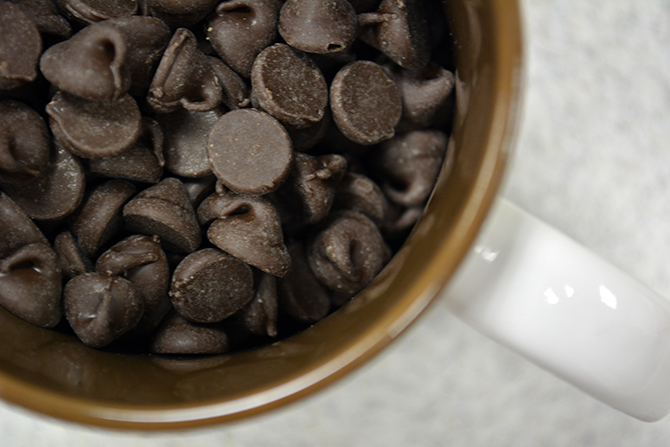
Photo by Zoe Schneider
2. Using a spoon, place about one teaspoon of chocolate in each of the Jell-O mold sections. Be sure to spread the chocolate out to where it fully covers the shape or design of the mold compartment.
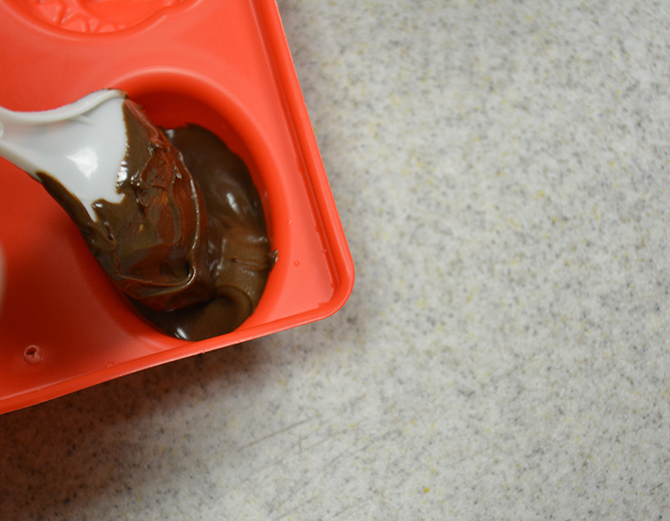
Photo by Zoe Schneider
3. Place a ¼ teaspoon dollop of peanut-buttery bliss onto each bed of melted chocolate, then add an additional ½ teaspoon of chocolate on top to cover the filling. It is very important that you don’t allow any of the filling to touch the inside edge of the mold as this will make removal difficult.
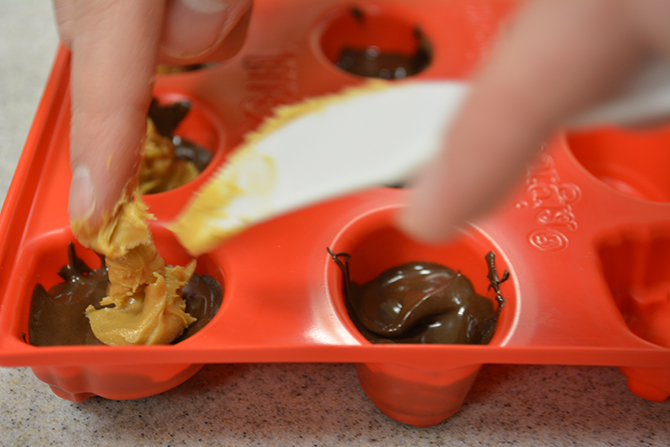
Photo by Zoe Schneider
4. Tap the sides of the mold in order to even out what will become the bottoms of the peanut butter cups.
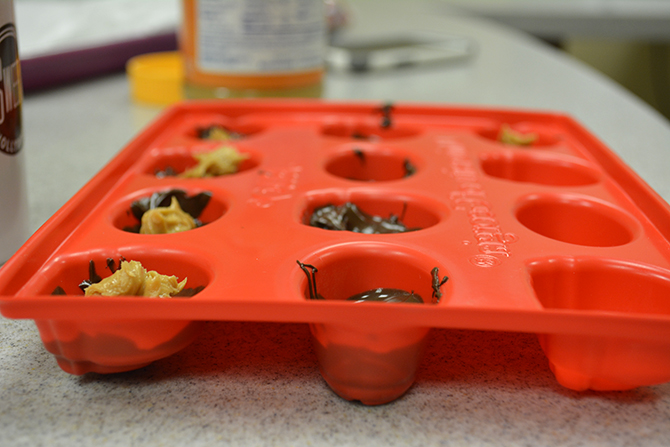
Photo by Zoe Schneider
5. Stick your mold of glorious, homemade peanut butter cups into the fridge (or outside of your window if you are trying this from above the Mason-Dixon line), then wait at least an hour for the chocolate to harden.
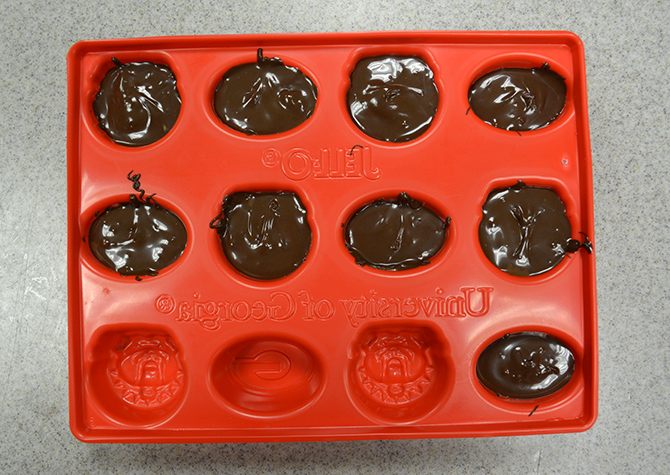
6. Gently push on the outside of the mold to loosen the chocolates, then flip the mold to release them.
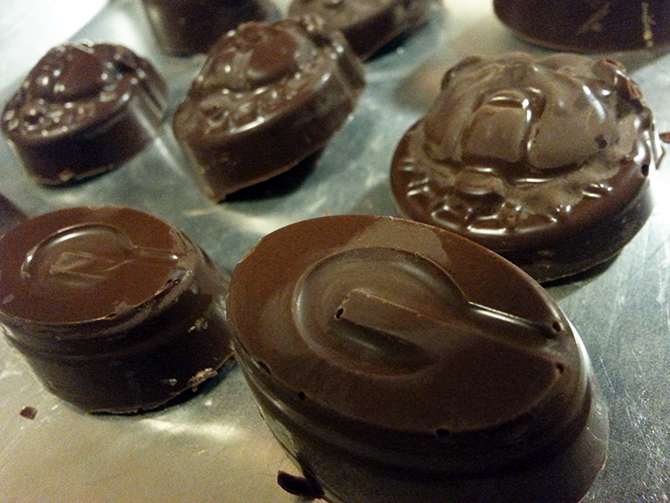
Photo by Mollie Simon
If you want to get creative, you can swap out the peanut butter with another filling such as Nutella, marshmallow fluff or raspberry jam.


