Meet onigiri: the humble, sensible sibling of sushi. This Japanese rice ball doesn’t require the artistic detail or fancy preparation that sushi-making might; in fact, the beauty of onigiri lies in its simplicity and practicality.
Onigiri dates back to feudal Japan, during which rice balls were eaten by everyone from village farmers to samurai warriors for quick and hearty meals. Today, they’re a popular and filling snack widely sold throughout convenience stores in Asia.
Making onigiri gives you an excuse to play with your food, whether you’re using a rice ball shaper (which you can find at Daiso) or your two hands (you’ll feel like you’re building a delectable, rice sandcastle!). Onigiri are great for make-ahead meals, and while you can use traditional fillings such as fish, you can really use up any leftover meats or vegetables. Yes, even Spam, if you’re into that kind of thing.
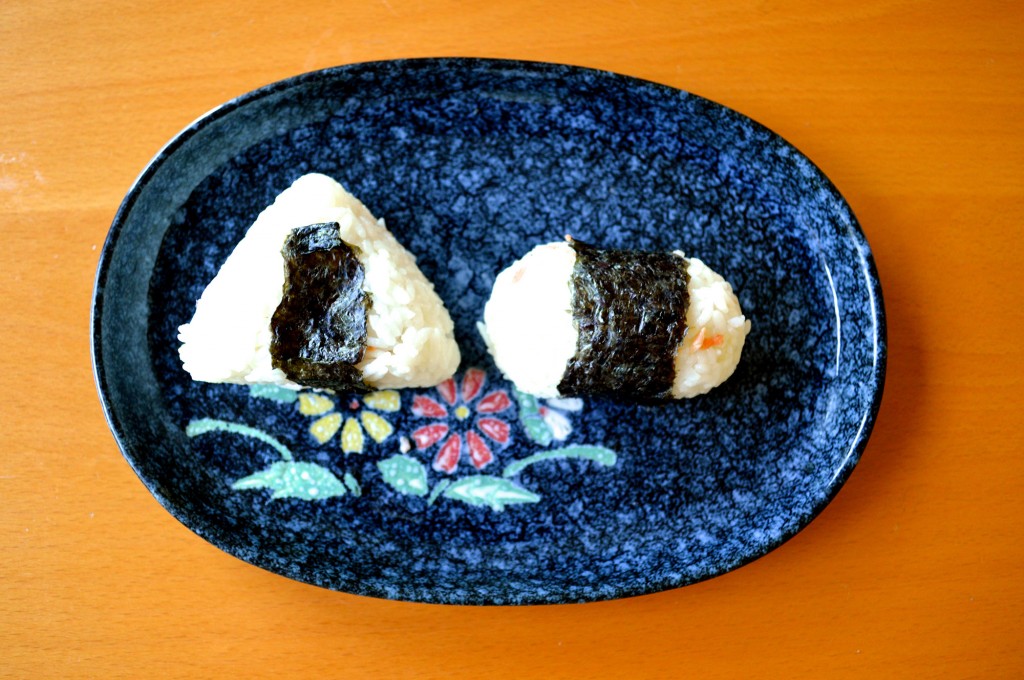
Photo by Katie Huang
Prep Time: 20 minutes
Cook Time: 0 minutes
Total Time: 20 minutes
Servings: 4-6
Ingredients:
2 cups cooked sushi rice (or any short grain rice)
1/2 cup water, for moistening hands
1/4 teaspoon salt
4-6 servings of desired filling
Optional: 2-3 sheets of nori (dried seaweed), sesame seeds
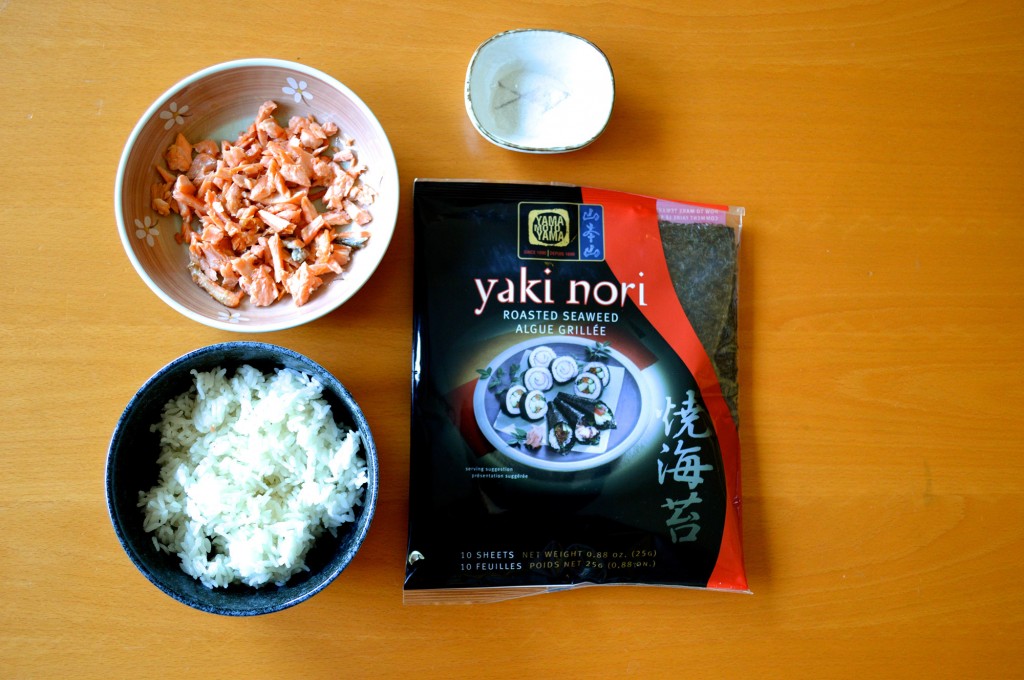
Photo by Katie Huang
Directions:
1. Moisten both of your hands with water, then put some salt in your hands and rub around thoroughly. Water prevents the rice from sticking to your hands, and the salt will lightly season your rice.
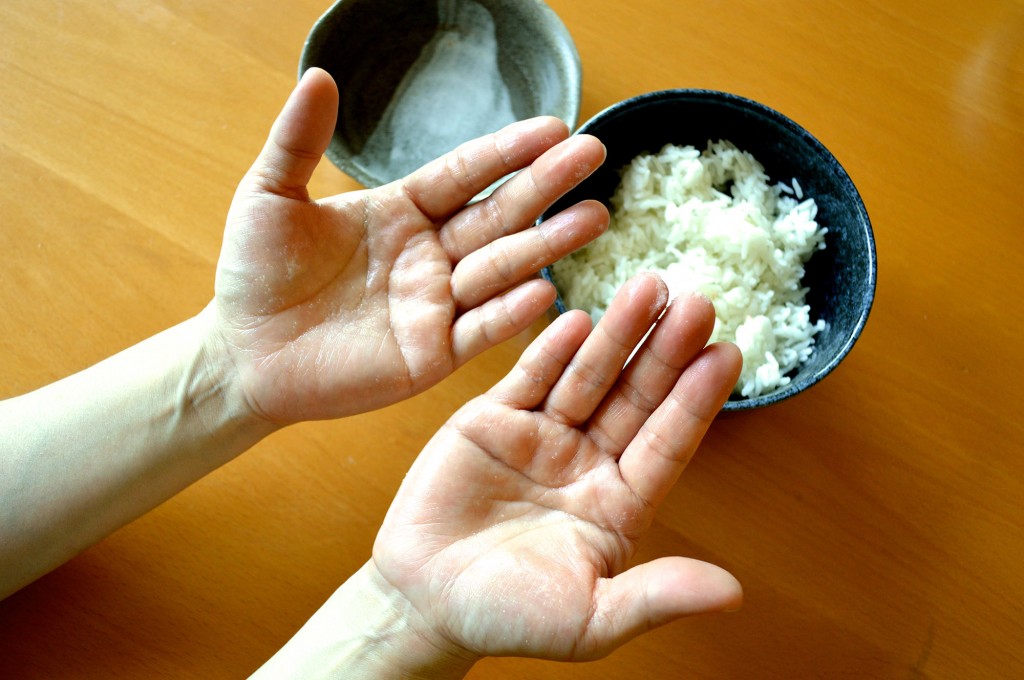
Photo by Katie Huang
2. Place a handful of rice into one slightly cupped hand.
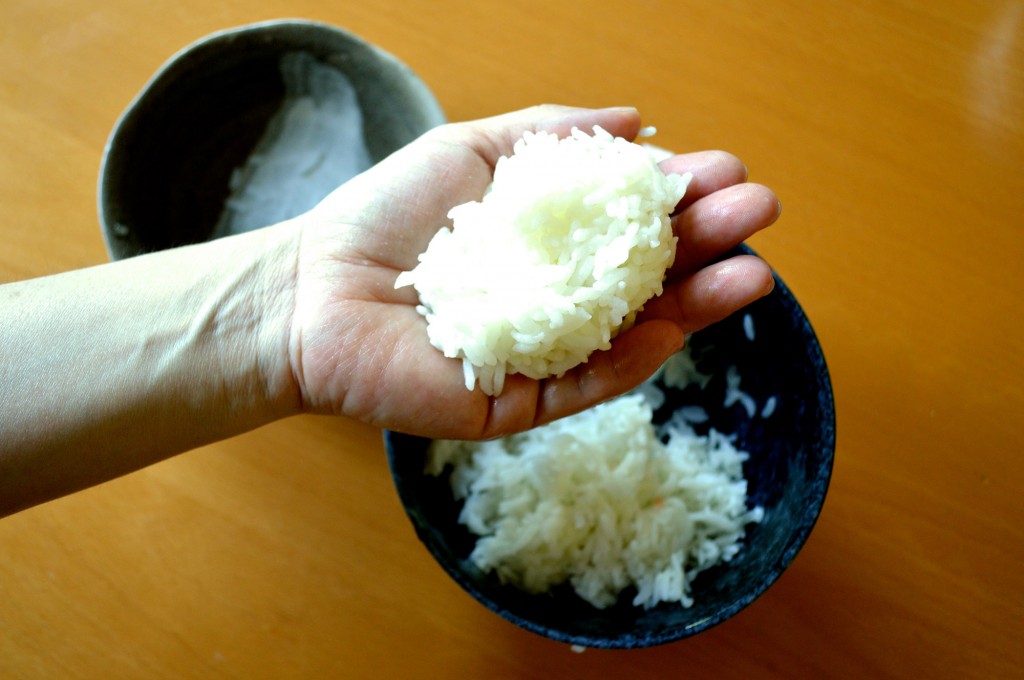
Photo by Katie Huang
3. Make an indentation in the rice and fill with 1-2 teaspoons of filling (the amount of filling will depend on the size of the rice ball). Be careful not to overstuff, or your rice ball will fall apart.
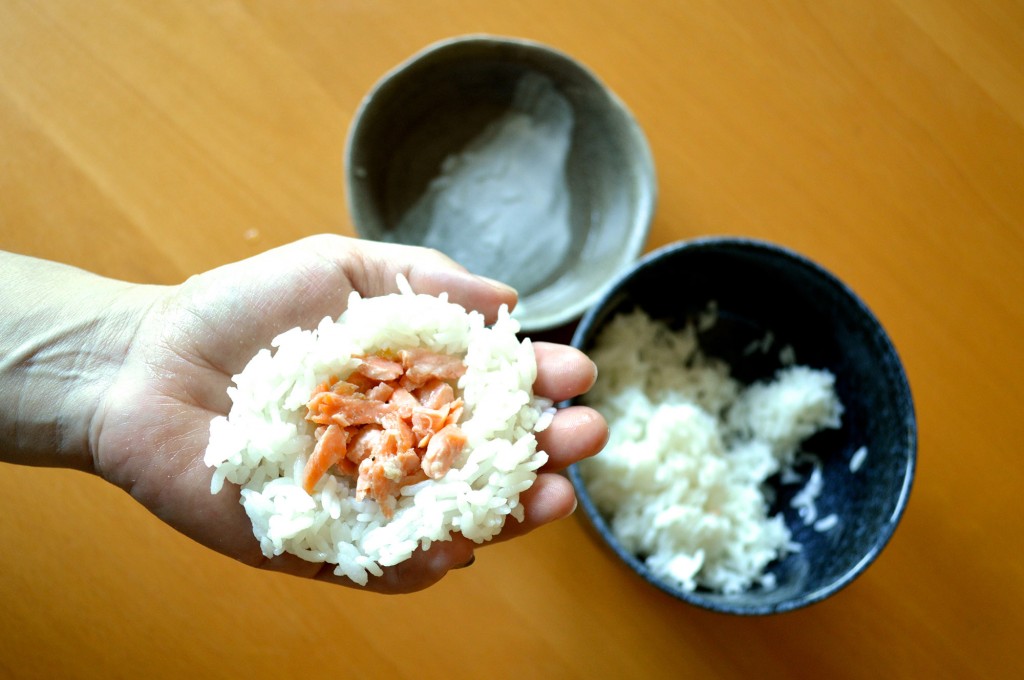
Photo by Katie Huang
4. Gently mold the rice around the filling to cover it.
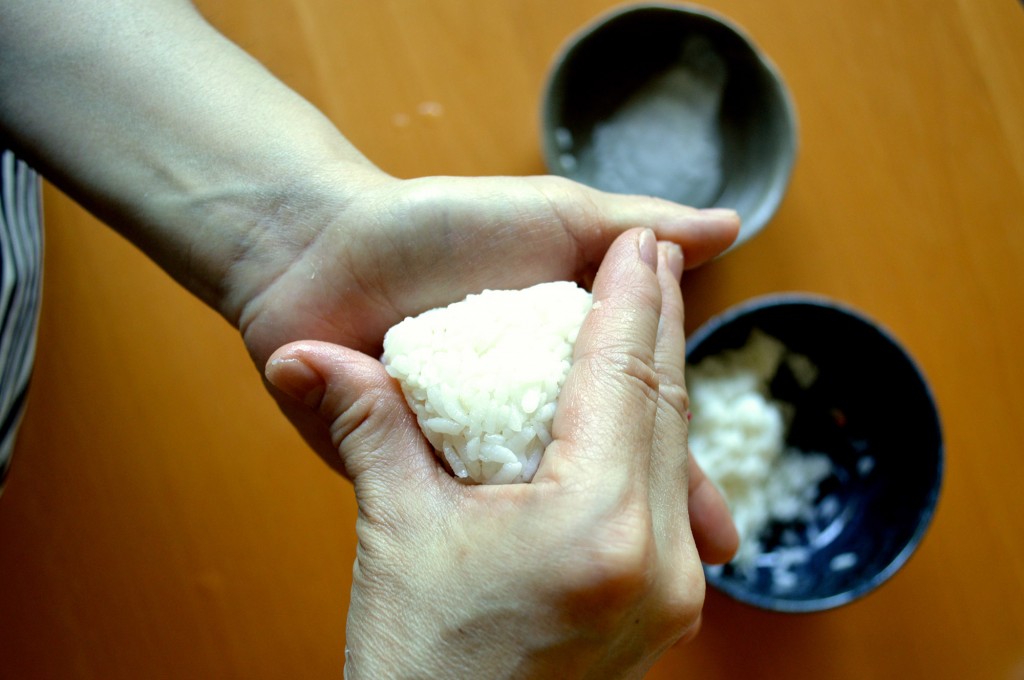
Photo by Katie Huang
5. Use both hands to shape rice ball into desired shape. (TIP: To form a triangular shape, use your thumb, index and middle finger to firmly squeeze each corner of the rice ball.)
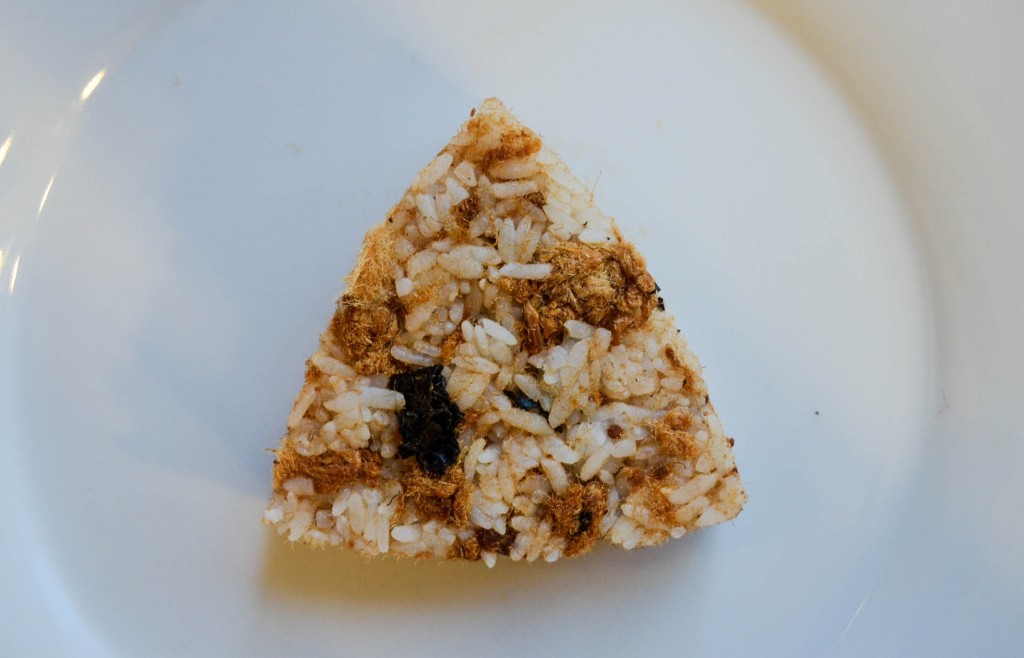
Photo by Jocelyn Hsu
6. You can have your rice balls plain, wrapped in nori (seaweed) or rolled in seasoning such as sesame seeds. Enjoy!
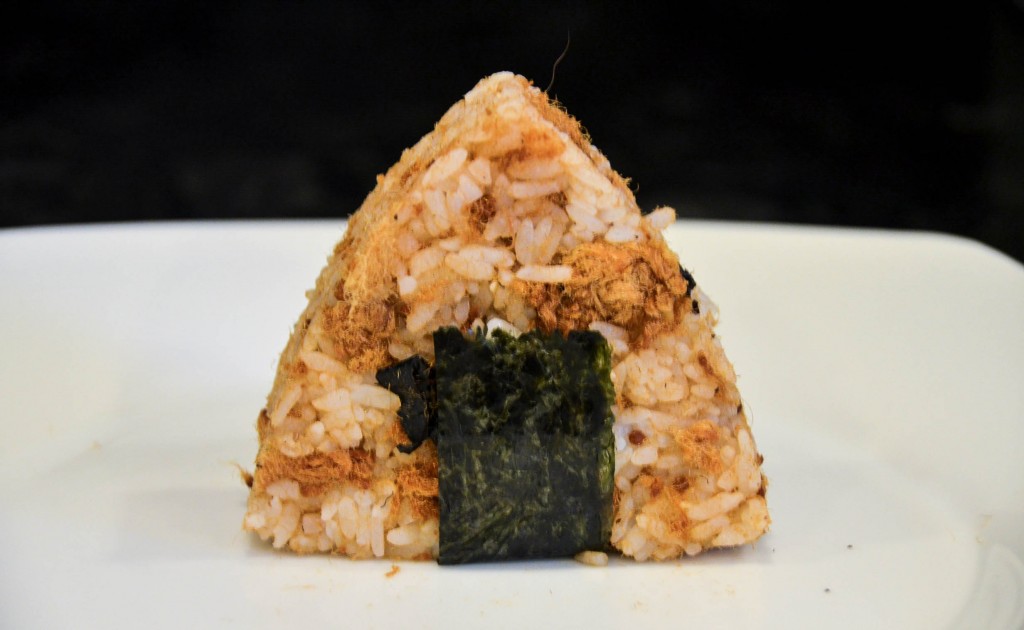
Photo by Jocelyn Hsu

