Like most college kids, I snack nonstop. And that’s not an exaggeration. I literally eat all the time, whether it’s midnight or seven in the morning. Sadly, I’ve realized that snacking isn’t good for my figure or my wallet, and after a huge reality check last summer, I started snacking better (read: healthier and cheaper). Instead of buying tiny bags of overpriced banana/apple/kale/whatever chips from Whole Foods or going on ridiculous $50 chocolate rampages during CVS sales, I switched over to making my own snacks at home. It’s a lot easier than it sounds, and I actually find it really fun and relaxing (seriously, not kidding).
First, some basic tools that every future at-home snack-maker needs: a toaster oven, a mandoline, and a dehydrator. You can use a conventional oven too, but I find that the smaller ones are way easier to use because they heat up quickly and prevent you from making too much of anything at once. A mandoline is a versatile cooking utensil that slices things really thinly and in fun shapes, like crinkle-cuts. The higher-quality ones run for around $30 each, but you can probably find one for under $10. Dehydrators are exactly what they sound like; they’re basically machines/lower-heat ovens that dehydrate things like fruits and vegetables.

Photo by Marykate Surette
I’m a huge fan of anything crunchy and sweet, so I love making fruit chips. Just take your mandoline, slice a few apples or bananas super thinly (as thin as you can get it), sprinkle on some lemon or pineapple juice to prevent browning, and lay the fruit down in a single layer. Leave the fruit in the dehydrator for about 8-10 hours, more or less depending on the thickness of your slices, and you’ll have healthy fruit snacks the next day. A great way of making these chips taste even better is by sprinkling on some cinnamon or spice mixes (pumpkin or apple, anyone?) before sticking them in the dehydrator.
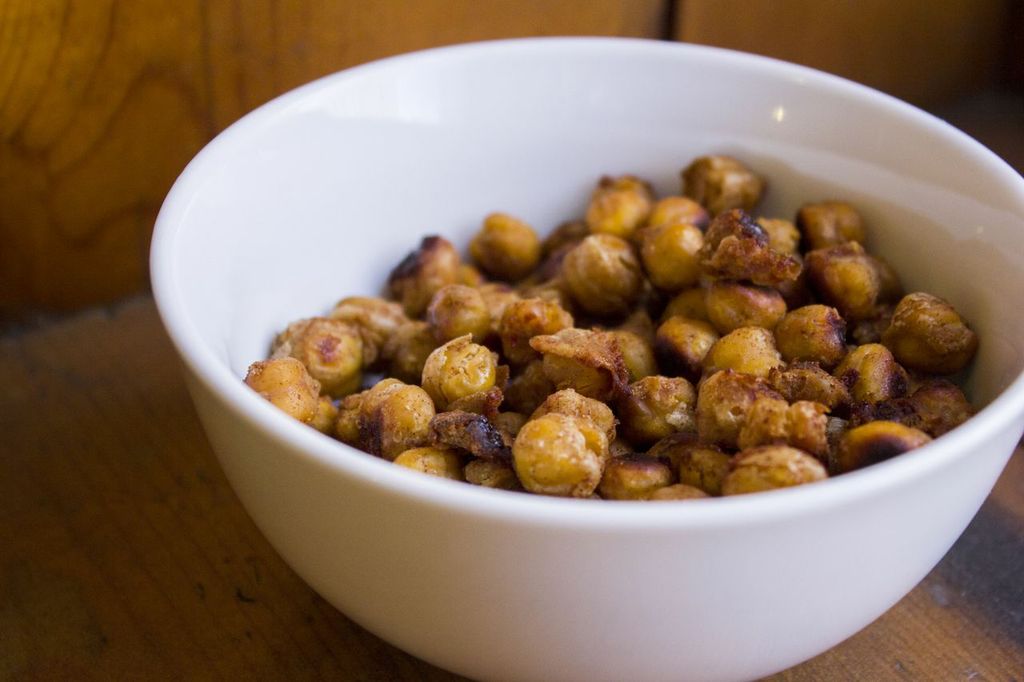
Sometimes, I get in the mood for something a little saltier. That’s when I make kale chips or roasted chickpeas. Both are incredibly easy, ready in under 30 minutes, and delicious. Best of all, they don’t require anything but an oven. To make roasted chickpeas, simply preheat your oven to 375 degrees, grab a can of chickpeas from FroGro, dry them off with some paper towels, and place them flat on a baking sheet. Drizzle on some olive oil, add on seasonings of your choice, stick them in the oven for about an hour until they’re crunchy, and you’re good to go. Some of my favorite seasonings include garlic parmesan (grated parmesan cheese and garlic powder), smoky spices (red pepper flakes, paprika, cayenne, cumin, and Sriracha), sesame soy (soy sauce, sesame oil, and sesame seeds) or even honey cinnamon (cinnamon, nutmeg, and honey). Kale chips are even faster. Preheat your oven again, find a clean-looking bunch of kale, rip off small bite-size pieces, drizzle in olive oil and sea salt, and stick the whole thing in the oven for about 15 minutes. They’re delicious – trust me.
Here are a few tips for ensuring successful homemade snacks every single time:
1. Make sure to dry whatever it is that you’re putting in the oven really, really well. We don’t want them accidentally steaming and getting soggy.
2. Don’t overload on the oil, A light drizzle (probably a lot less than you’d expect) is all you really need.
3. Spread everything out. Your food does not like to be crowded. It will refuse to get crispy and crunchy, and will probably taste like mushy cafeteria food.
4. Remember that most vegetables and fruits definitely shrink when heated, so you’ll probably want to overestimate how much you’re making just in case. Plus, you’re going to want seconds.

