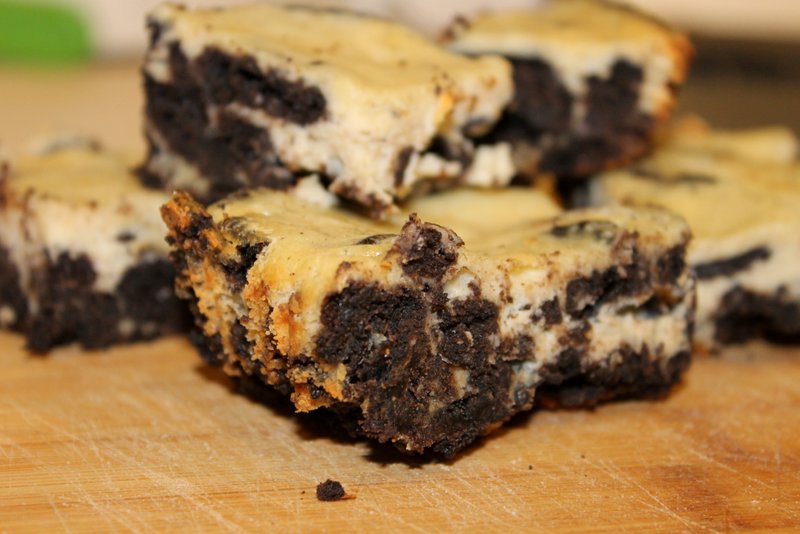
Oreos are good. Cheesecake is good. Oreo cheesecake? Indisputably good. However, the joy of eating cake comes with certain formalities. Knives, forks, plates – who wants to do those dishes? What happened to using our hands like in the olden days?
So, for those of us who a) would like to share a spiritual connection with their food by actually holding it, or b) are too lazy to buy plates, I offer a solution: Oreo. Cheesecake. Bars.
Based off this recipe by Brown Eyed Baker, these bars are delicious, quick and under $20, even at Treasure Island (AKA the most expensive supermarket I’ve ever been to in my whole entire life and, yes, that includes Whole Foods).
I spent $20.37 on vanilla, cream cheese, yogurt, butter and Oreos (I already had eggs and sugar) for a DOUBLE BATCH. Trust me, this is not a “big splurge.”
Isn’t that beautiful?

Oreo Cheesecake Bars
Ingredients
Instructions

Preheat your oven to 325˚F. Once it’s preheated, take half a tablespoon of butter and grease the pan. Trust me, it tastes WAY better than PAM.

Using a heavy object (i.e. a rolling pin), beat the shit out of 24 Oreos until they resemble small pebbles.
#SpoonTip: To minimize the mess, use a double-lining of two Ziplock “freezer” bags to contain the Oreos you are crushing (it’s best to do this 12 Oreos at a time).

Before adding the Oreos, use a microwave-safe bowl to melt 3 tablespoons of butter. Add the Oreo crumbs and mix until all of the crumbs are moist.

Pour the mixture into the greased baking dish and distribute evenly. The thickness of your crust depends on what size baking pan you use (8×8 inches and 9×13 inches work as well).

Pop that crust into the oven for 10 minutes. Leave the oven on though; you still need to make the “cheesecake” part.

Beat the cream cheese for about 2-3 minutes. When the cream cheese is fluffy, add the sugar and continue mixing.

Continuing to mix, add the remaining 1 1/2 tablespoon of butter (softened), followed by the yogurt.
#SpoonTip: You can substitute 6 tablespoons of sour cream for the butter and yogurt.

Add the 3 eggs one at a time and beat until incorporated.

Slowly pour your vanilla into the mixture, trying not to let any splash out.
If you’re getting tired from mixing, stop and take an artsy photo of the pattern the vanilla makes.

Chop/crumble the remaining Oreos (12 – give or take the few you ate), and add them into the cream cheese mixture.

Pour the cream cheese mixture over the (slightly cool) crust. Using a spatula, smooth it out, making sure the whole crust is covered.

Place into the (still hot) oven. Bake for 50 minutes or until a knife comes out of the center clean.

For optimal delicious-ness, let the bars cool for at least 2 hours.
Once the bars are relatively cool (room temperature is best), you can cut them into whatever shape/size you want.


