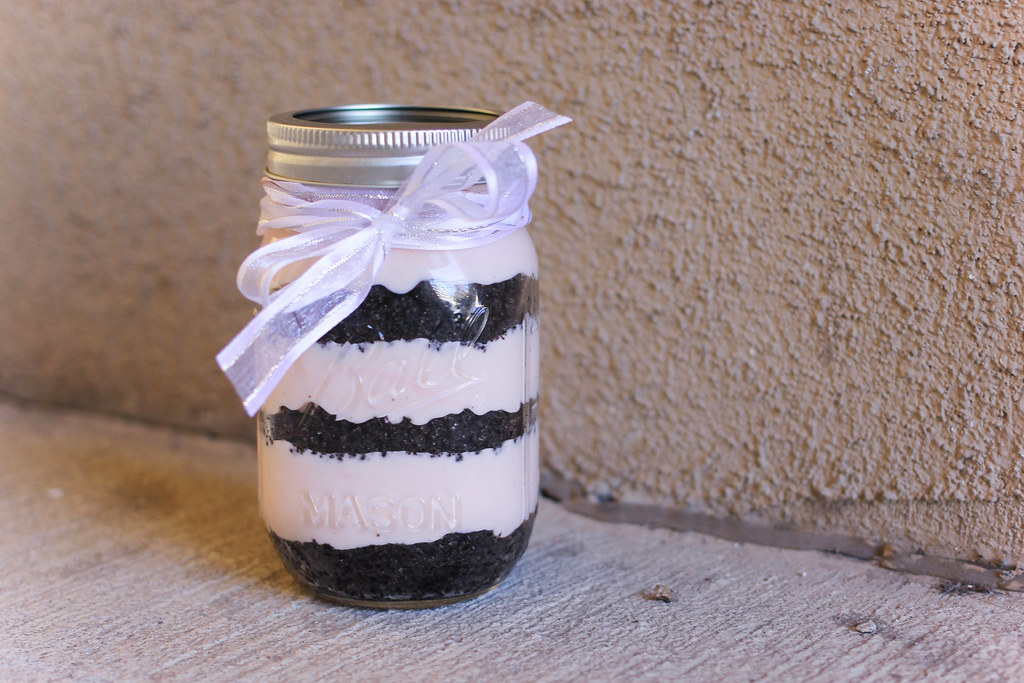
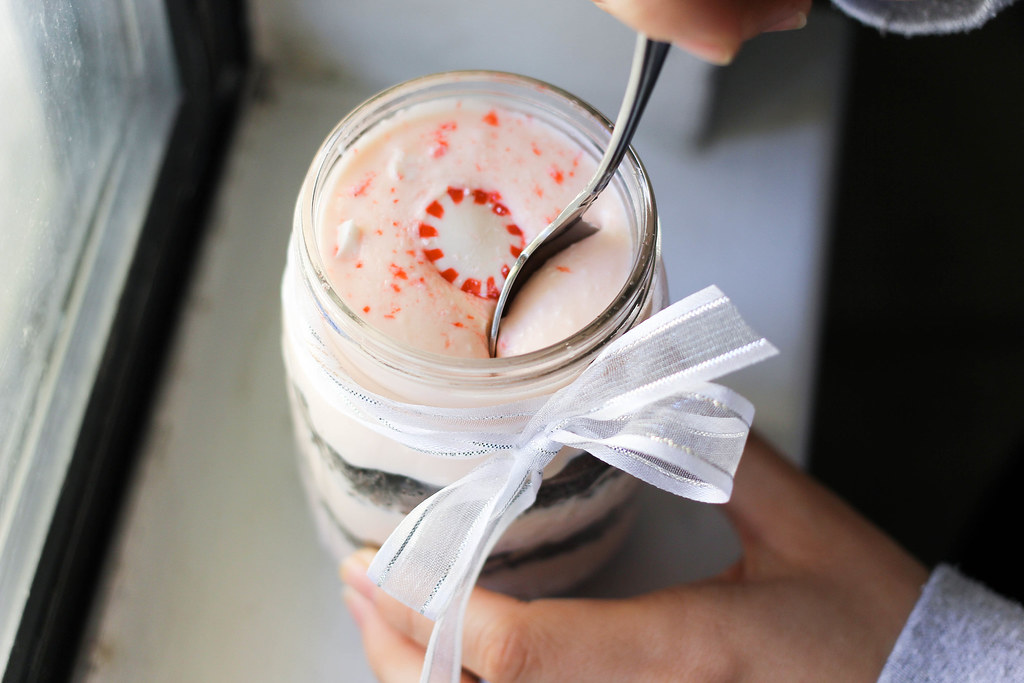
Have you ever realized that great things come in pairs? Let’s see… There’s peanut butter and jelly, cheese and crackers, strawberries and whipped cream and of course, chocolate and peppermint! The no-bake chocolate peppermint cheesecake in a jar is a simple, beautiful and delicious way to perfectly combine chocolate and peppermint. You can give this as a gift, or just eat it yourself (no judgements here).
Prep Time: 30 minutes
Chill Time: 30 minutes
Total Time: 1 hour
Servings: 1
Ingredients:
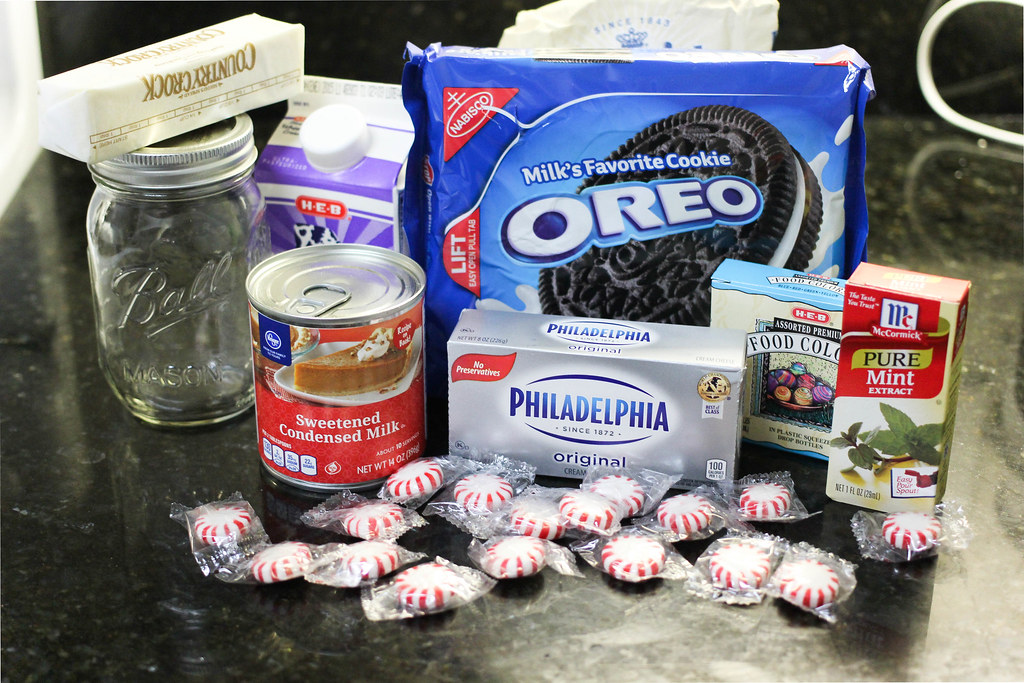
1 1/2 cups Oreos, crushed (about 15 cookies)
2 tablespoons butter
1 package cream cheese, softened (8 ounces)
1/2 can sweetened condensed milk (14 ounces)
2 teaspoons peppermint extract
2 cups whipping cream, whipped
1 drop red food coloring
4 peppermint candies
Directions:
1. Place Oreos in a freezer bag or a doubled-up Ziploc bag.
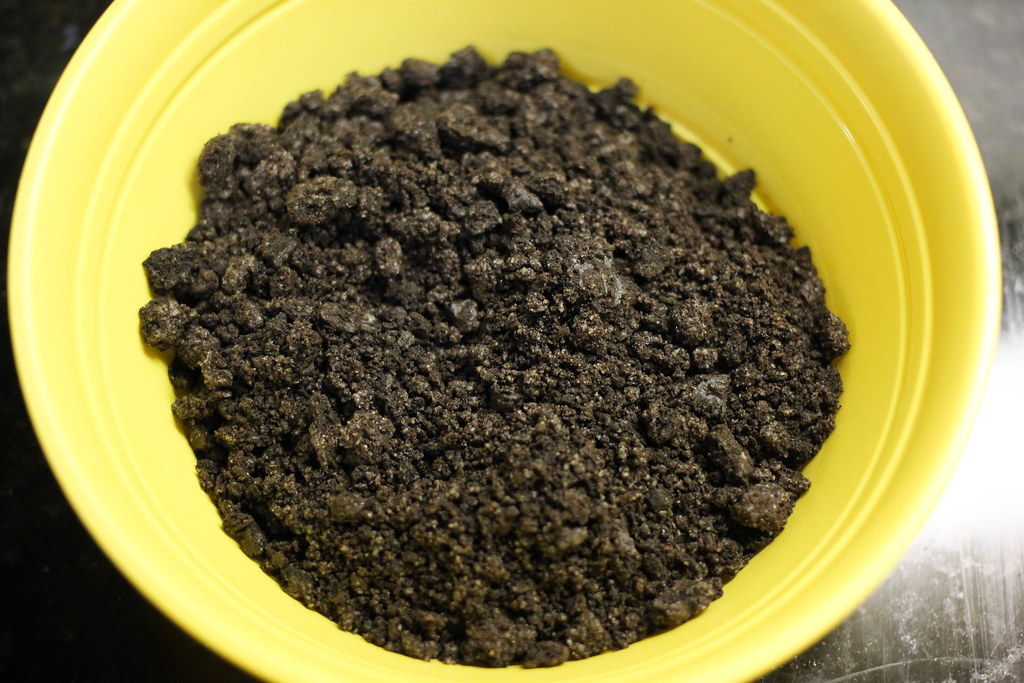
2. Use hands and the edge of spoon to smash the cookies until they become cookie crumbs. Try to eliminate as many big crumbs as possible by crushing them into smaller pieces.
3. Melt butter in a small bowl.
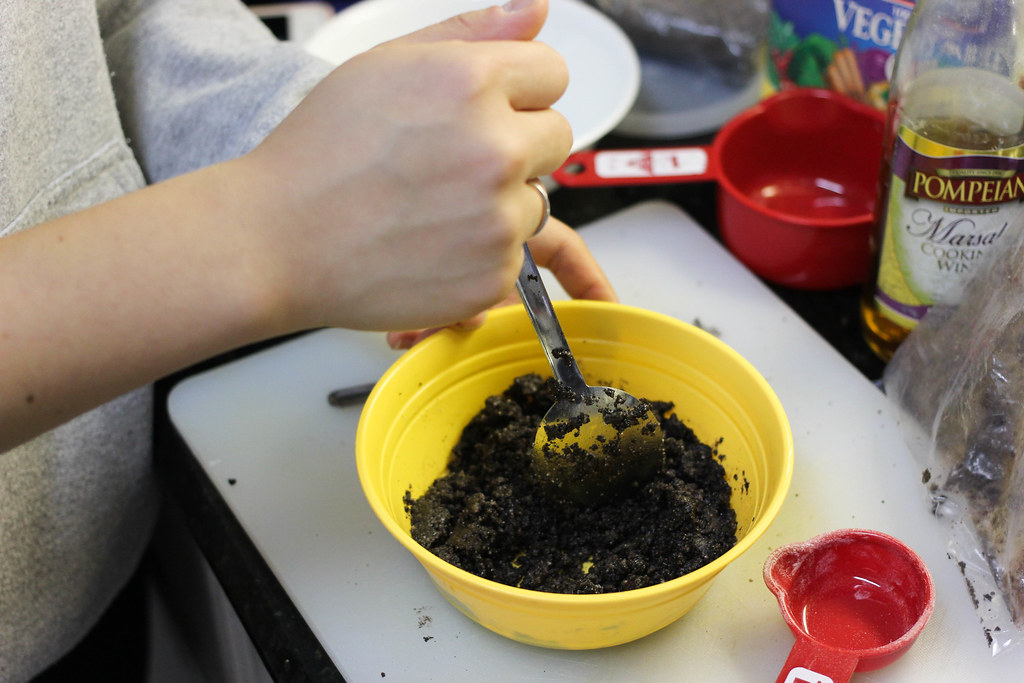
4. Pour cookie crumbs into a small bowl. Add melted butter and granulated sugar into bowl.
5. Mix until ingredients are well incorporated.
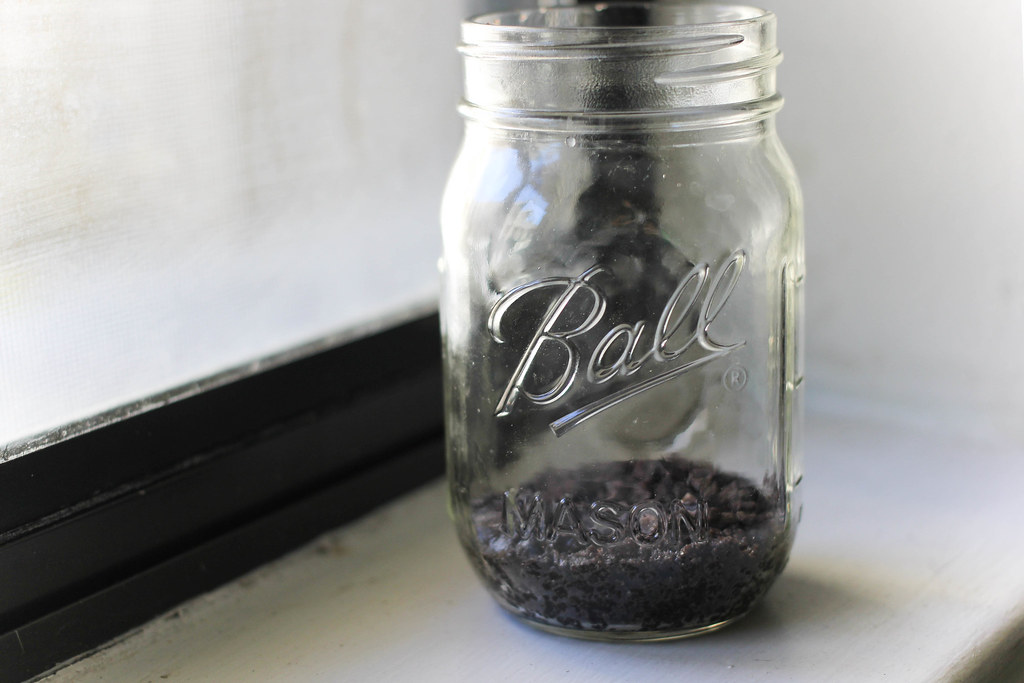
6. Take a 16-ounce glass jar and add two or three spoonfuls of the cookie crumbs. Distribute evenly on the bottom of the jar and press down on the crumbs with the back of the spoon to make the “crust” more compact.
7. Place mixture in freezer while you prepare the cheesecake filling.
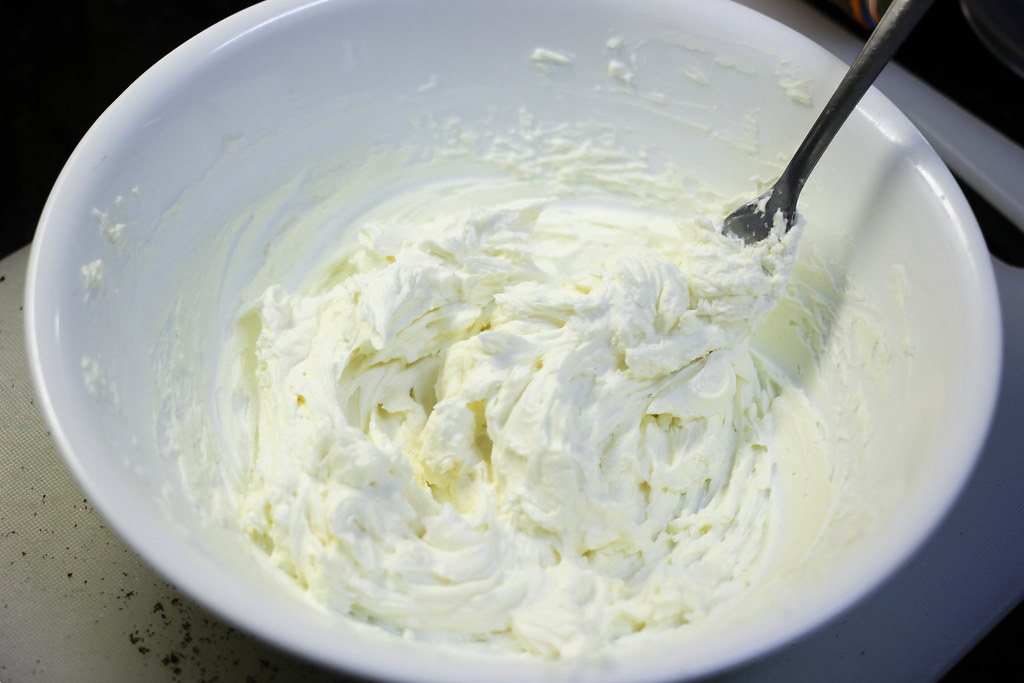
8. In a large bowl, beat the cream cheese with a fork until it becomes light and fluffy.
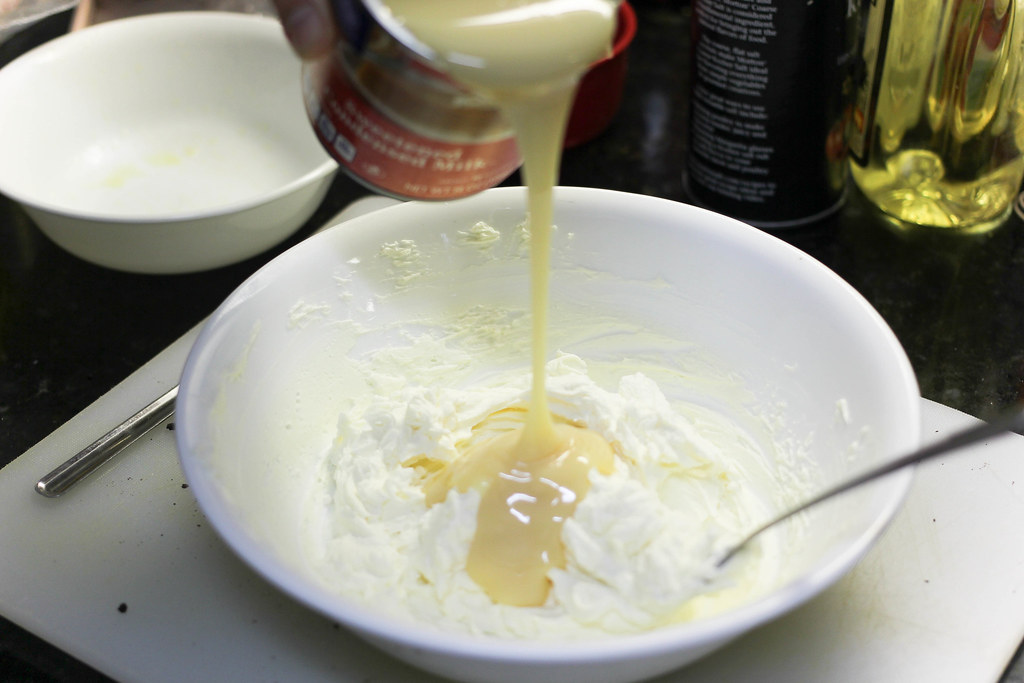
9. Slowly pour in the condensed milk and mix with a whisk until smooth.
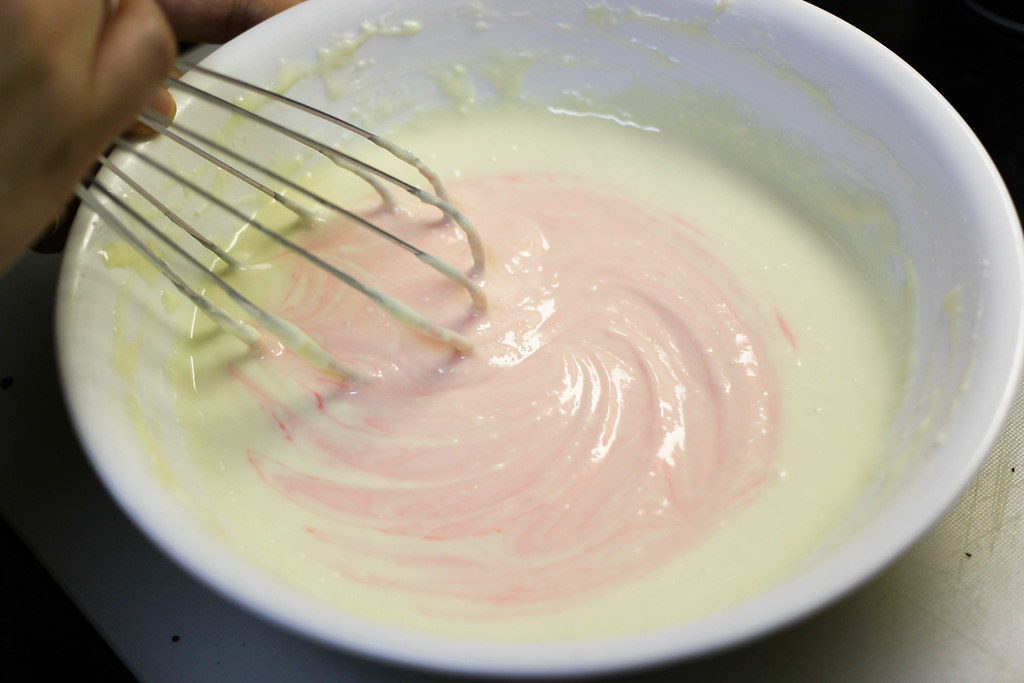
10. Add in peppermint extract and red food coloring. One drop of red food coloring should suffice to give the filling the light pink color. Continue to whisk until color is evenly distributed.
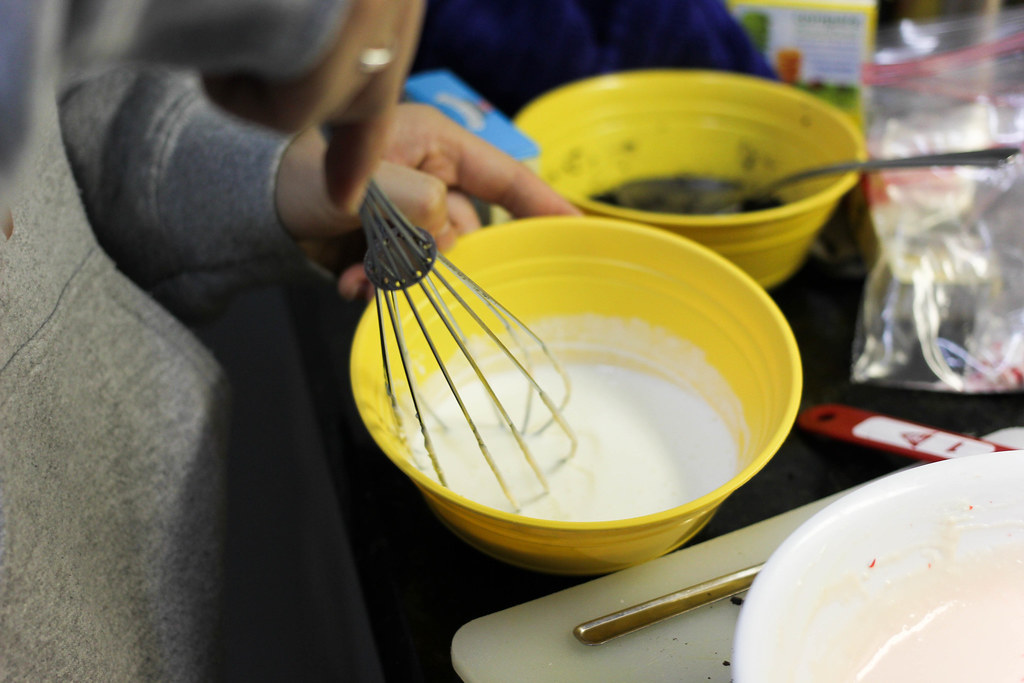
11. Pour whipping cream into another small bowl. Use a whisk to briefly whip it.
12. Continue whisking the filling mixture and slowly pour in the whipping cream.
13. Take the jar out of the freezer and scoop in three or four spoonfuls of the cheesecake filling. Place the jar back into the freezer for 3-5 minutes.
14. Take the jar out of the freezer and place another “crust” layer. Make sure the crumbs are evenly distributed and press down lightly with the back of the spoon. Place in freezer again for 3 minutes.
15. Continue to fill the jar by alternating the layers with cheesecake filling and “crust” cookie crumbs and placing the jar in the freezer after every layer.
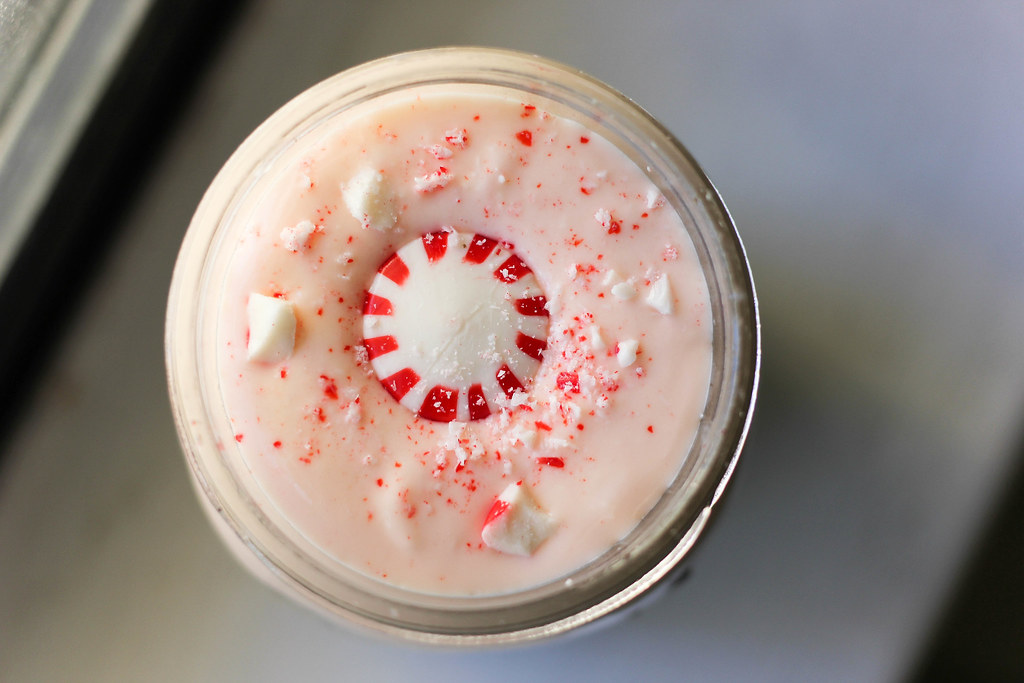
16. Garnish the top of the cheesecake with crushed peppermint candies. Screw lids back on and place in the freezer for 2 hours or until firm.
Voila! Combining peppermint and chocolate couldn’t have been easier! This cheesecake can be that fancy dessert at the party everyone asks you about, the “cherry on top” to a picnic and the cutest gift to show how much you love and appreciate your family and friends. Don’t be afraid to add your own flare by adding colorful ribbons, stickers, name tags and using different sized jars. Homemade gifts deserve to have some of that “personal touch” to make them extra special.


