Last year on March 14th, Dominique Ansel (the genius behind the Cronut) shattered our perception of milk and cookies by unveiling the chocolate chip cookie shot, a shot glass made of chocolate chip cookie and filled with milk. Since then, multiple YouTube channels, food blogs, and even Spoon University have been trying to recreate this genius invention.
Being too lazy to make my own cookie dough, I opted for some store bought Pillsbury cookie dough. Here is my journey to conquering the cookie shot (or in my case, the cookie cup) as well as some tips and tricks I discovered along the way.
Prep time: 2 hours 10 minutes (at least 1 hour 30 minutes of wait time)
Cook time: 20 minutes
Total time: 2 hours 30 minutes
Servings: 3 cookie cups (although, this depends on the size of the mason jar you use)
Ingredients:
1 tube Pillsbury cookie dough
½ cup flour
½ cup chocolate, any of your choosing
3 mason jars (you can also use shot glasses, or a popover pan, or even a mug)
Rolling pin or wooden spatula
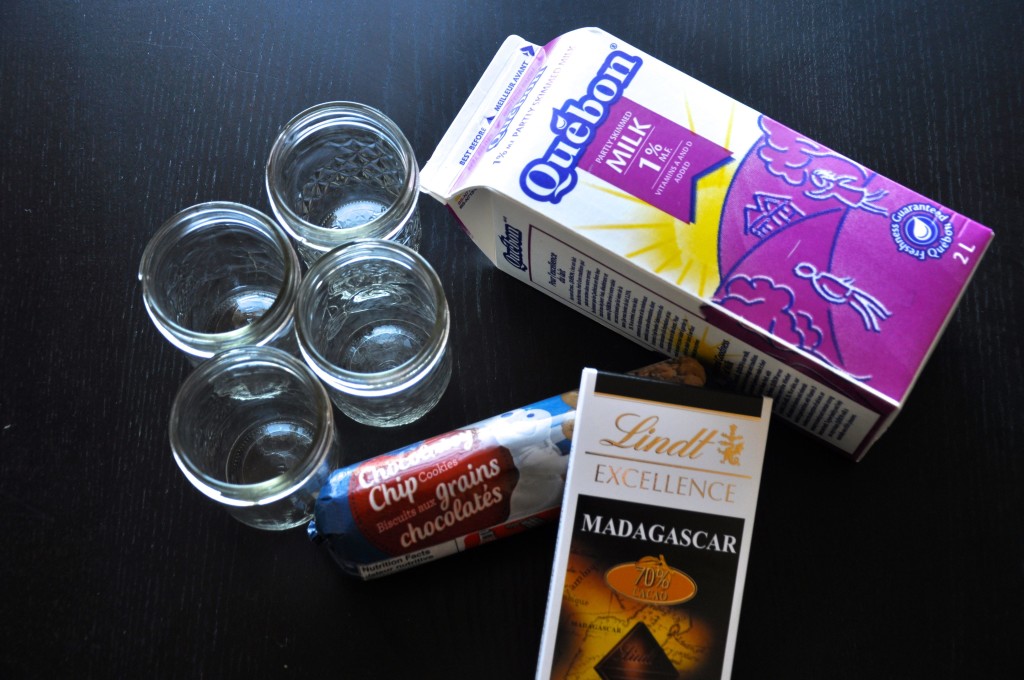
Photo by Helena Lin
DISCLAIMER: You may want to purchase 2 tubes of cookie dough in case of failure, my first attempt was an utter disaster… It happens, but don’t give up.
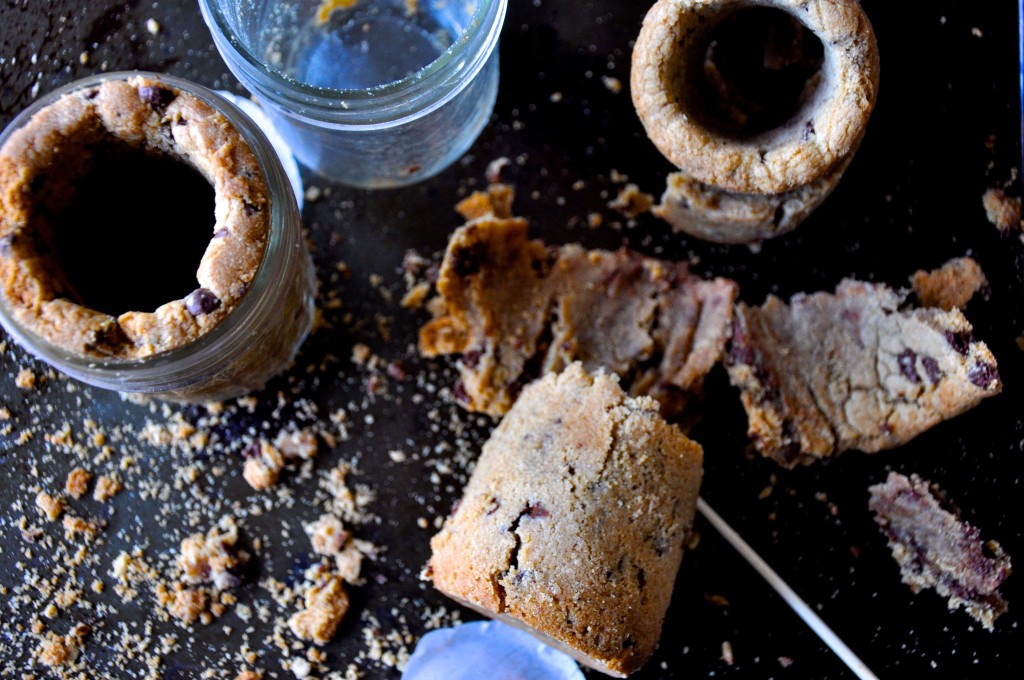
Photo by Helena Lin
Before we begin, let me start by prefacing that the following scenario will happen pretty much no matter what. The trick is to not get flustered and show this cookie dough whose boss.
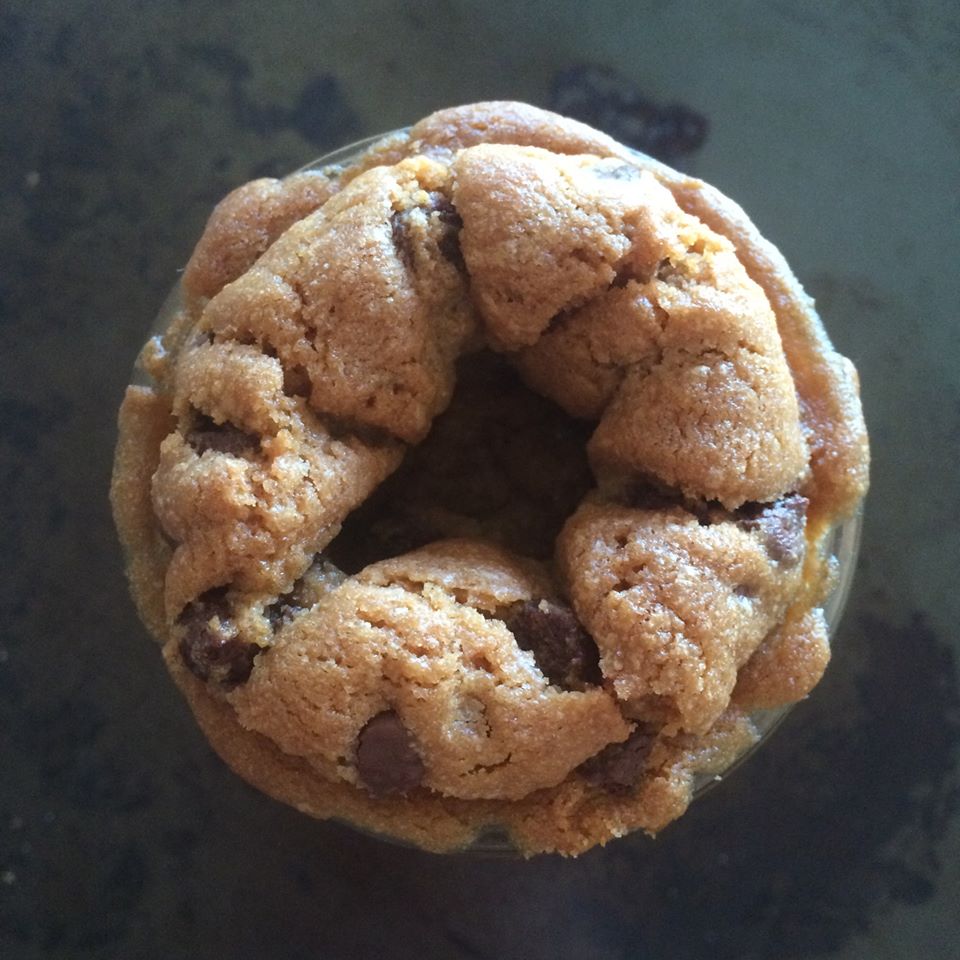
Photo by Helena Lin
Directions:
1. Preheat oven to 375°F.
2. Add the flour to the cookie dough and mix until fully incorporated.
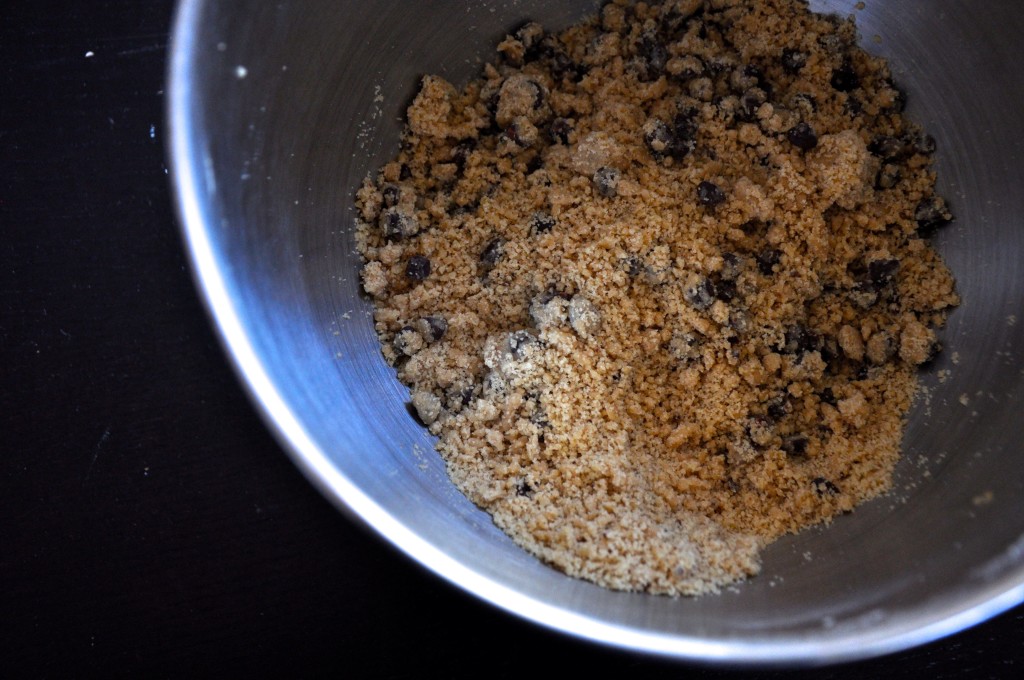
Photo by Helena Lin
3. Press cookie dough in a consistent layer along the sides of the mason jars.
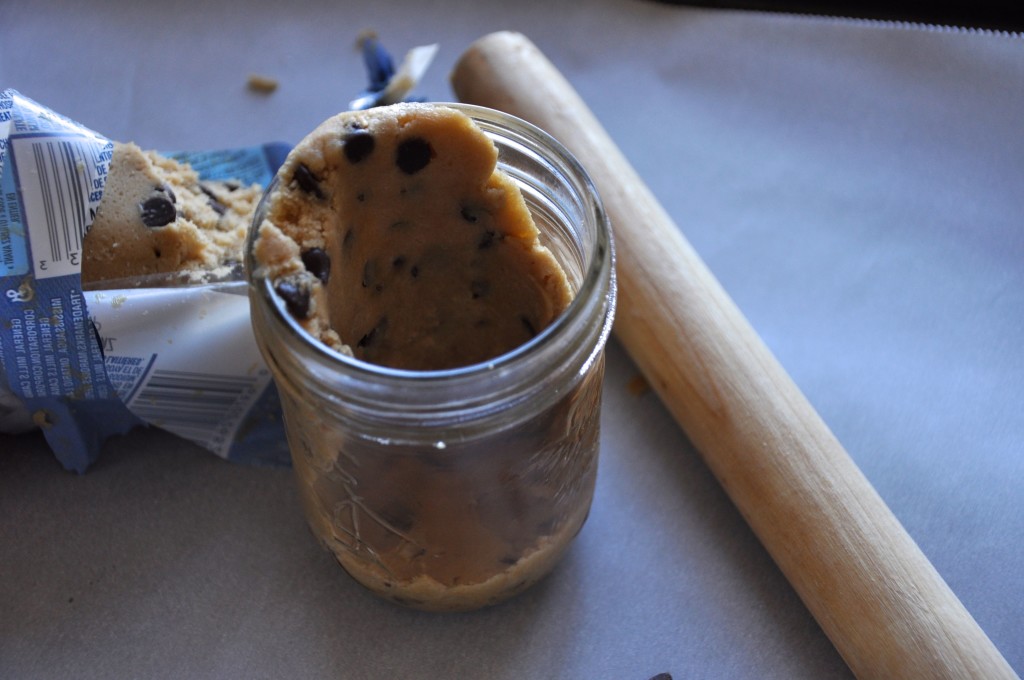
Photo by Helena Lin
Pro tips:
- Grease the mason jar with some butter, dust with flour, and line the bottom with parchment paper to ensure easy removal
- Use a rolling pin, the handle of a spatula, or your hands to firmly and evenly pack the cookie dough against the mason jar
- Refrigerate the cookie cups for at least 30 minutes before baking
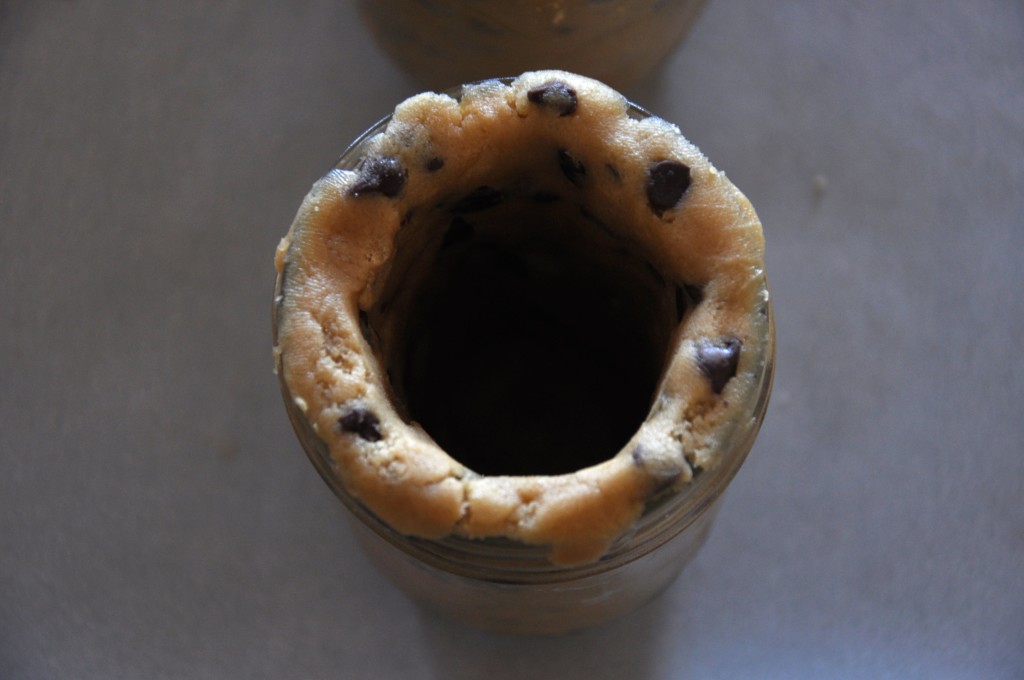
Photo by Helena Lin
4. Bake cookie cups for 15 minutes. The cookies will puff up a bit as shown above so use the handle of a wooden spoon to press the cookie back into its original shape.
5. Bake cookies for another 5 minutes to firm up the bottom. If the cookie cups puff up again, just press them down again like in step 4.
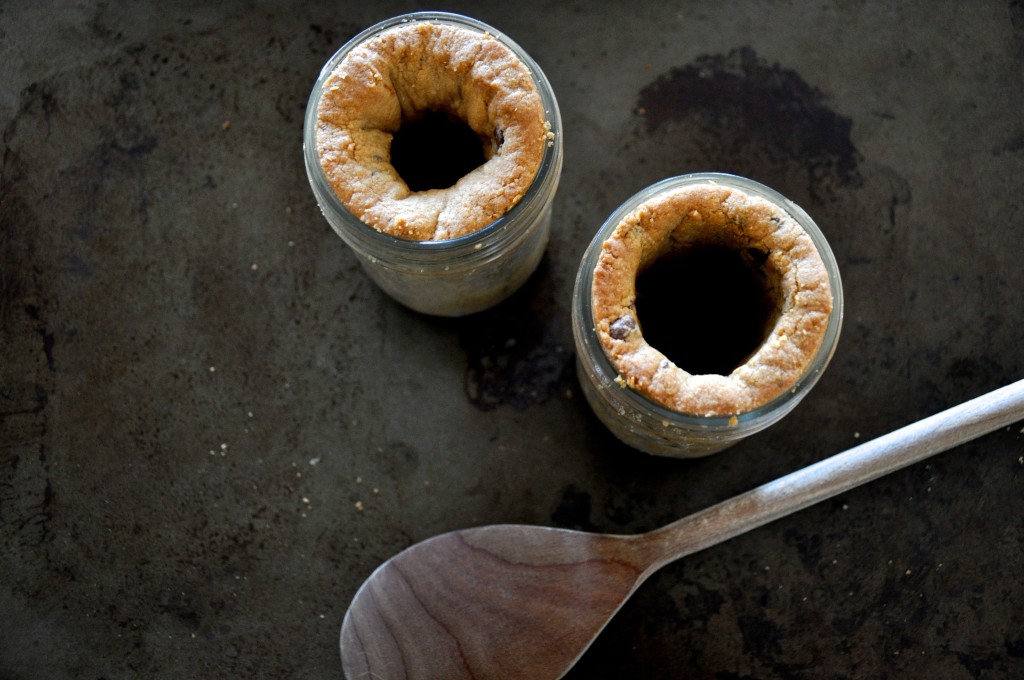
Photo by Helena Lin
6. Let the cookies cool for 15-20 minutes. Carefully run a knife along the edge of the cookie, say a quick prayer, and flip the jar upside down.
*Cue triumphant music*
With a bit of jiggling, the cookie cups should slide right out.
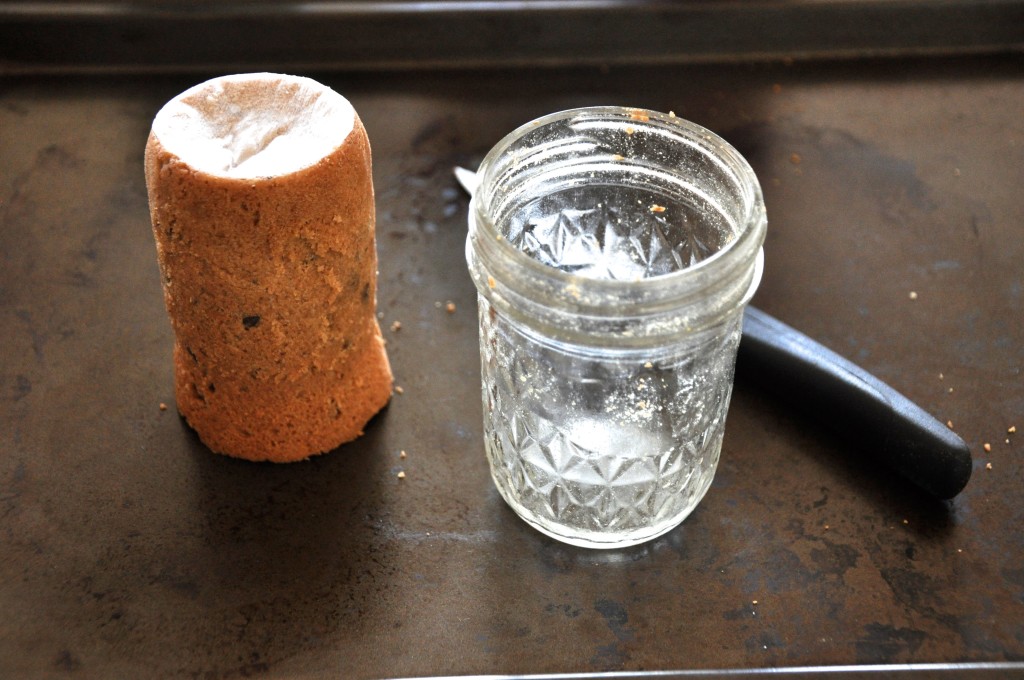
Photo by Helena Lin
7. Once the cookies have cooled to room temperature (~1 hour), heat the chocolate in the microwave at 30-second bursts until melted.
8. Coat the interior of the cookie cups with melted chocolate. The chocolate acts as a seal so that the milk won’t soak into the cookie cups.
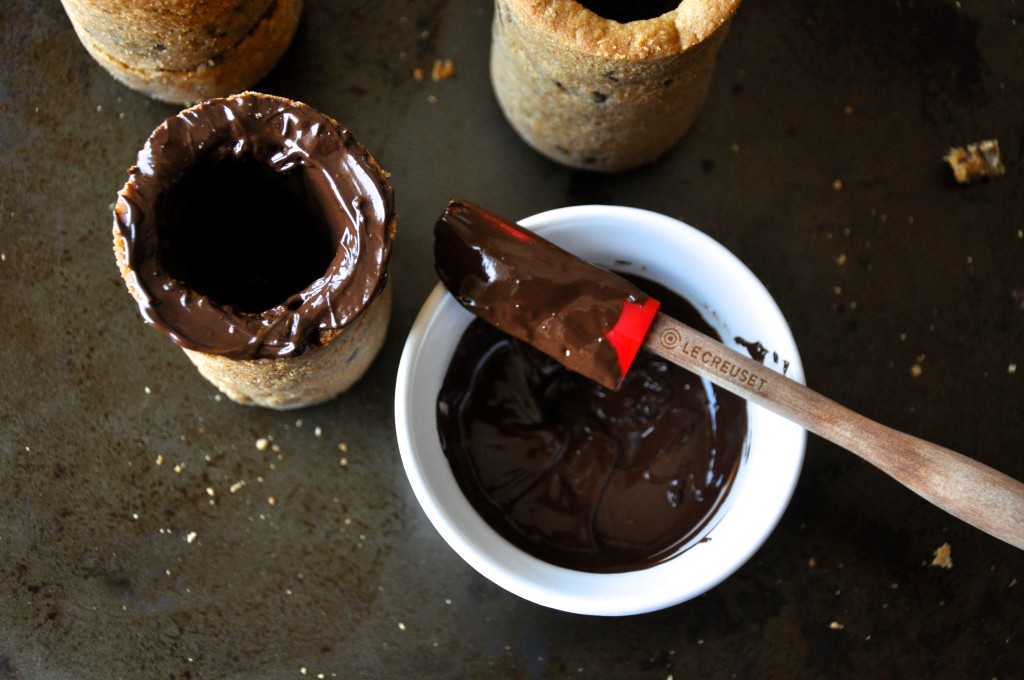
Photo by Helena Lin
9. Place the cookie cups into the fridge for 30 minutes to let the chocolate set. Lastly, pour in some milk and enjoy your victory!
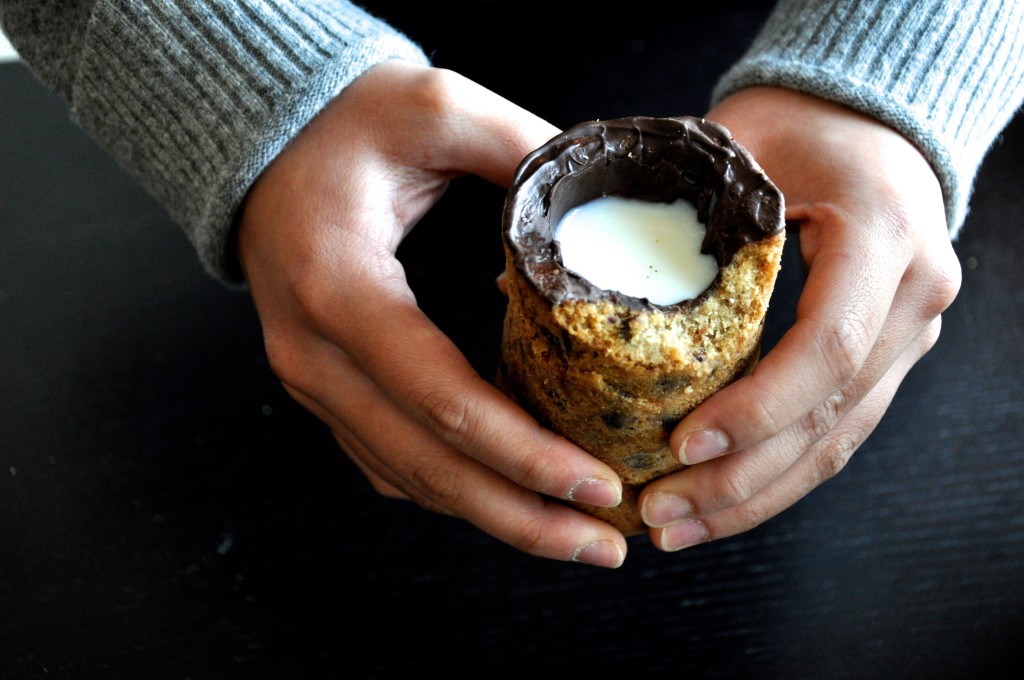
Photo by Helena Lin
Like this? We figured. Why don’t you pin it?

More about chocolate chip cookies:


