So it’s your first year at college and you just really, really want that dessert you loved to make at home. The problem is that you don’t have access to a beautiful kitchen and all of its glorious bounty. All you have is your quaint dorm room, mini fridge and possibly a microwave. Although that would stop some people, it’s not going to stop you. Why? Because you have access to these three foolproof, no-bake desserts that you can easily make in your dorm room. Impressed? Yeah, so is Iggy.
1. Chocolate Wafer Cake
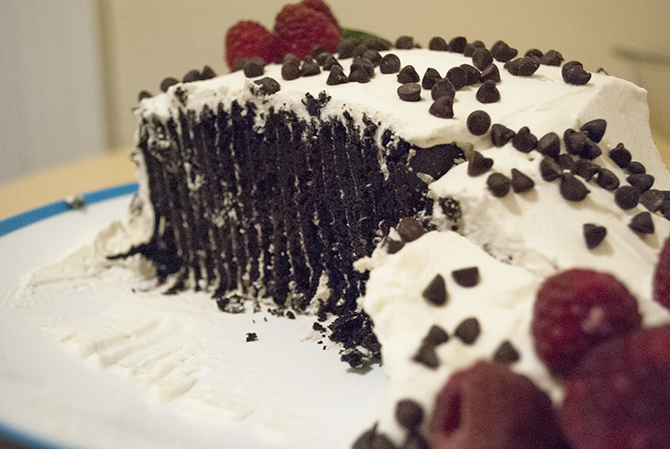
Photo by Hunter Siegrist
Prep Time: 30 minutes
Fridge Time: 4 hours
Total Time: 4 hours 30 min
Servings: 8
Ingredients:
2 cups whipping cream (or pre-made whipped cream topping)
1 package Nabisco’s Famous Chocolate Wafer cookies
1 teaspoon vanilla extract
Optional: raspberries, mini chocolate chips
Directions:
1. Beat whipping cream and vanilla extract in a large bowl until stiff peaks form. If you do not have access to a hand mixer or Kitchenaid, feel free to go back to the basics and grab a fork. Yes, a fork. Your arm will be sore, it may take a bit longer, but it will get the job done. Or simply just take out the ready-made whipped cream topping from your fridge.
2. Take a medium-sized plate and spread a small amount of whipped cream across the plate. This will be your base for the cake.
3. Take one chocolate wafer and cover both sides with a heaping teaspoon of whipped cream.
4. Place the cookie in the whipped cream base at one end of the plate, standing it up so that more wafers can be added on (as shown below). Spread a heaping teaspoon onto another chocolate wafer and stack it onto the first wafer. Repeat this process until you have a log.
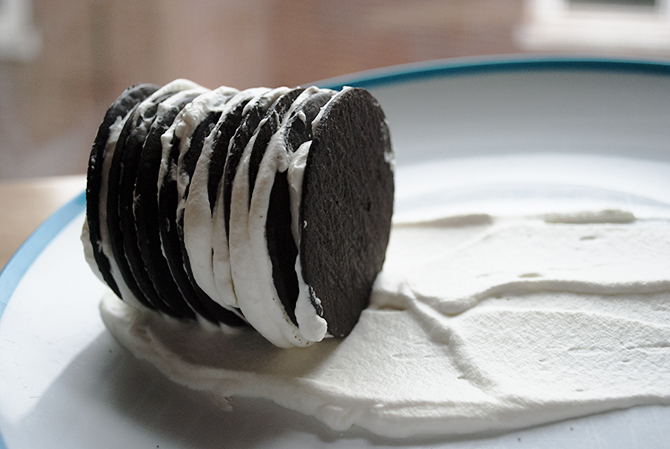
Photo by Hunter Siegrist
5. Cover the wafer log with the remaining whipped cream.
6. Refrigerate for 4 hours or until you can easily slice into the cake.
7. Decorate with raspberries and mini chocolate chips.
2. Chocolate Chip Cookie Dough Sandwich Cookies
(recipe adapted from The Cookie Dough Lover’s Cookbook)
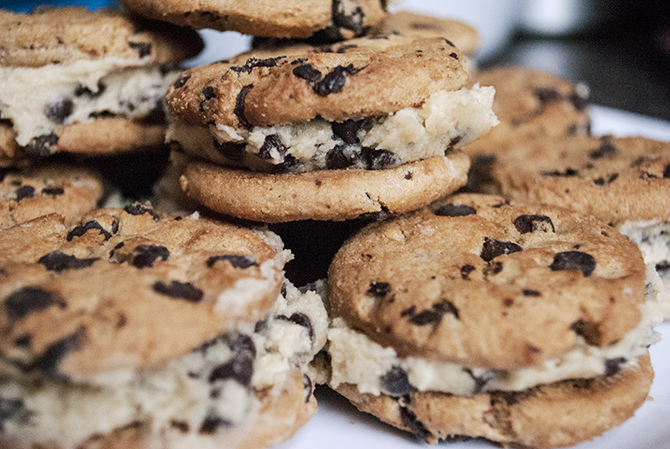
Photo by Hunter Siegrist
Prep time: 30 minutes
Cook Time: None
Total Time: 30 minutes
Servings: 15-18 cookie sandwiches
Ingredients:
1 package Chips Ahoy Chocolate Chip Cookies
1/2 (1 stick) unsalted butter, room temperature
1/2 cup light brown sugar, packed
1/4 cup all-purpose flour
1/2 cup cup powdered sugar
1/4 teaspoon salt
1/4 cup heavy cream
1 teaspoon vanilla extract
1/2 cup mini semisweet chocolate chips
Directions:
1. Beat together the butter and brown sugar in a large bowl with an electric mixer on medium speed (or use that handy-dandy fork) until light and fluffy, 2-3 minutes.
2. Mix in the flour, powdered sugar and salt on low speed until incorporated.
3. Slowly add heavy cream and vanilla and beat until fluffy, about 2 minutes. Stir in the chocolate chips.
4. To assemble, sandwich 1 heaping tablespoon of cookie dough between two chocolate chip cookies. Press cookies lightly until filling spreads to edges. Repeat with the remaining cookies.
3. Ghirardelli Chocolate Peanut Butter Bars
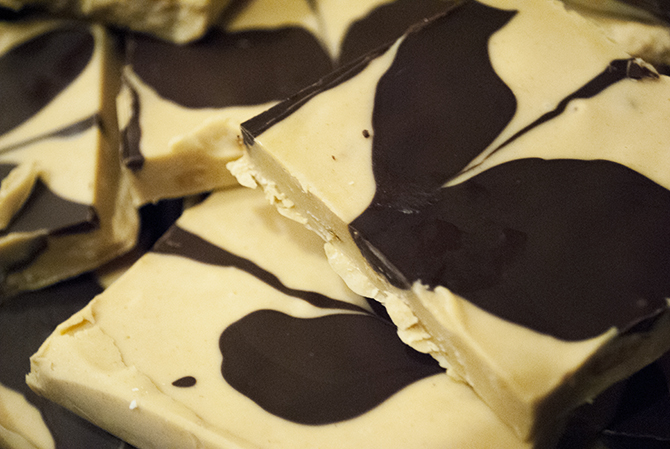
Photo by Hunter Siegrist
Prep time: 45 minutes
Fridge Time: 2 hours
Total Time: 2 hours 45 minutes
Servings: 16-18 bars
Ingredients:
16 ounces Ghirardelli White Chocolate Baking Bars, broken or chopped into 1-inch pieces
1 1/2 cups chunky peanut butter
6 ounces Ghirardelli 60% Cacao Bittersweet Chocolate baking bars, broken into 1-inch pieces
Directions:
1. Butter or Pam-spray a 15 by 10-inch baking pan and line with parchment paper.
2. Melt the white chocolate and peanut butter together. You can do this with a double boiler or in a heatproof bowl over barely simmering water, stirring occasionally until smooth. Or melt by microwaving the mixture in a microwavable container in 30 second intervals, making sure to mix well between intervals.
3. In another double boiler, heatproof bowl or microwaveable container, melt the bittersweet chocolate with the same respective method as in step 2.
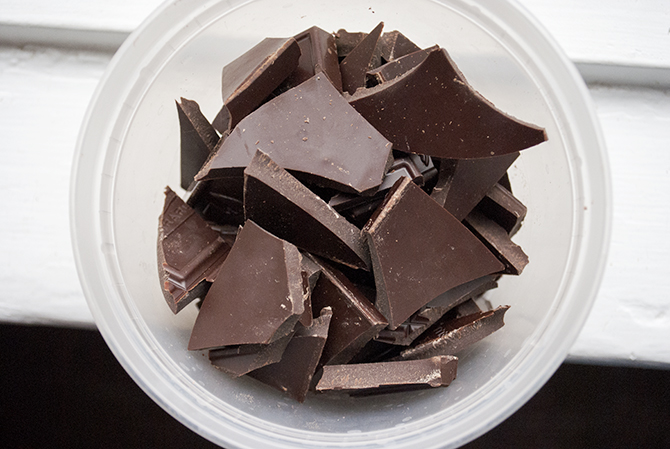
Photo by Hunter Siegrist
4. Remove both mixtures from the heat. Pour the peanut butter mixture onto the prepared baking pan, covering the entire surface of pan.
5. Using a small spoon, drizzle bittersweet chocolate in straight lines over the spread mixture. Using the tip of a small knife, drag through the drizzled bittersweet chocolate to marbleize.
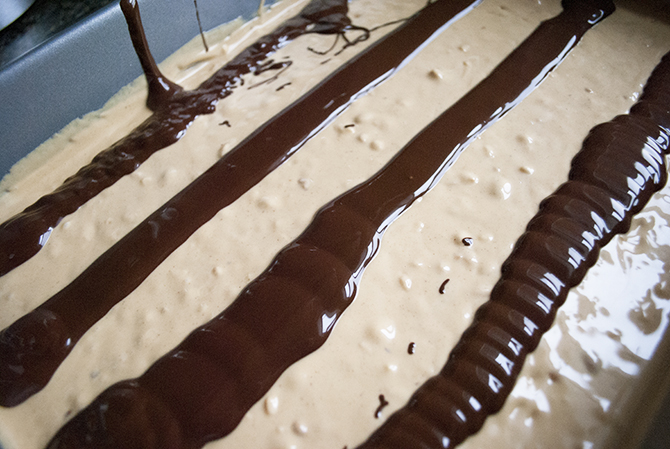
Photo by Hunter Siegrist
6. Chill in the refrigerator until firm, at least 2 hours. Cut into small pieces to serve. Keep chilled for up to 2 weeks.

