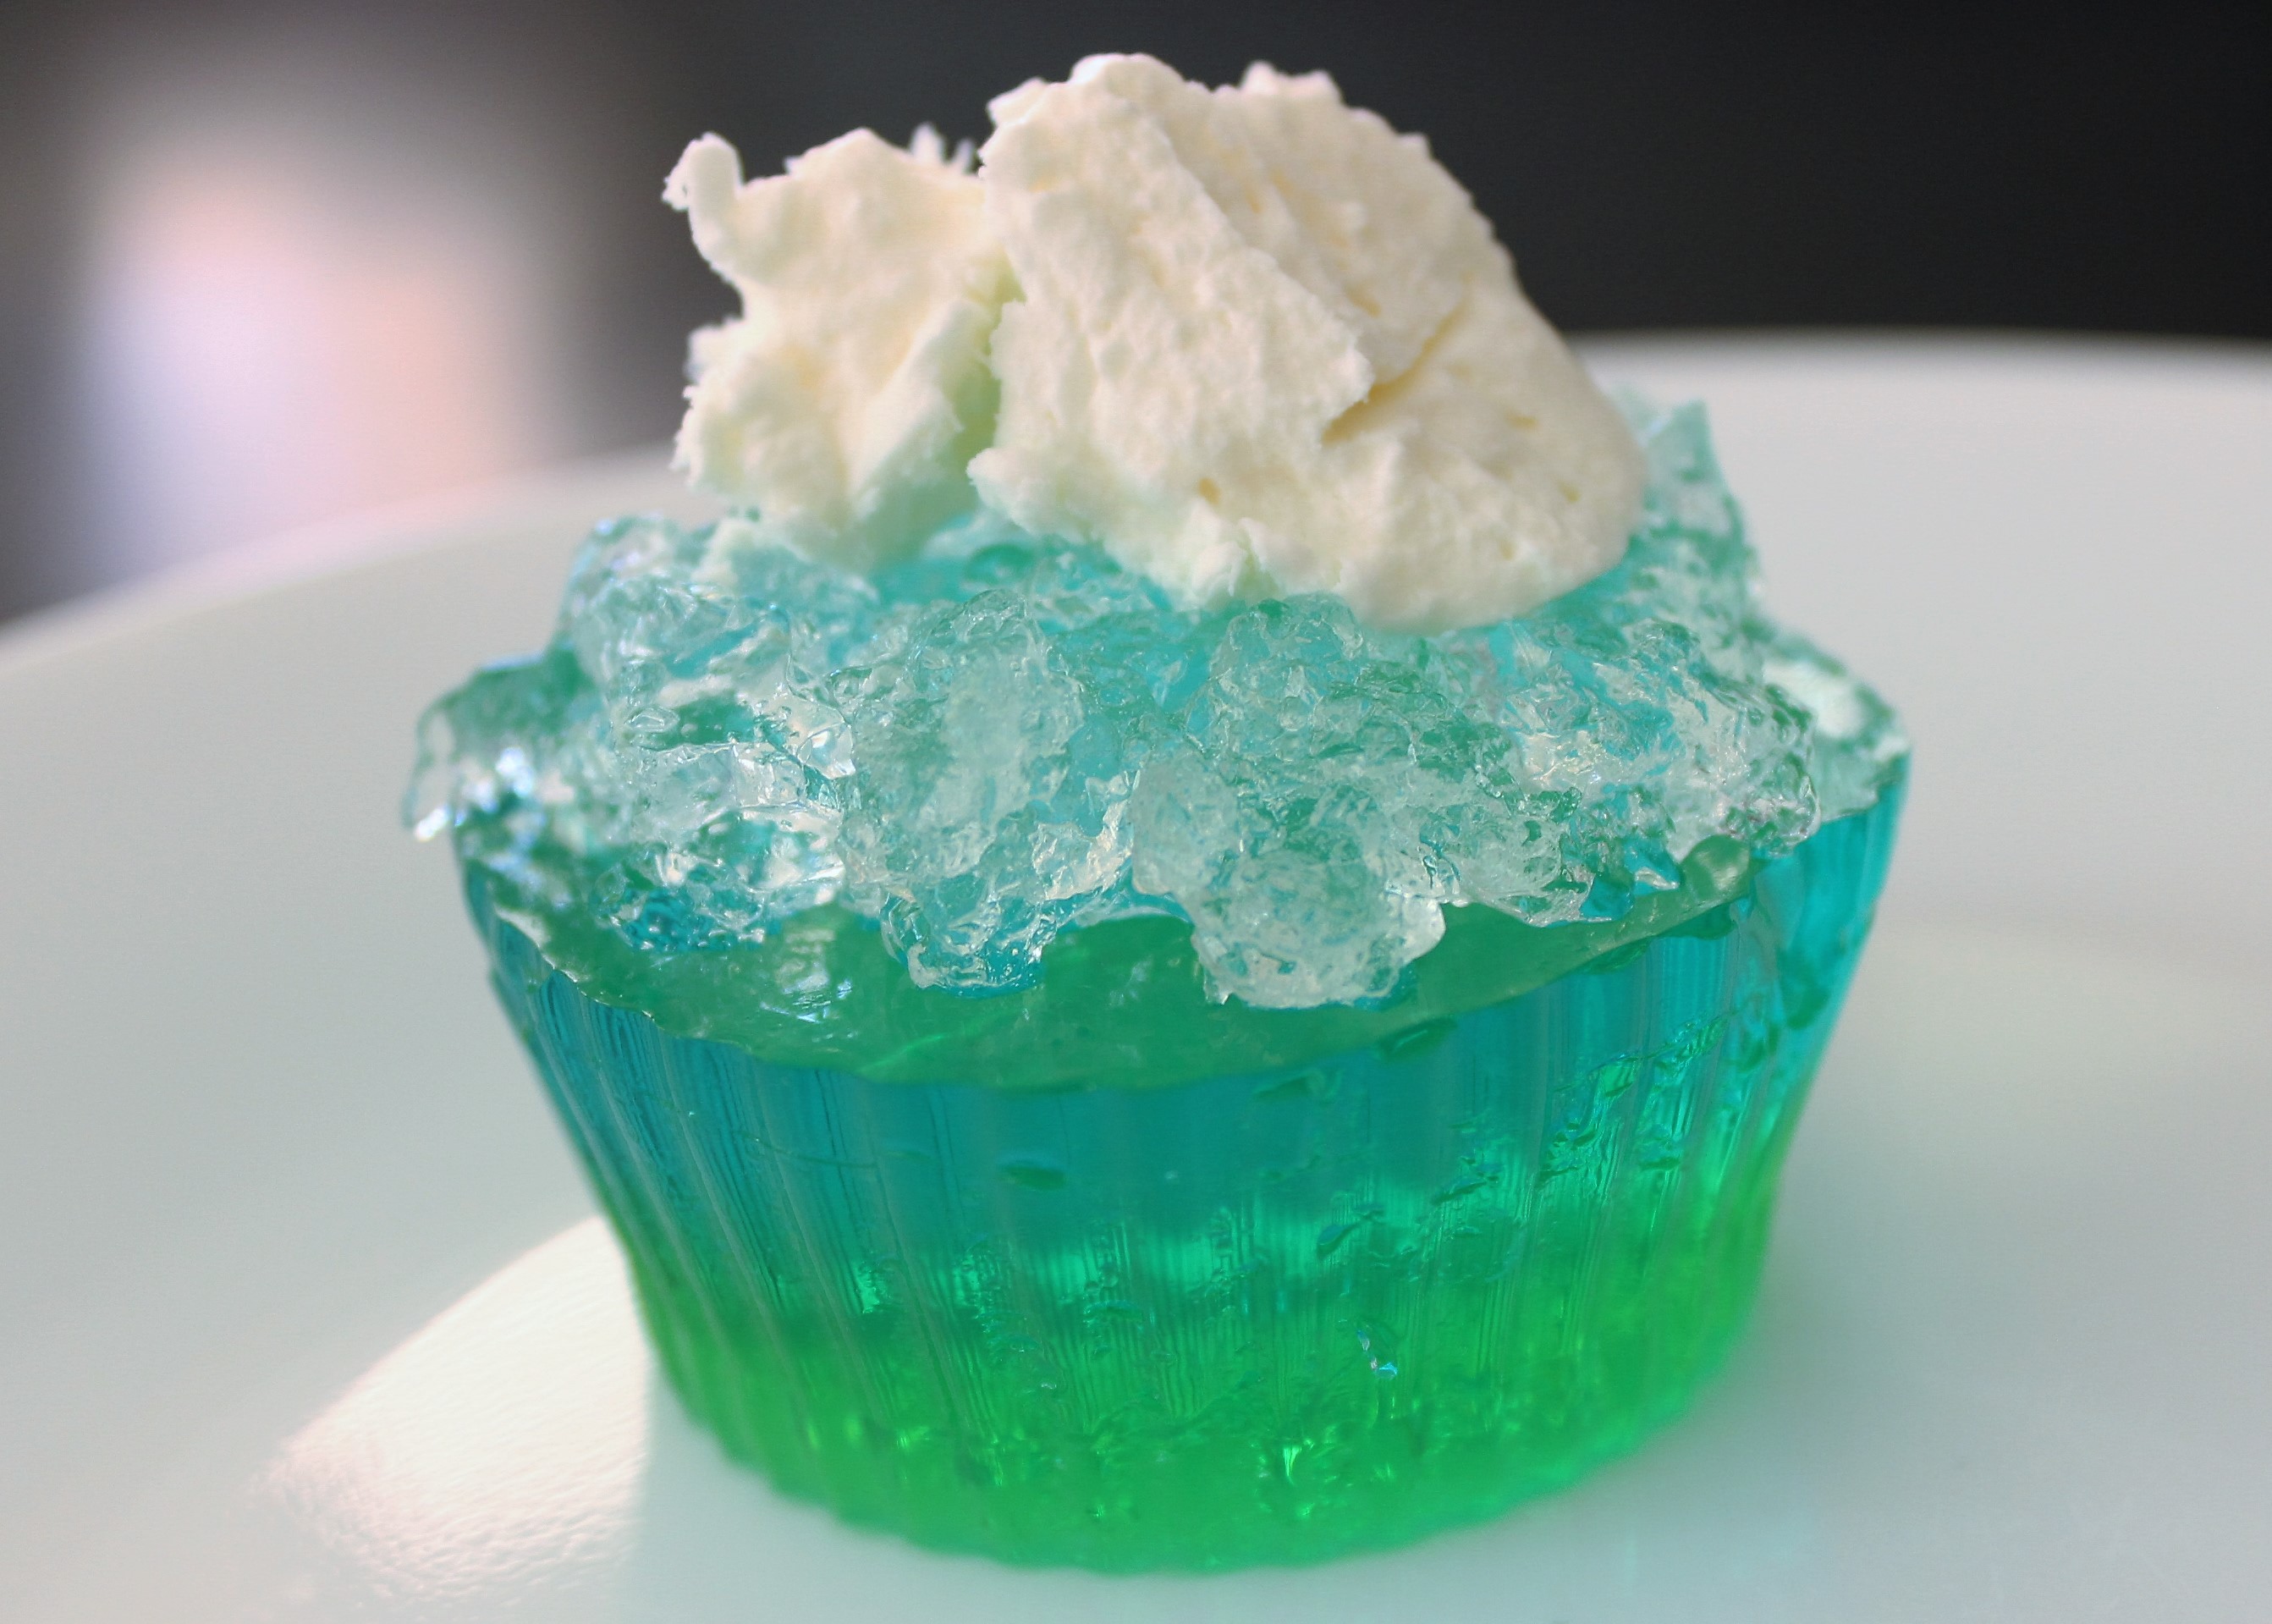
With the spring season upon us, it is time to indulge in those lighter, cooler, and more refreshing treats. Jell-O is a fun and old-time favorite snack to eat at this time of the year. Due to its simplicity, Jell-O can be made by anyone and it is very easy to make it fancier with fun molds.
As someone who eats with their eyes before their mouth, I was inspired by the colors of spring to create a bright display and a refreshing taste. I decided to reinvent the standard Jell-O squares by fusing it with the beautiful presentation of cupcakes and utilizing the colors green, blue, and clear. In addition to the Jell-O, I also used homemade whipping cream to add a more playful texture and to sooth the sweet and sour flavors of the Jell-O.
Jell-O Cupcakes
Ingredients
Instructions
Lightly oil the silicone cups with vegetable oil.

Arrange the silicone cups in a tray.

Pour ¼ cup of cold water in a bowl and sprinkle ½ a package (about 3.5 grams) of unflavored gelatin. Wait for gelatin to dissolve.
Pour 6 ounces of green Jell-O mix into the bowl along with 2 ½ cups of boiling water. Stir mixture until dissolved.

Wait 30 minutes for green Jell-O mixture to cool.
In a separate bowl, make the clear Jell-O according to package instructions and place the mixture in the refrigerator to cool and set completely.

After the green Jell-O mixture has cooled, fill the silicone cups ¼ of the way and place in the refrigerator for about 30 minutes.
#SpoonTip: Leftover Jell-O can be refrigerated separately for a great snack.

In another bowl, pour ½ cup of cold water along with 1 ½ packages (10.5 grams) of unflavored gelatin. Stir gelatin until dissolved.
Add 1.6 ounces of blue Jell-O mix into the bowl along with 2 cups of boiling water. Stir until completely dissolved. (If using a 6 oz blue Jell-O mix, you may follow steps 3 and 4).

Set the blue Jell-O mixture aside to cool for about 30 minutes. (To help the mixture cool faster, stir the mixture with a spoon).
Once the blue Jell-O mixture has cooled, take out the tray with the silicone cups and use a fork to pierce holes into the green Jell-O.

Fill the silicone cups with the blue Jell-O mixture and place the tray back into the refrigerator to set for about 4 hours.
After almost 4 hours, pour ½ cup of heavy whipping cream, a splash of vanilla, and 2 tablespoons of sugar into a bowl.

Mix the heavy whipping cream until it forms stiff peaks.
#SpoonTip: For a cooler dessert, make the whipped cream right after you have poured the blue Jell-O mixture into the silicon cups and freeze it. Take the cream out 5 minutes prior to serving.

To serve, take a silicone cup and place it into a bowl of hot water for 10-15 seconds. Carefully peal the silicone away from the Jell-O and place on a serving plate.

Take the clear Jell-O out of the refrigerator and mash it with a spoon.

Scoop the clear Jell-O and the whipped cream on top of the Jell-O cupcake and enjoy.


