Even though Atlanta is rather freezing these days, ice cream is a treat that I like to savor year round. There is no better way to make it through a final paper or a night of studying than with a big bowl of cold ice cream, especially the homemade kind.
Of course, most college students don’t have an ice cream maker. But the truth is, you don’t actually need one. Take a break from that usual pint of Häagen-Dazs you reluctantly buy during your midnight trip to Zaya’s and make your own instead.
Prep Time: 4-8 hours
Cook Time: 10 minutes
Wait Time: 4-8 hours
Total Time: 8-16 hours
Servings: 1/2 quart
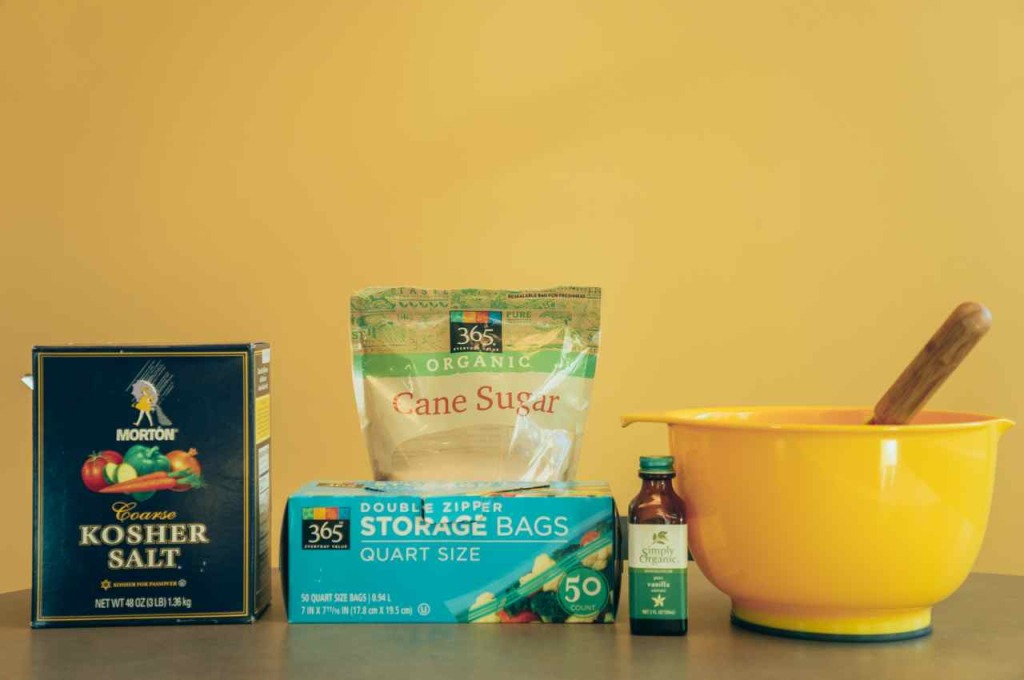
Photo by Yonatan Soler
Ingredients:
2 eggs
3/4 cup sugar
2 tablespoons vanilla extract (or whatever flavoring you desire)
1 cup milk
2 cups heavy cream
½ cup kosher salt
½ gallon ice
1 gallon-sized Ziploc bag
1 quart-sized Ziploc bag
Note: For the ice cream base, I used the Ben n’ Jerry’s Homemade Ice Cream & Dessert Book‘s recipe for vanilla ice cream because it’s very simple and delicious. However, the freezing process will work with any base, so feel free to use the recipe that you like best. Non-custard bases are generally faster and easier to make than custard bases.
Directions:
1. Crack two eggs into a mixing bowl and whisk for one minute.

Photo by Yonatan Soler
2. Add sugar a little at a time, whisking between additions.
3. After all the sugar has been added, mix for one additional minute. The mix should be pale yellow and completely blended.
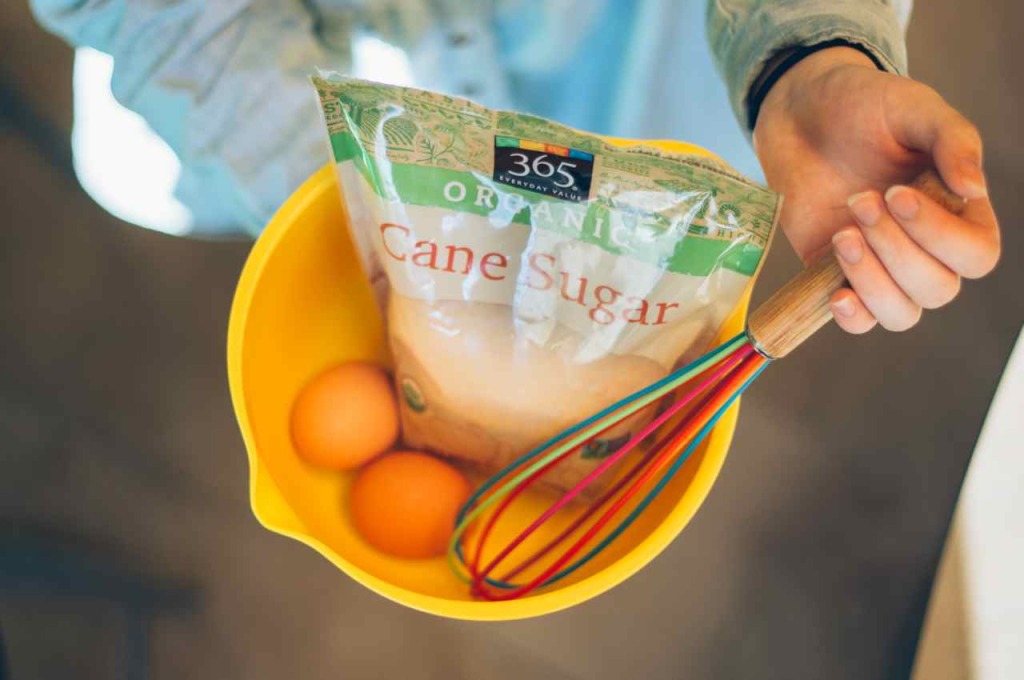
Photo by Yonatan Soler
4. Pour the milk, heavy cream and vanilla extract (or your preferred flavoring) into the mixing bowl. Stir until all ingredients are combined.
5. Chill your prepared ice cream mix in the refrigerator for at least 4 ½ hours (overnight is best).
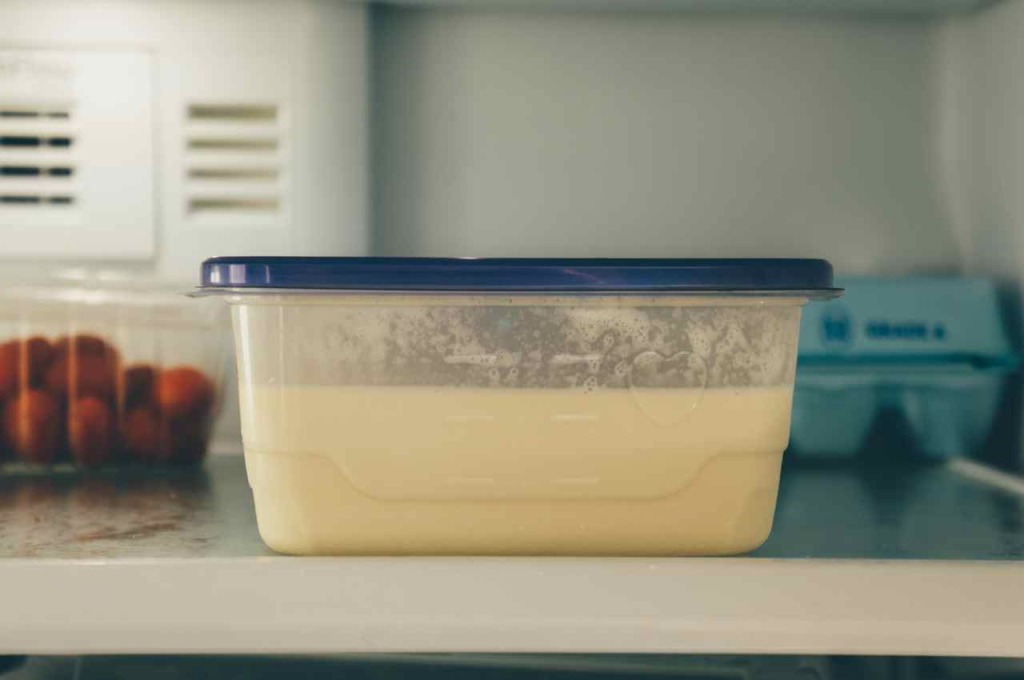
Photo by Yonatan Soler
6. Pour no more than two cups of the ice cream mix into the quart-sized Ziploc bag. Make sure it is completely sealed so that salt and ice will not get into the bag later.
7. Pour ice into a gallon-sized Ziploc bag until it is no more than ⅔ full. Add ½ cup of salt to bag. Make sure the salt is distributed.
8. Place the smaller bag full of the ice cream mix inside the larger bag of ice and salt so that it is completely surrounded by the ice. Carefully close the larger bag (make sure it is completely closed and that no air remains inside). You may want to double bag it to avoid leakage.
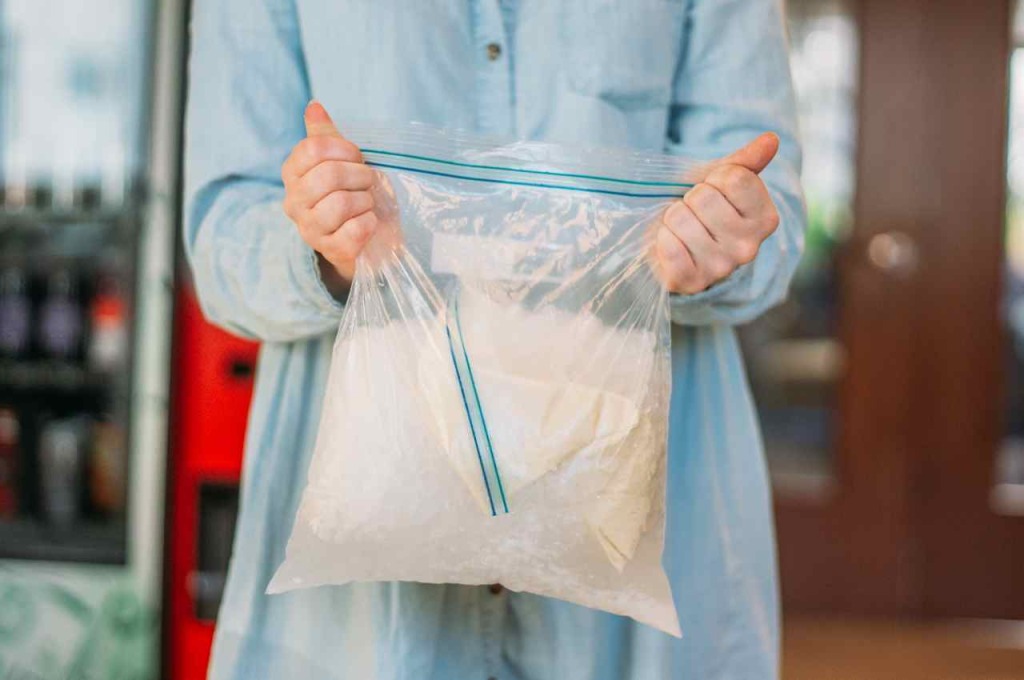
Photo by Yonatan Soler
9. Set a timer for ten minutes. Then, shake the bag until it goes off. I highly recommend putting on some tunes and inviting your buddies to shake a few bags of ice cream together. Alternatively, it is a good stress reliever during midterms or finals. WARNING: The bag gets very cold as you continue to shake it. If you don’t have gloves or oven mitts like me, you can always call on your inner mummy and wrap a few paper towels around your hand.
10. Remove the bag of ice cream from the ice-salt mixture. Check to make sure the ice cream is frozen. Scoop the ice cream out of the bag into desired container.
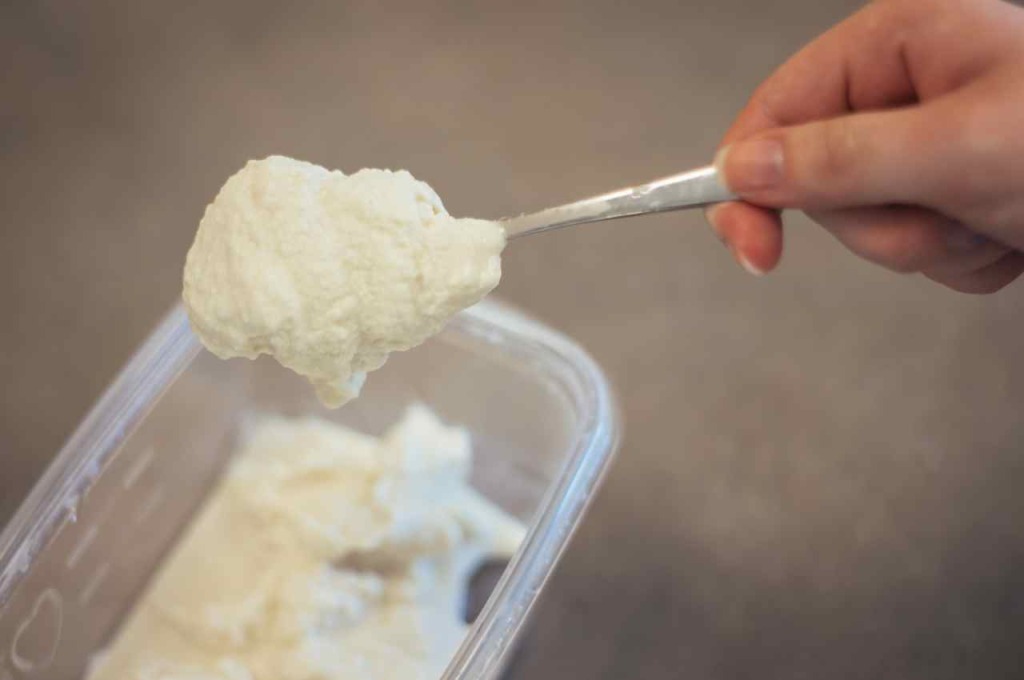
Photo by Yonatan Soler
11. Depending on how desperate you are to inhale your ice cream, you may want to let it freeze for a few hours (typically 4+) so that it can firm up. If you really can’t wait, eat with haste! Either way, enjoy.
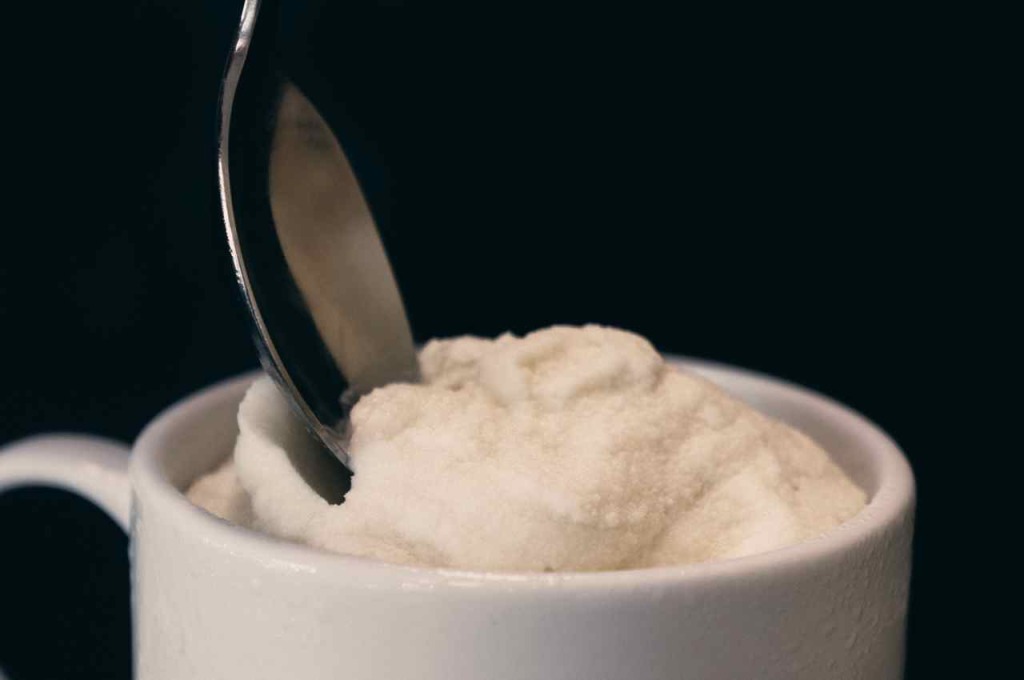
Photo by Yonatan Soler

