As fall semester comes to a close and the most wonderful time of year approaches, the holiday spirit is in the air. Unfortunately, so is the anxiety and fear of finals. Well, thank God for chocolate and candy canes, because they’re here to save you from stressing over exams. Here is a fun and easy holiday recipe that doesn’t require a kitchen. As if that doesn’t already sound great, it takes less than twenty minutes to make.
Prep Time: 10 minutes
Fridge Time: 10 minutes
Total Time: 20 minutes
Servings: 3
Ingredients:
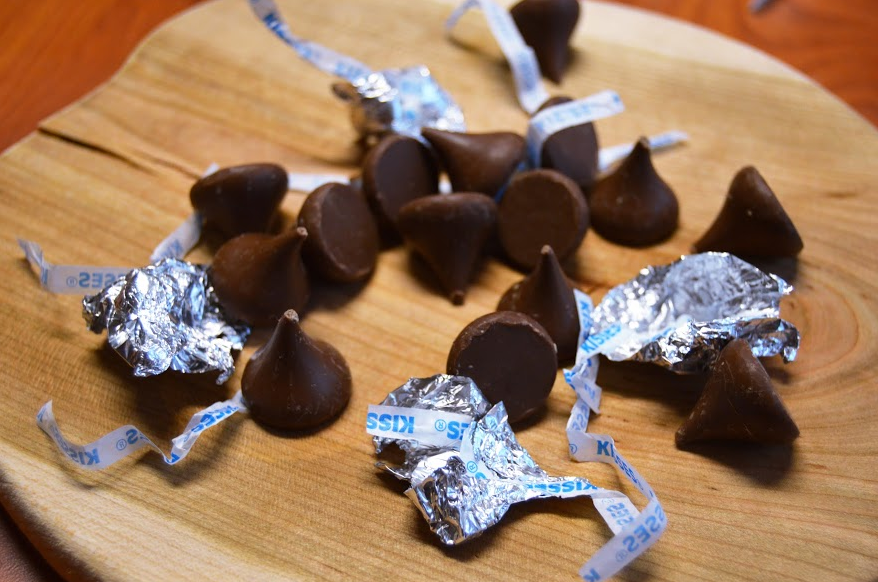
15 milk or dark chocolate Hershey’s kisses
15 White chocolate Hershey’s kisses
5 peppermint candies
Small spoonful of butter (optional)
Foil or parchment paper
Optional: Gummy Bears, Pop-rocks, strawberries, coconut.. etc.
Directions:
1. Chop up milk chocolate and white chocolate. Set the white chocolate aside and put the milk chocolate in a microwave safe bowl.

Photo by Hannah Skiest
2. Crush the peppermints however you may choose. I prefer to smack the bag against the table until the mints are broken up.
3. Grab a piece of foil or parchment paper and cover a plate. If you don’t have either of these items just skip this step.
4. Microwave the chocolate for 15 seconds at a time. Mix it each time you take it out of the microwave, even if it doesn’t look melted, to keep it from burning.
5. Spread the melted chocolate on your foil (or parchment paper) in a very thin layer. I would suggest ¼ of an inch for thickness of the first layer. When you’re done, put the plate in your freezer for 5 minutes.
6. Melt the chopped white chocolate according to step 3. Make sure to keep an eye on it, as white chocolate can be trickier to melt. Burnt chocolate is the enemy.
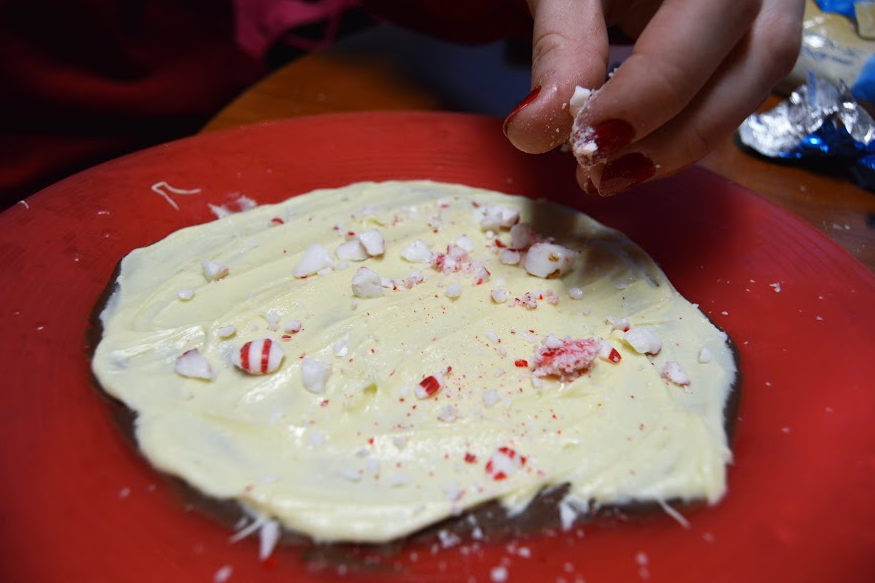
7. Remove the plate from the freezer and spread the melted white chocolate on top of the milk chocolate, creating a second layer. Don’t worry if the white chocolate is harder to spread or even a bit lumpy, it’s totally normal. Try to work through this step quickly! The warmer the chocolate, the easier it is to spread.
8. Immediately after making the second layer, sprinkle the crushed peppermint on top and throw the whole thing into the freezer.

Photo By Hannah Skiest
9. I know it looks delicious, but you still need to freeze the top layer for an additional 10 minutes.
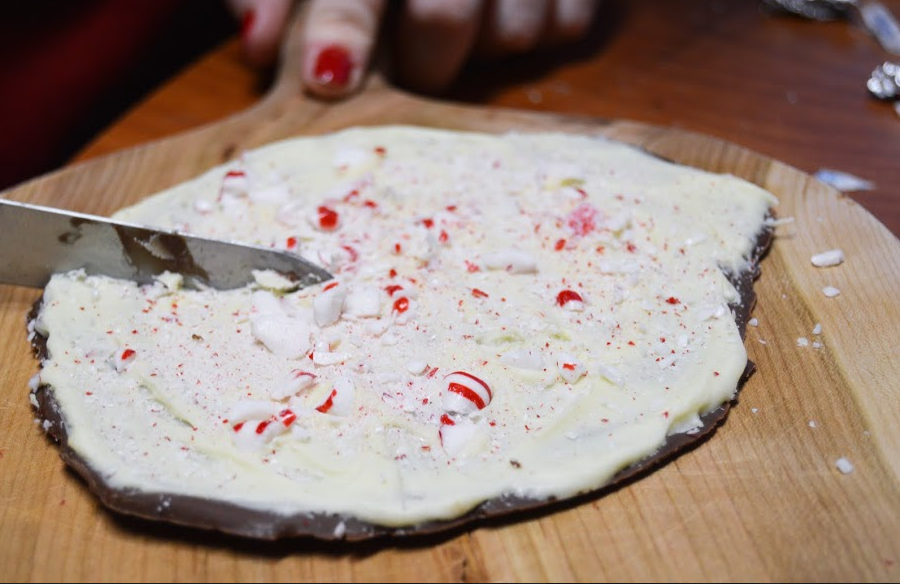
10. After 10 long minutes in the freezer, you’re free to take the plate out and break up the peppermint bark into smaller pieces. You can do this with a knife or your hands. Use whatever you have available.

Photo By Hannah Skiest


