Contrary to popular belief (and your appetite), baking is not all about sweets. The savory side of pastries can open up a whole new world of exotic spices and unconventional ingredients. The best part is that most recipes are customizable, so you will always get a result that satisfies your tastebuds.
Scones are versatile little pastries. They can be made sweet or savory and can act as fancy dinner party desserts or a mid-week snack. They are also quite filling, so when you’re in a morning hurry, just scone ‘n’ go!
Prep Time: 15 minutes
Baking Time: 14 minutes
Total Time: 29 minutes
Servings: 16 scones
Ingredients:
3 cups flour
1/4 cup sugar
2 1/2 teaspoons baking powder
1/2 teaspoon baking soda
1 teaspoon salt
3/4 cup butter (cold)
1 cup buttermilk (TIP: substitute for buttermilk by adding 1 tablespoon of white vinegar or lemon juice in the measuring cup, then filling the rest with regular milk)
3/4 cup bacon, cooked and finely chopped
3/4 cup shredded cheese (I used mild Cheddar)
2 tablespoons milk + 1/4 cup shredded cheese, optional
Directions:
1. Prepare your ingredients!
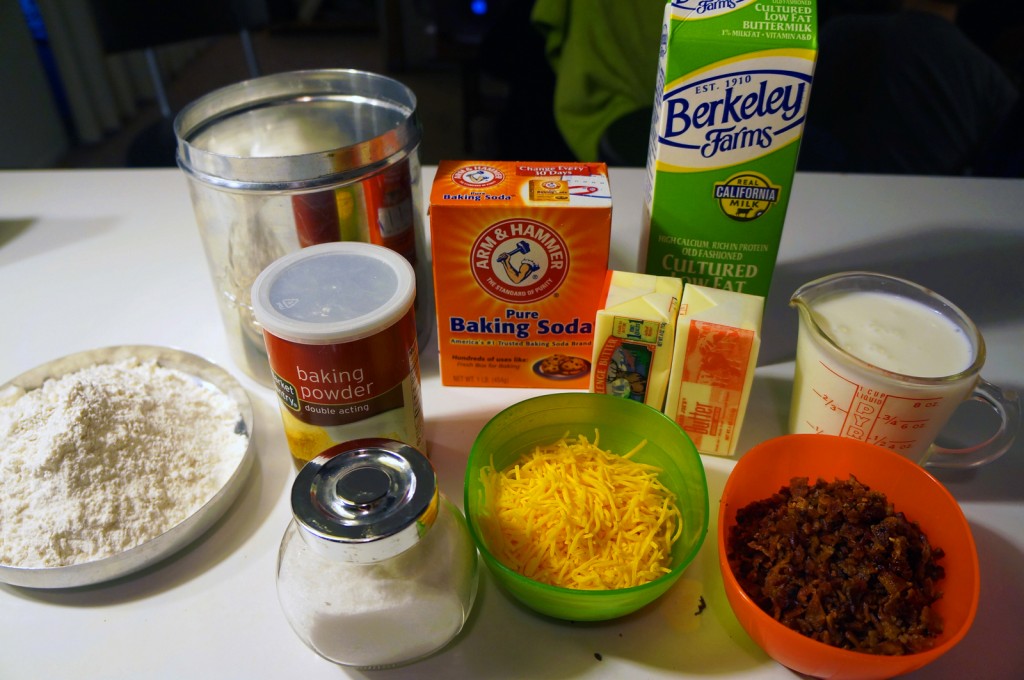
Photo by Mira Nguyen
2. Preheat oven to 400°F. Combine dry ingredients in a mixing bowl, sifting or stirring with a whisk to aerate (this will make your scones fluffier).
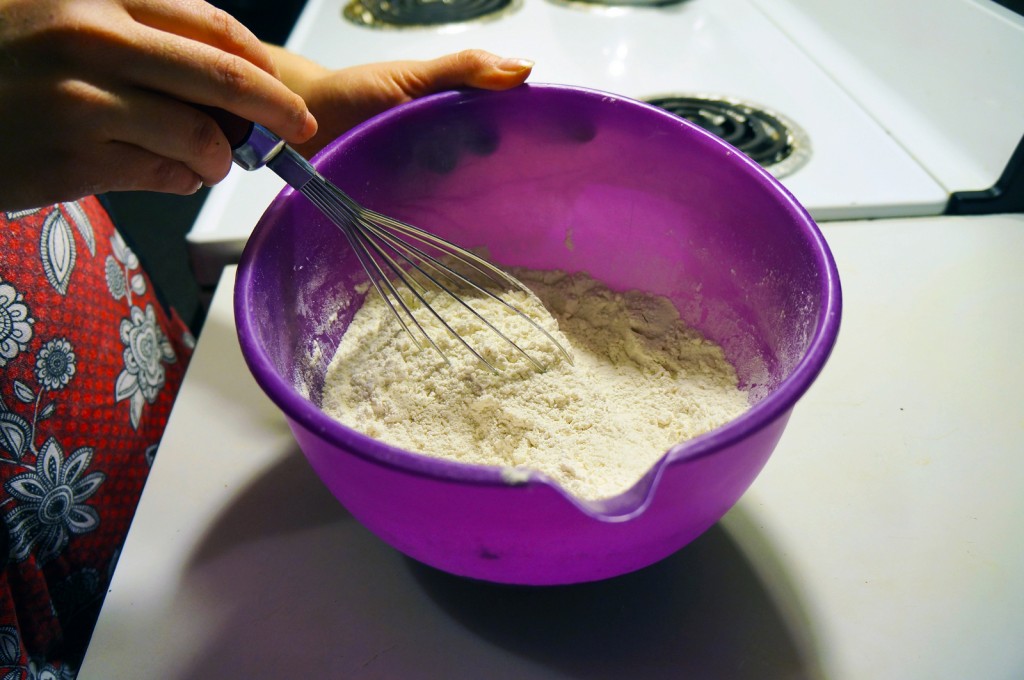
Photo by Mira Nguyen
3. Cut the butter into cubes; add to the dry mixture.
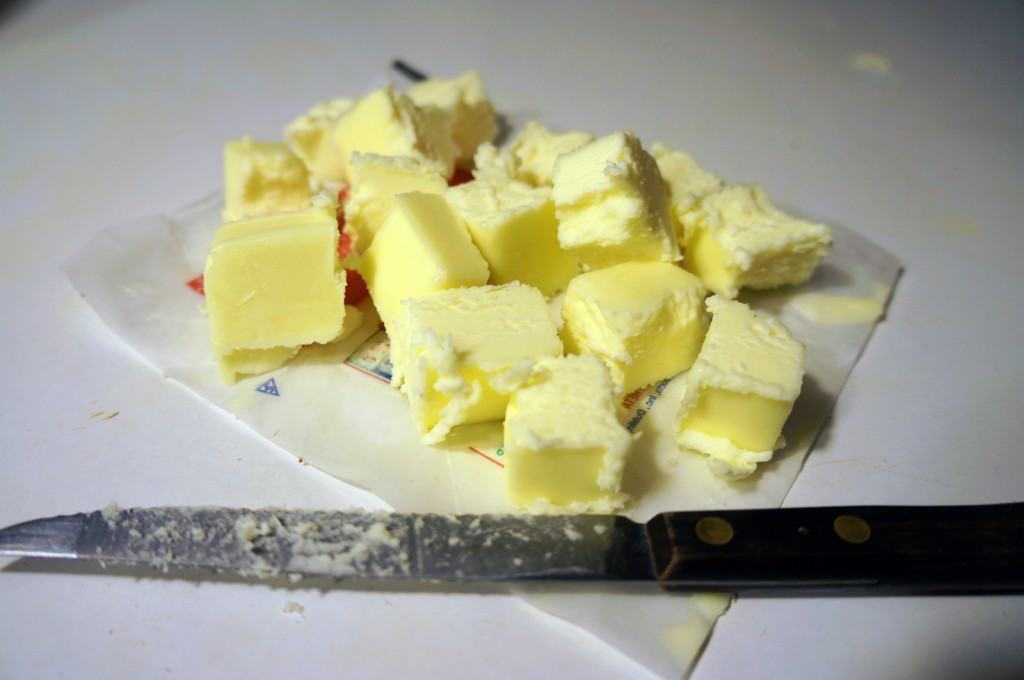
Photo by Mira Nguyen
4. Using a pastry blender, knives or your fingertips, cut the butter into the flour mixture until it looks like crumbs (about 2 minutes).
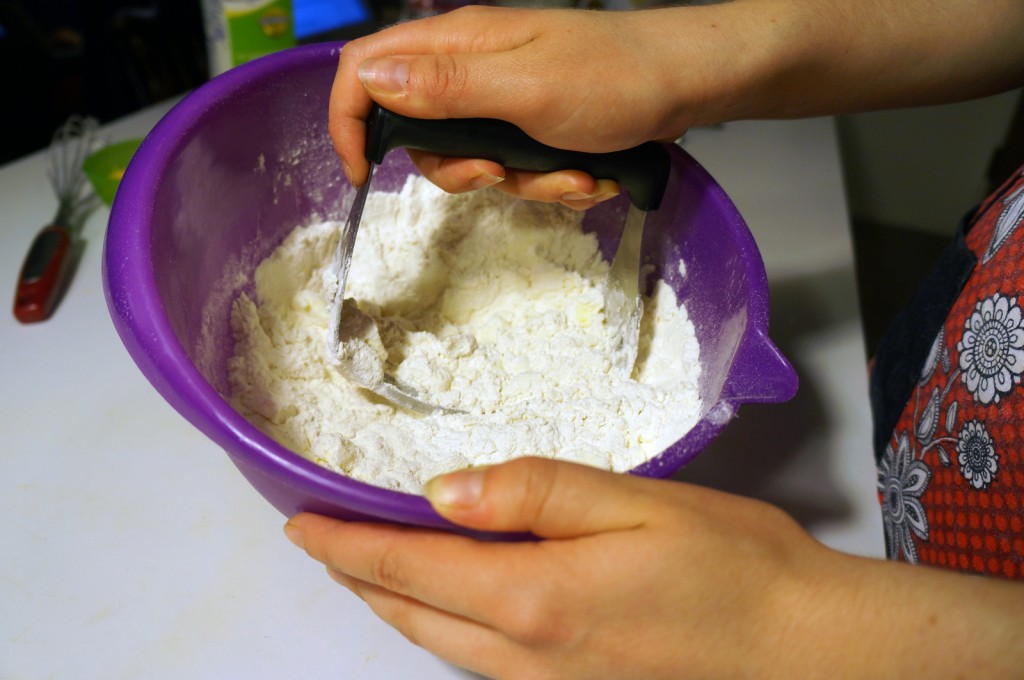
Photo by Mira Nguyen
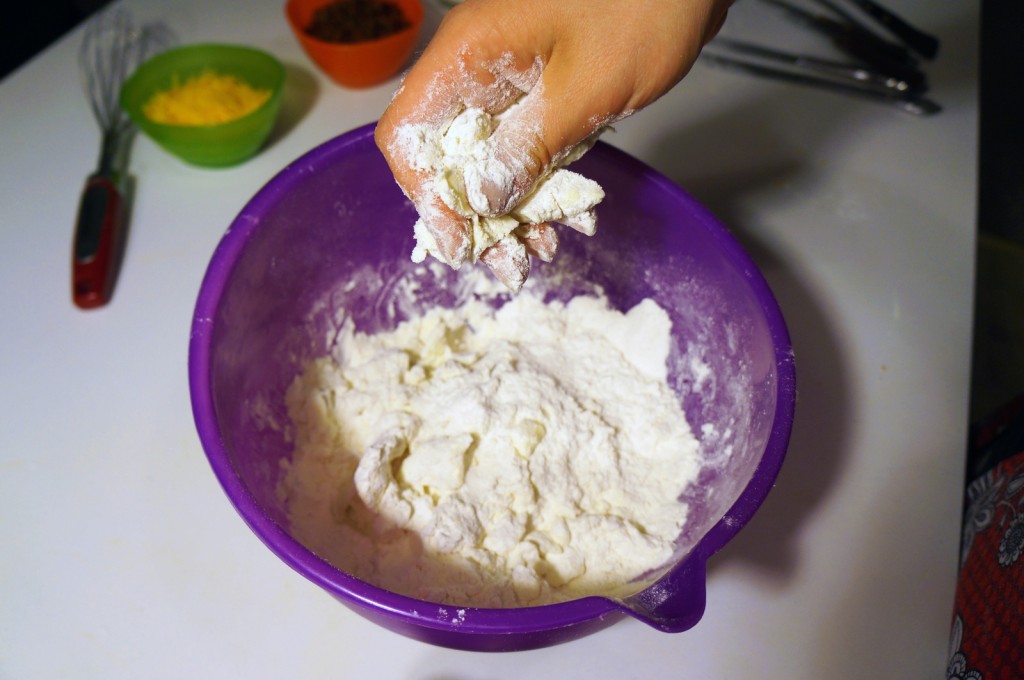
Photo by Mira Nguyen
TIP: use the Wolverine method: hold two-three knives in each hand between your fingers and cut the butter in. Not only will you feel awesome, you will also be more efficient (you might have to do some explaining to your roommates, though…).
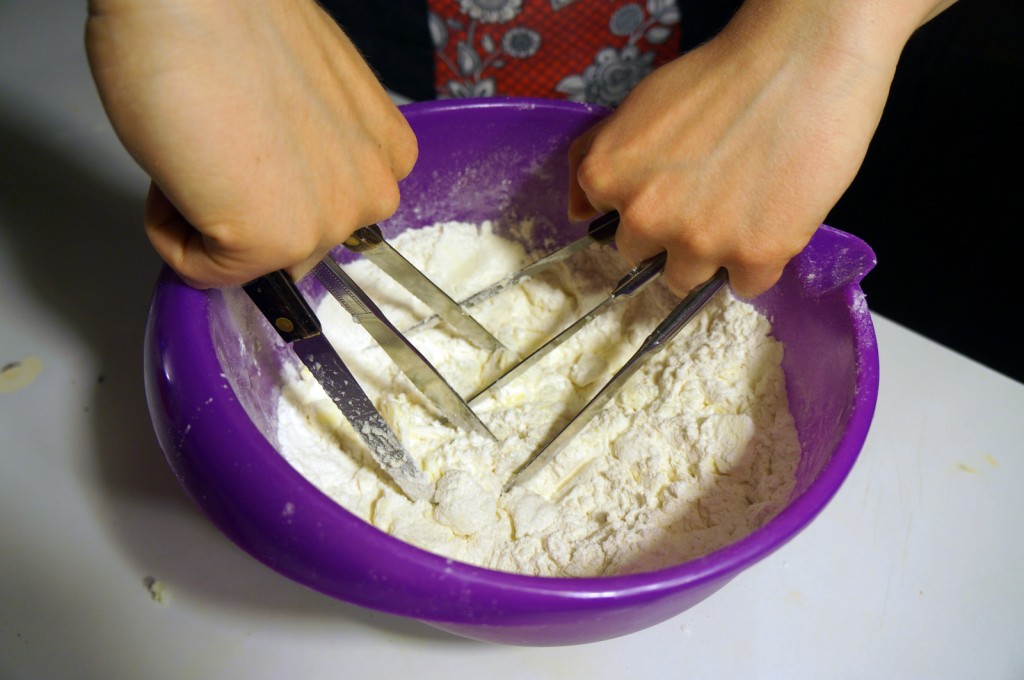
Photo by Mira Nguyen
The final product should look like this:
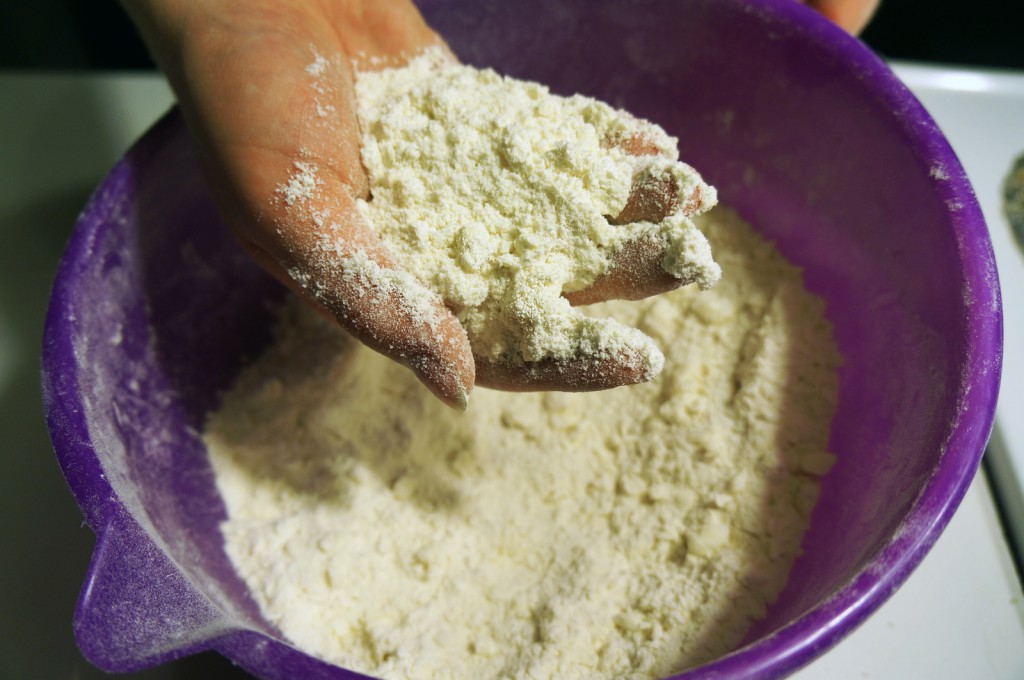
Photo by Mira Nguyen
5. Add buttermilk, bacon and cheese and mix until dry ingredients are moistened (aka until there are no pockets of floury stuff in the dough).
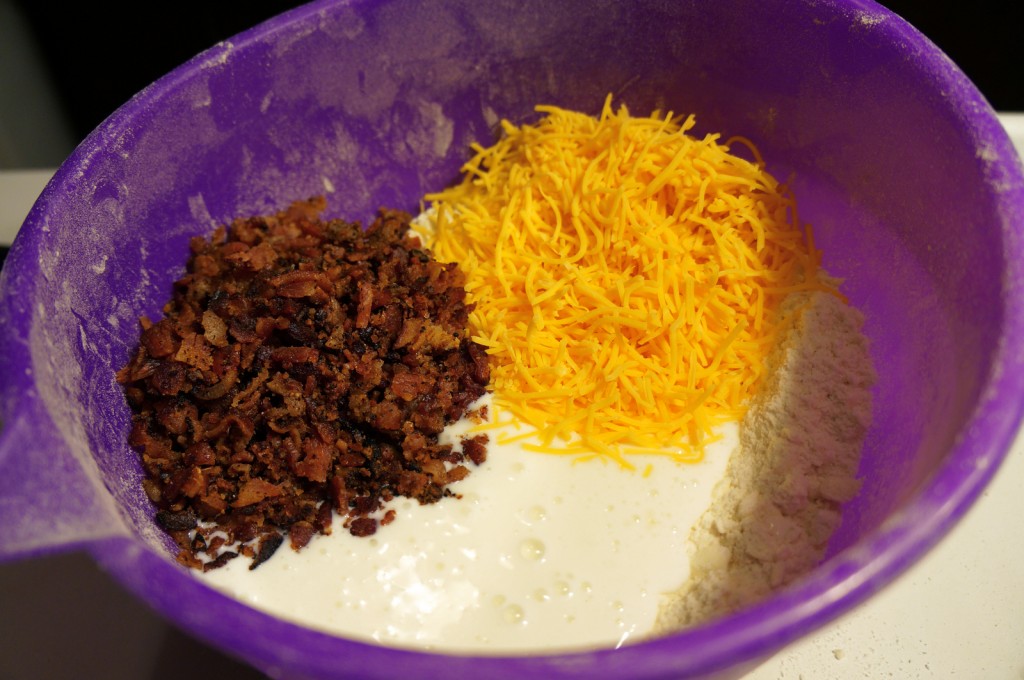
Photo by Mira Nguyen
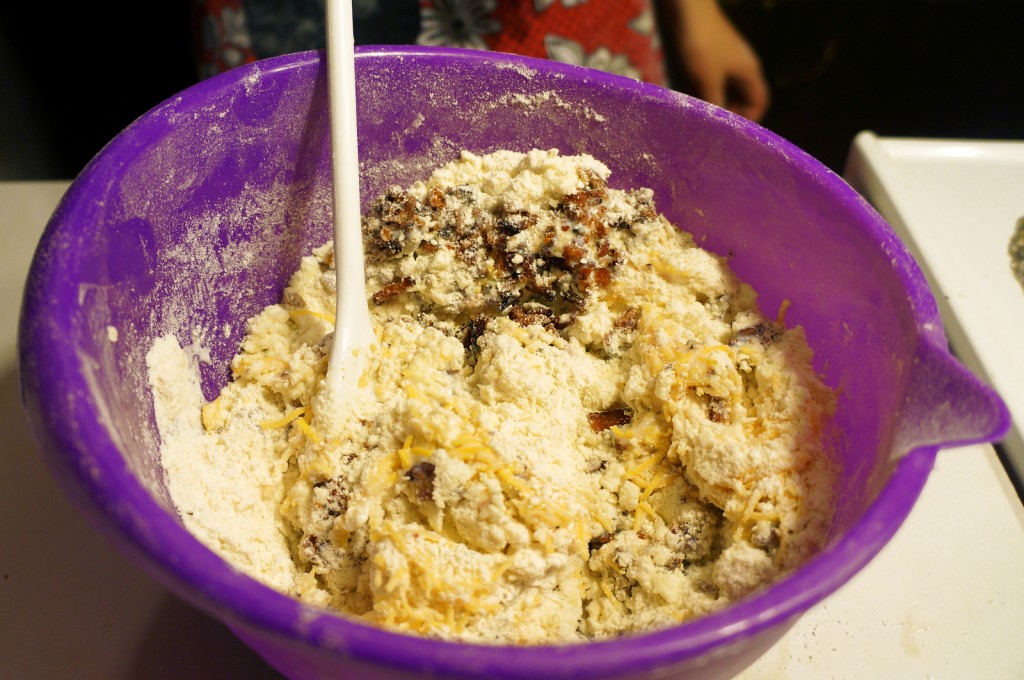
Photo by Mira Nguyen
6. Gather the dough into a ball and press so it holds together. (TIP: if it’s too sticky, add more flour. If it’s too crumbly, add more milk.)
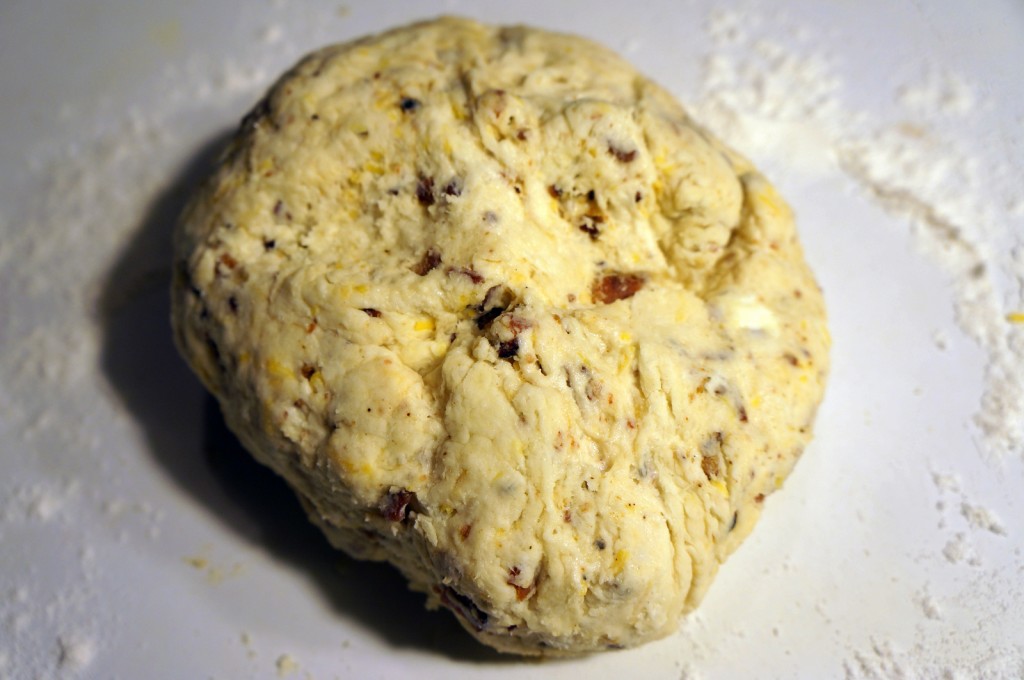
Photo by Mira Nguyen
7. Turn out onto lightly floured surface and knead 12 times, then cut in half.
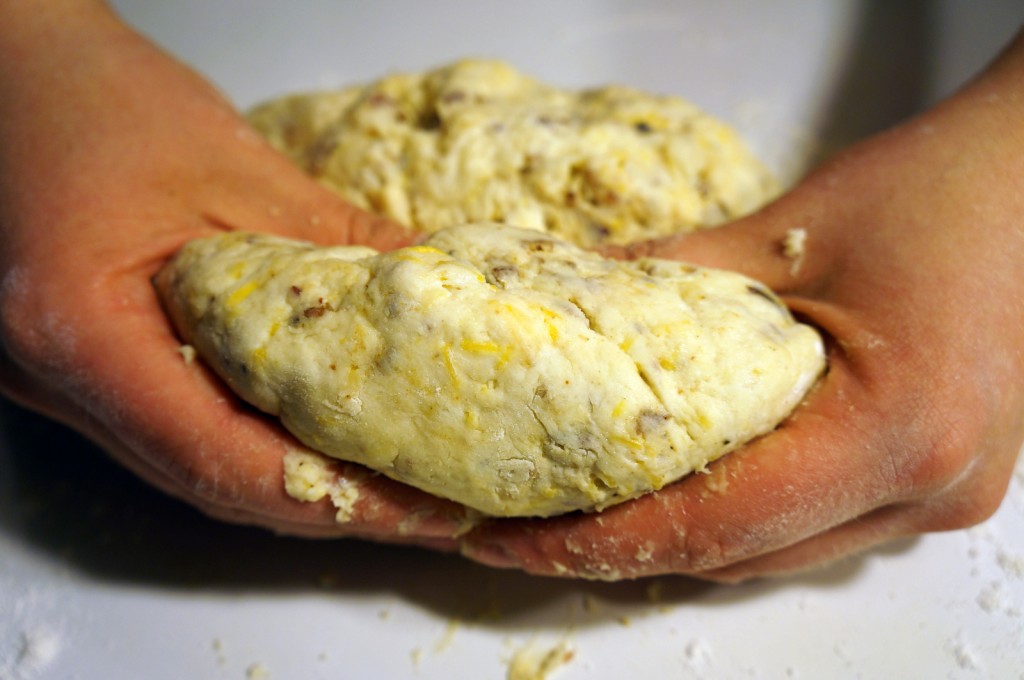
Photo by Mira Nguyen
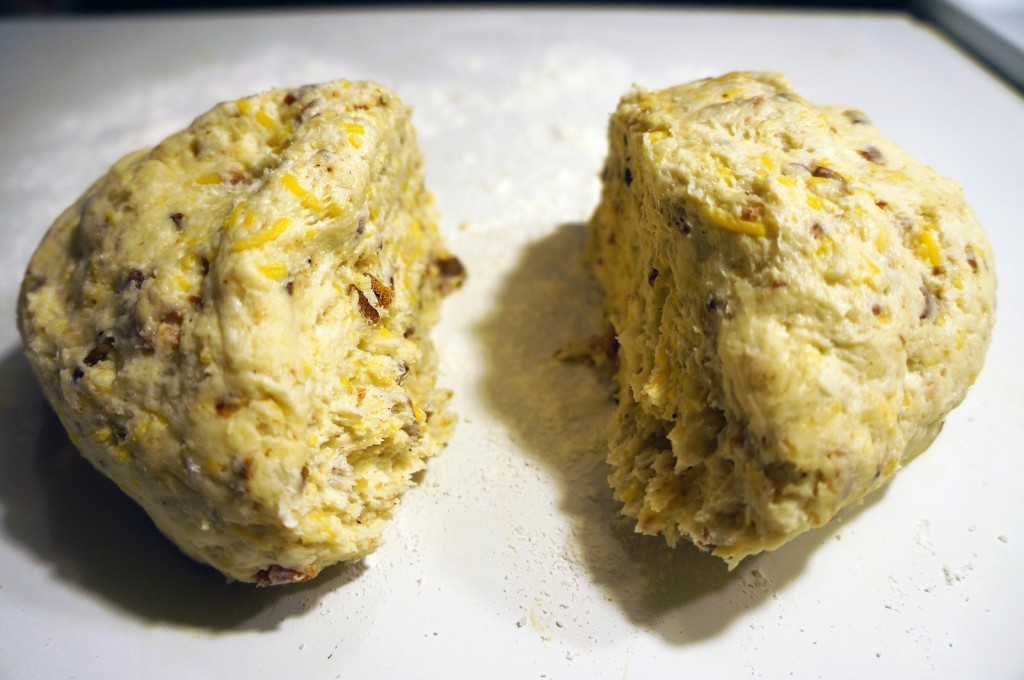
Photo by Mira Nguyen
8. Pat each half into a circle about 1/2-3/4 inch thick (about as thick as your finger).
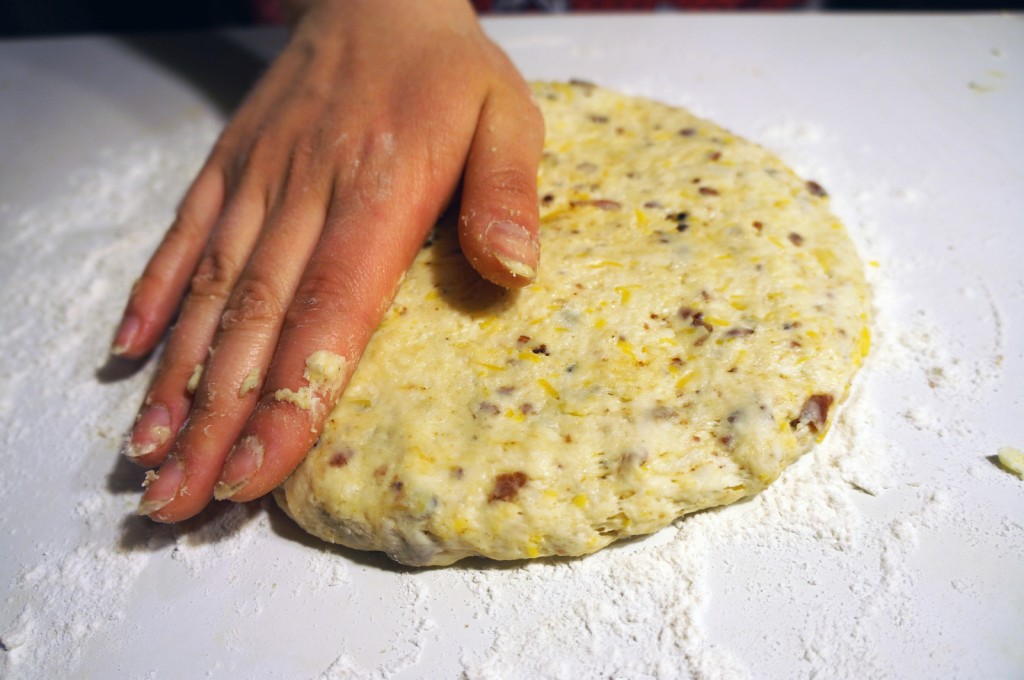
Photo by Mira Nguyen
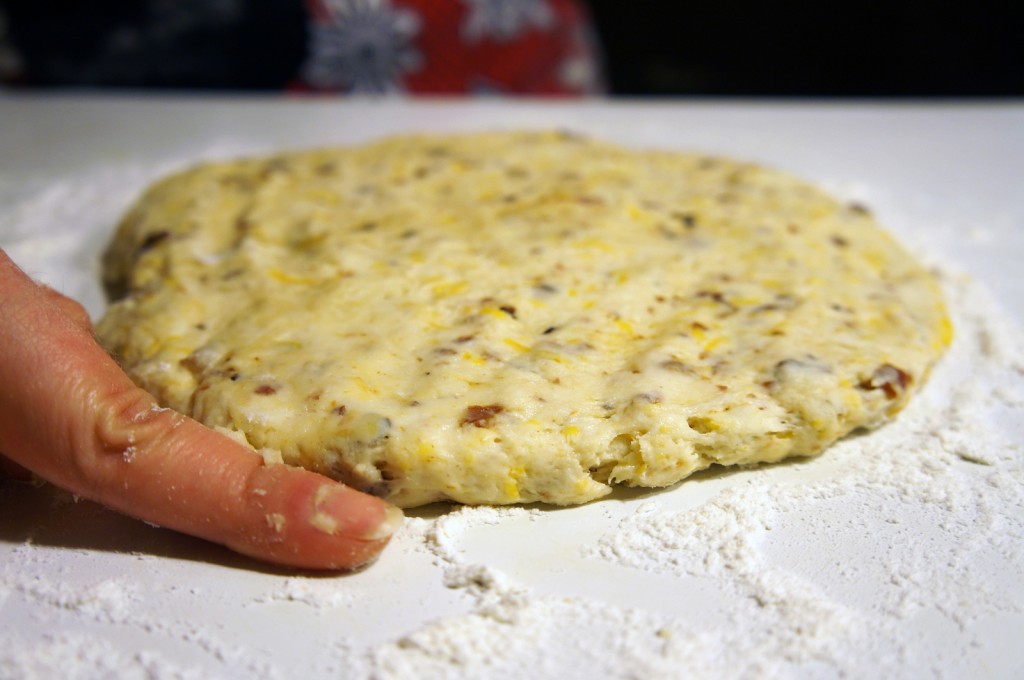
Photo by Mira Nguyen
9. Brush with milk using your fingertips and sprinkle with cheese. Add some ground pepper on top for an extra kick.
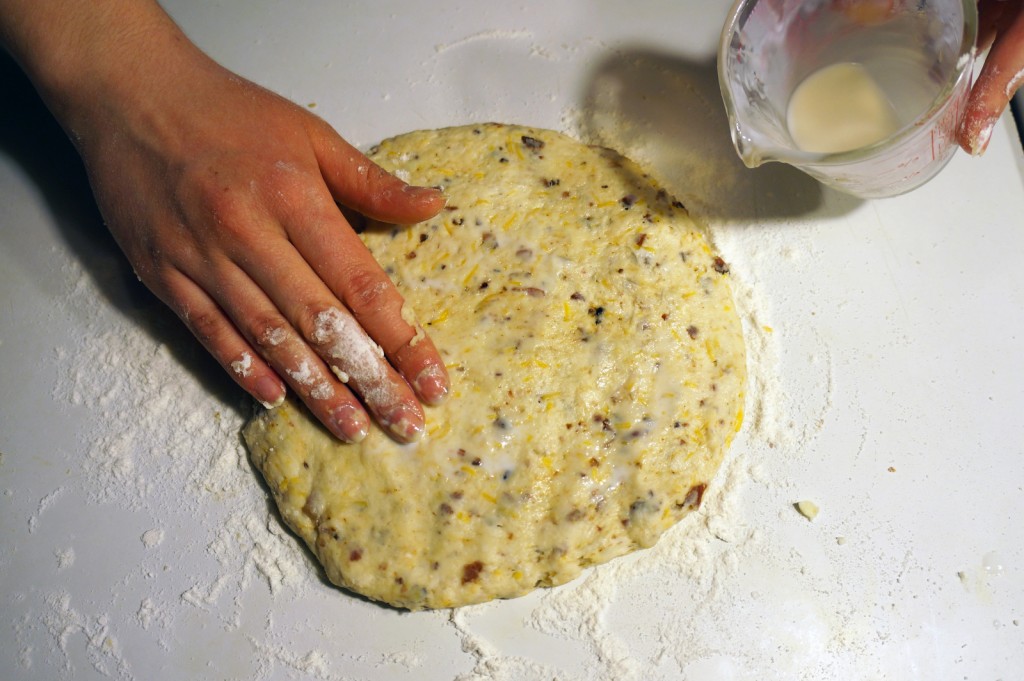
Photo by Mira Nguyen
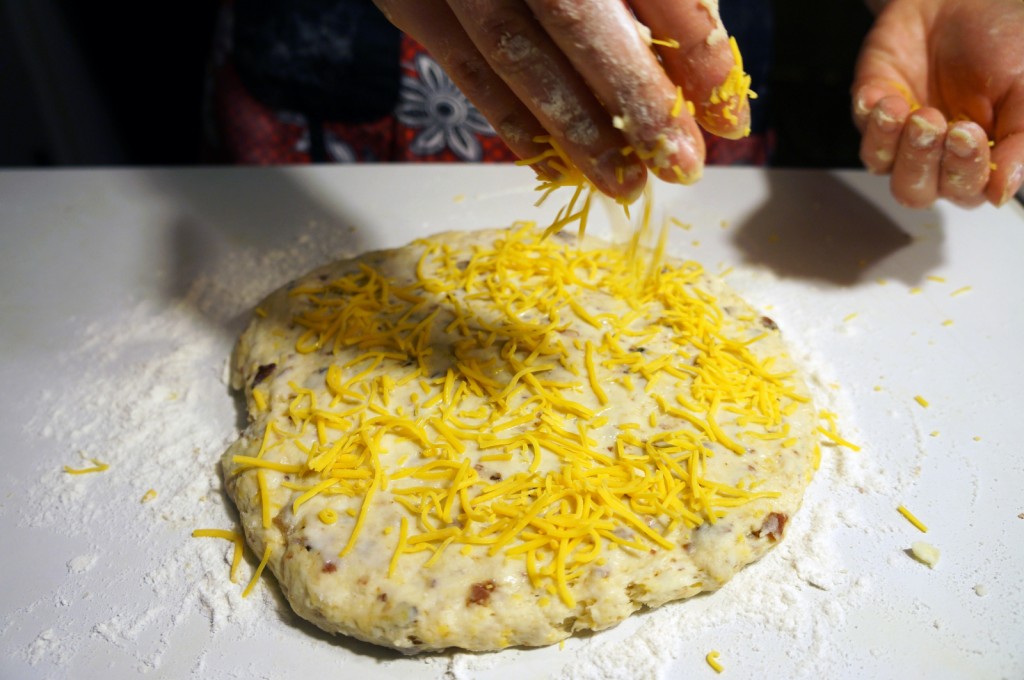
Photo by Mira Nguyen
10. Using a pizza cutter or a knife, cut each circle into eight triangles.

Photo by Mira Nguyen

Photo by Mira Nguyen
11. Place on ungreased baking sheet and bake for 12-15 minutes, until the tops are lightly browned.
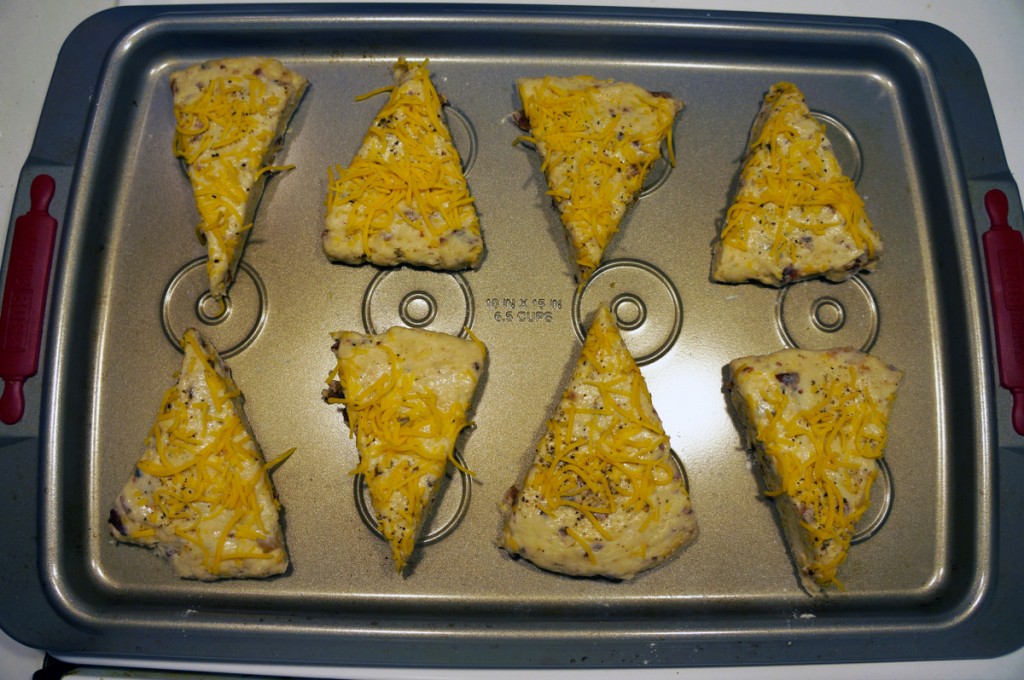
Photo by Mira Nguyen

Photo by Mira Nguyen

Photo by Mira Nguyen
Recipe adapted from The Fannie Farmer Cookbook by Marion Cunningham

