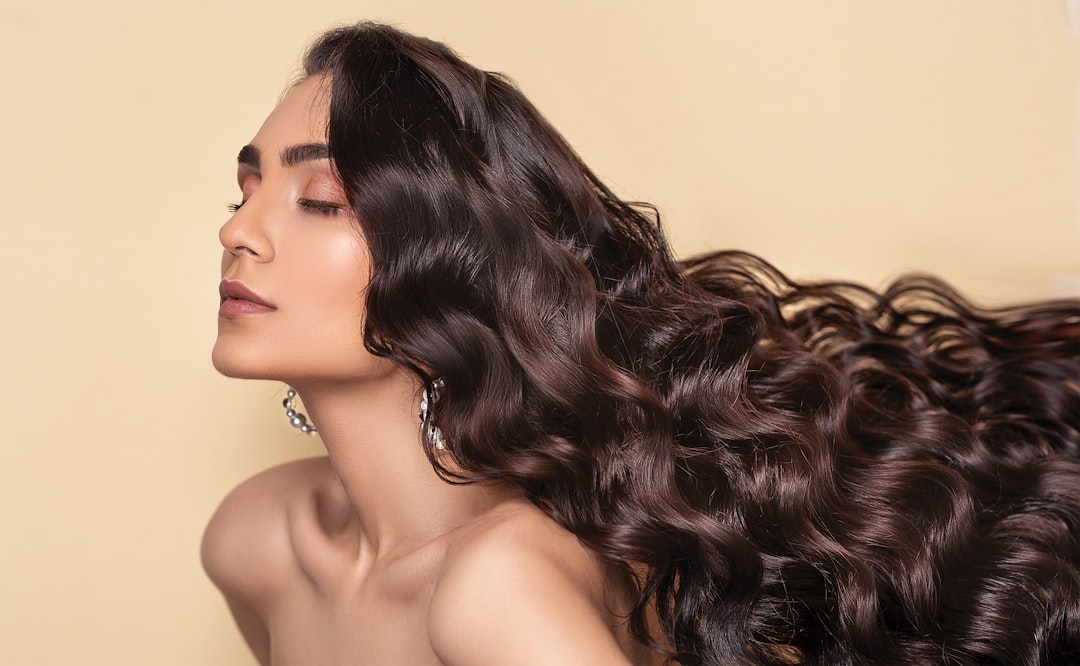
So you’re probably in the same boat I was in: I wanted to change my hair color, but I was afraid of the commitment. What if I don’t like it? What if it comes out looking really bad? What if I waste my precious time and money dying my hair, only to have it come out looking nothing like I wanted it to? All these questions kept running through my head. So I knew I needed a temporary option…something that I could do easily and quickly at home that would last just long enough for me to see myself with darker hair for a few days. Just when I was about to give up, I found out about coffee hair dye. I was so excited to try it that I jumped right in! And of course, I had to document the entire process of how I dyed my hair naturally darker with coffee, so that you can try it too.
I wanted desperately to see what a darker hair color would look like on me. But the idea of spending tons of money, damaging my hair, and waisting my time for a potentially horrible outcome was not something I wanted to sign up for. So I tried those silly hair-color changing apps, but nothing really worked. I never was able to see the darker color live, and in person.
But the moment I found out I could dye my hair darker with a homemade coffee hair dye, I knew this was the chance I had been waiting for. I immediately checked my pantry for coffee grounds. Once I found it, I got to work right away making the dye. I was beyond excited. But at the same time, I doubted that it was possible. I mean, honestly, what are the chances that you can dye your hair with coffee? After trying out the coffee hair dye myself, it actually does work! And the results are surprisingly pretty great.
Steps to Dye Your Hair With Coffee
Step 1: Make Some Coffee…Really Strong Coffee
The only thing you’re going to need for this DIY, homemade coffee hair dye is, you guessed it, coffee. For the best results, you’re going to want to make this coffee really, really strong. As you can see in the video above, I did this by adding almost 2 cups of coffee grounds and about 4 cups of water to a pot and letting it simmer for several hours. However, this isn’t necessary. You can make regular cups of coffee and use that. But a stronger cup of coffee hair dye will help you achieve a darker coffee-tinted look.
Step 2: Soak Your Hair in Coffee
Once you have your coffee hair dye, now it’s time to soak your hair in it. The best place to do this is a large sink or bathtub. Otherwise, you’re likely going to make a bit of a coffee mess like I did in my attempt. Also, make sure you coat your hair in the coffee hair dye completely. This will help to make sure you don’t have any uncolored spots left at the end.
Step 3: Wait 1 Hour. Then Rinse in Cold Water
Now that your hair is completely covered in coffee, it’s time to wait. You’ll want to wait at least an hour for the best results. This will give the coffee enough time to temporarily dye your hair darker.
When the time’s up, hit the shower. But here’s an important note: rinse your hair quickly without shampoo and only in cold water. You just want to wash away most of the coffee from your hair. As you can see in the video above, when I dyed my hair with coffee, I made sure to rinse until a very light brown color was running out from my hair. Then I squeezed out the cold water and blow-dried my hair.
And that’s it! Now you have naturally coffee-tinted hair! The process can be a little messy, but if you follow the simple steps above, you’ll see that it’s super easy. Not to mention that it’s so much fun to change up your look. Also the fact that it’s a temporary color, makes it free from the commitment of a permanent color. This way you can experiment with a darker hair color and see how you like it. I will say that my only complaint is the coffee smell. I smelled like a thousand coffee shops for days after I dyed my hair with coffee. So make sure you choose a coffee brew you really enjoy the smell of. Chances are that the coffee smell will last at least as long as the darker hair dye does.
To keep the coffee color intact for longer, make sure to wash your hair as little as possible. And when you do wash your hair, make sure you only wash with cold water.
Enjoy the new look!
If you’d like to try a natural and temporary RED color next, check out the article below:


