Two-ingredient jam. Easiest. Thing. Ever. I know, I know, you’re thinking it can’t be that simple, but alas, it is. This jam is the easiest way to make use of seasonal berries and have the freshest jam on hand at all times, so cross store-bought jam off of your grocery list. Put on your Pinterest hats because we’re about to kick up your condiment shelf more than a few notches.
I can think of about a million reasons to make this jam—birthday gifts, Mother’s Day gifts, “I think you’re really cute” gifts, happy spring gifts, the list goes on because homemade jam fits any and every occasion and will surprise and impress whoever you make it for. Or you can always keep it for yourself of course, but hey why not spread the jam lovin’? This recipe features raspberries, but you can substitute whatever type of berries your little heart desires, or even do some mixing and matching.
Prep Time: 0
Cook Time: 1 hour
Total Time: 1 hour
Servings: 1 jar
Ingredients:
2 cups raspberries (fresh or thawed from frozen)
1 cup sugar
1 mason jar
*Rule of thumb for jam-making: the amount of sugar you add always starts as half the amount of berries, you can add more for sweeter jams or if the jam isn’t turning into a gel form.
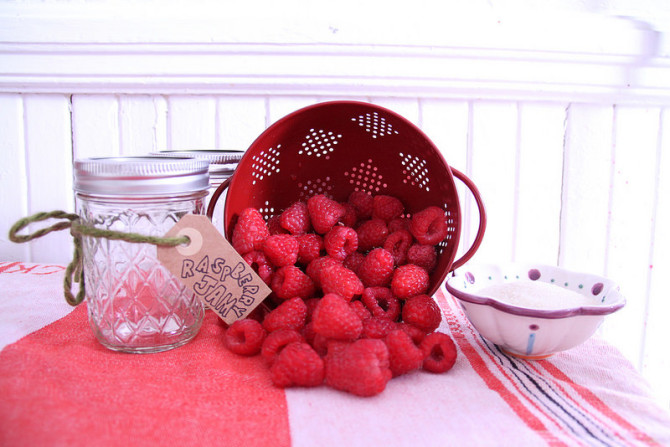
Photo by Sarah Silbiger
Directions:
1. Put washed berries in a pot on medium heat, mash berries a bit so their juices come out. Cook berries at a steady boil until they have a fairly uniform consistency.
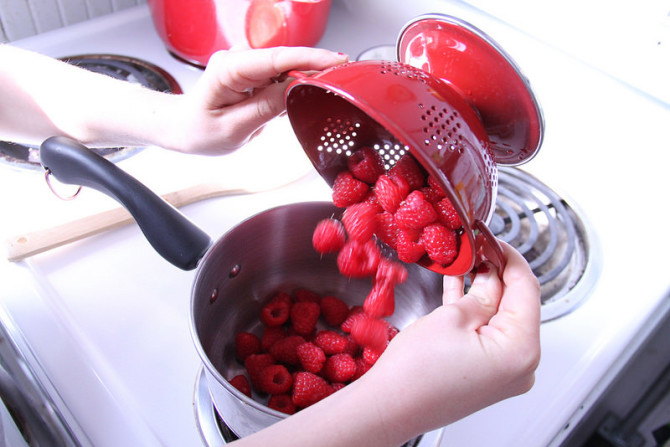
Photo by Sarah Silbiger
2. Sprinkle and stir in the sugar, do this slowly to make sure it isn’t crystalizing on the sides of the pot.
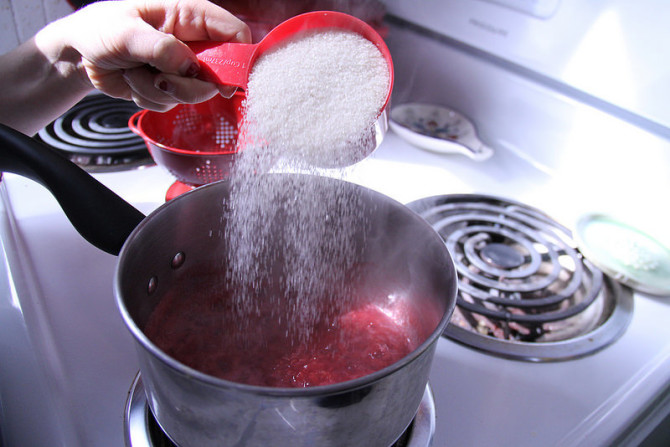
Photo by Sarah Silbiger
3. Cook the mixture together, the berries should continue to release their juices. It’s ready when the mixture has reduced by ¼ of its original volume and drips slowly off the spoon (about 30-40 minutes).
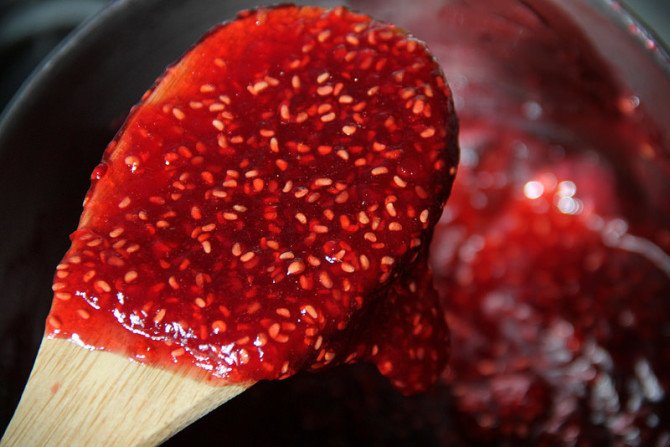
Photo by Sarah Silbiger
4. Let cool for around 15 minutes then spoon into sanitized jars (to sanitize jars, boil jar and lid). Refrigerate.
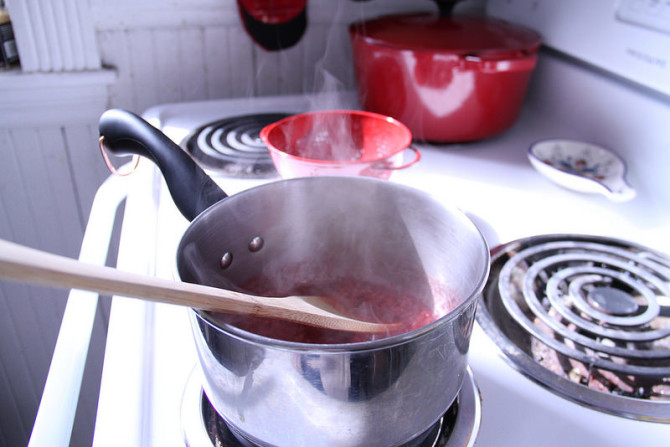
Photo by Sarah Silbiger
5. Give yourself a pat on the back, because you just made some seriously delicious homemade jam. Proceed to top everything with jam.
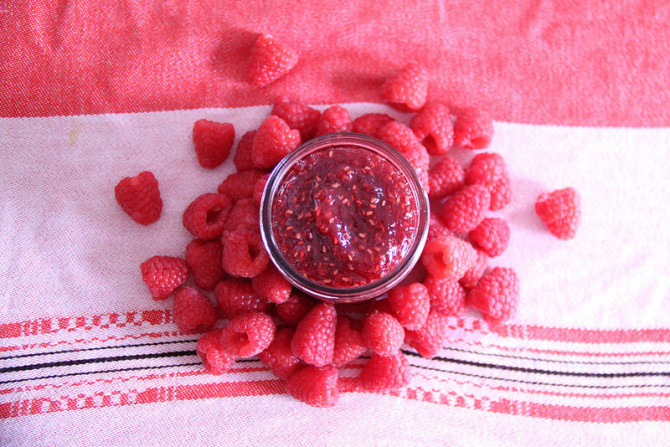
Photo by Sarah Silbiger
To add some extra kitsch to your jams make some super cute labels out of cardboard and ribbon or anything you have lying around, get creative!
For more spreadable goodness, check these out:

