A good granola bar is a true savior to stop an embarrassing stomach-grumbling moment in the middle of class. Despite being a convenient and surefire way to quiet a loud belly, at around $2 a bar, this midday snack can become a pricey habit. Moreover, store-bought granola bars are often made with a lot of added sugar to create candy bar-esque flavors. By making granola bars at home, you can choose simple ingredients and save cash without compromising on health or taste. All the ingredients that went into making these bars came out to about $15 at Whole Foods, so the cost of each bar was less than a dollar. The best part of this recipe is that you can change up the types of nuts, seeds and fruit to your liking. Variations of this recipe could include cashews, sunflower seeds, raisins, dried blueberries, shredded coconut or even dark chocolate chunks (just add them in at the same time as the dried fruit so that they don’t melt too much).
Prep Time: 10 minutes
Cook Time: 40 minutes
Chill Time: 30 minutes
Total time: 1 hour 20 minutes
Servings: 18 bars
Ingredients:
2 cups rolled oats
3 large, very ripe bananas
1 tablespoon agave nectar or honey
1/2 teaspoon vanilla extract
1 cup almond or peanut butter
1 cup nuts or seeds
1/2 cup dried fruit
1/2 teaspoon ground cinnamon
Salt to taste
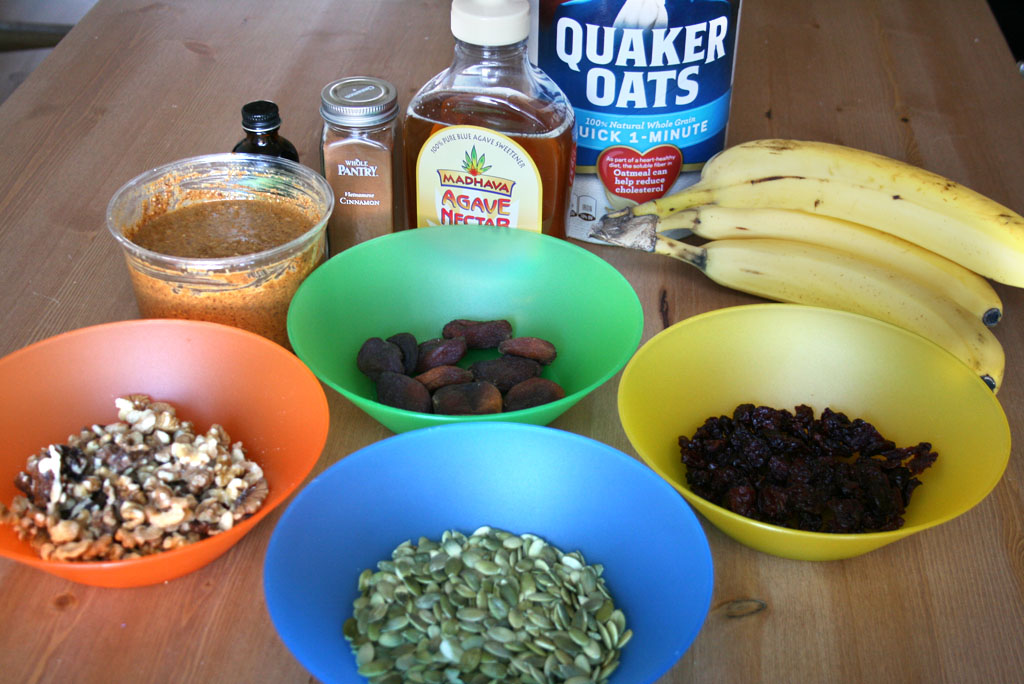
Photo by Alex Tom
Directions:
1. Preheat oven to 350˚F.
2. Spread oats and nuts on a baking sheet. If you’re using larger nuts, such as walnuts, you may want to chop them into smaller pieces.
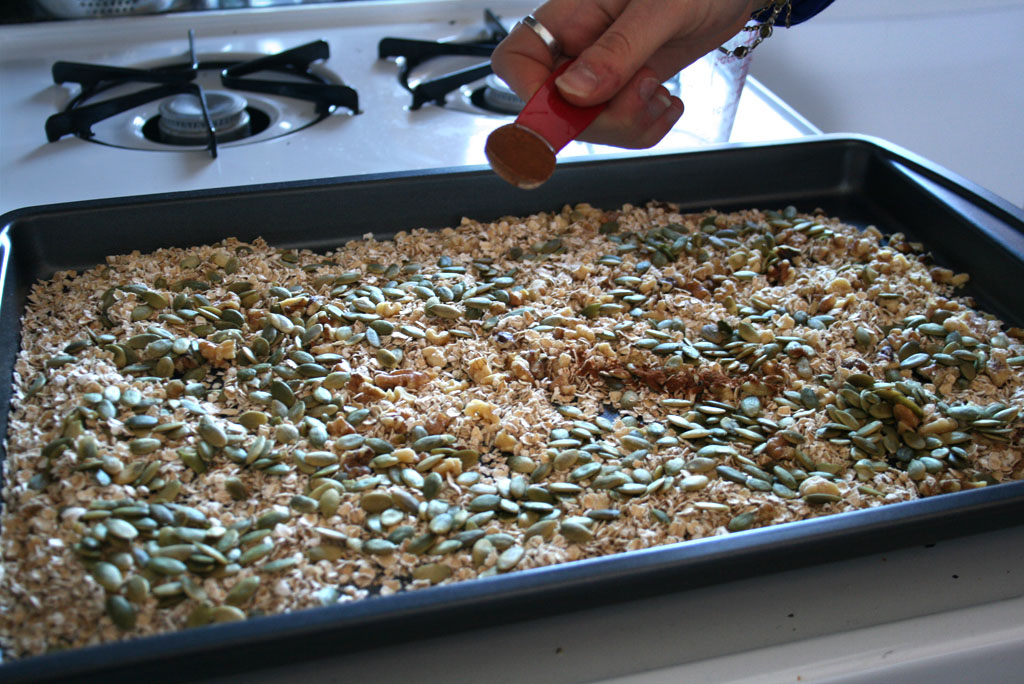
Photo by Alex Tom
3. Add cinnamon and salt and stir everything together to coat.
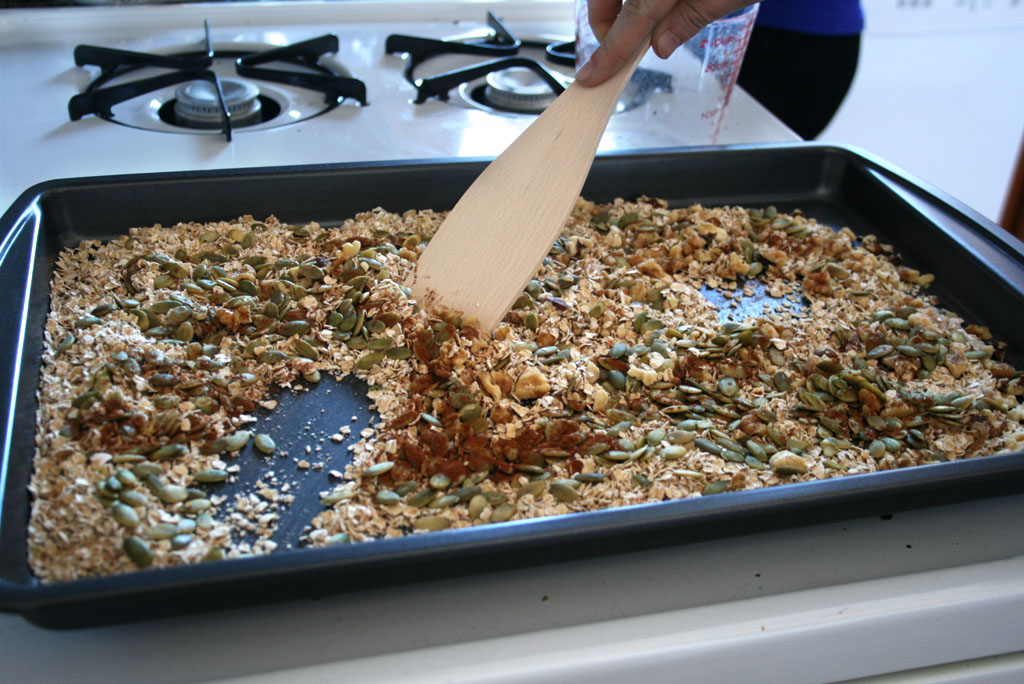
Photo by Alex Tom
4. Place baking sheet in the oven and bake for 10 minutes, stirring frequently (every 3-4 minutes) to prevent burning at the edges.
5. Meanwhile, mash bananas with a fork.
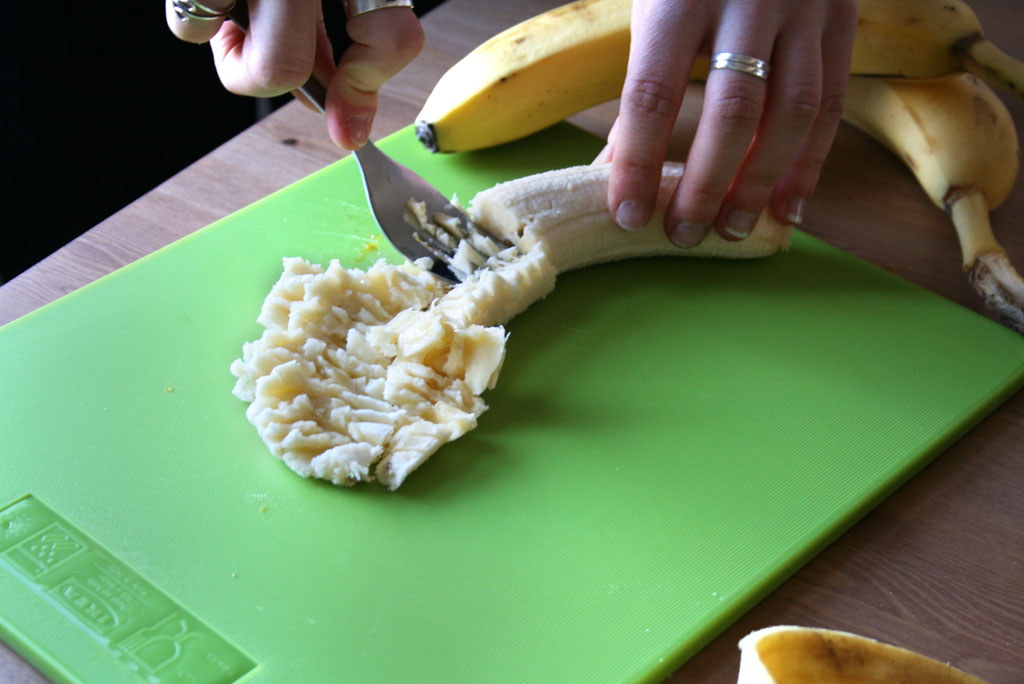
Photo by Alex Tom
6. In a small saucepan over medium-low heat, combine the mashed bananas, nut butter, vanilla and agave or honey. Stir mixture for a few minutes until it is fully combined and warm, about 5 minutes.
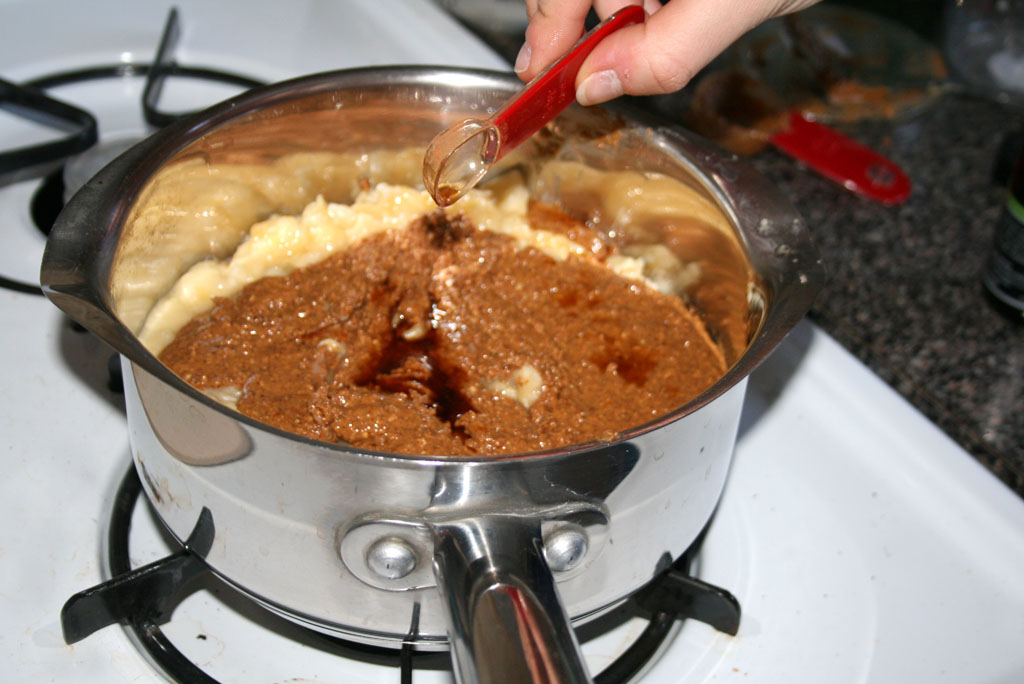
Photo by Alex Tom
7. In a large bowl combine the banana mixture with the toasted oats and nuts.
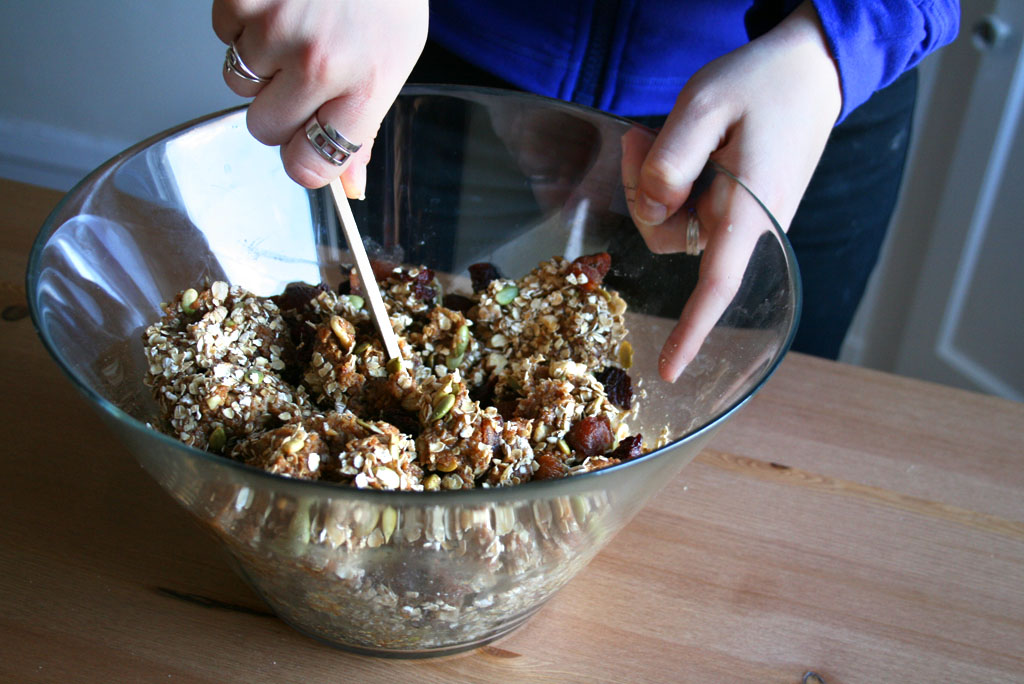
Photo by Alex Tom
7. Stir in the dried fruit. If you are using larger pieces of fruit, such as dried apricots, cut them into smaller pieces about the size of raisins.
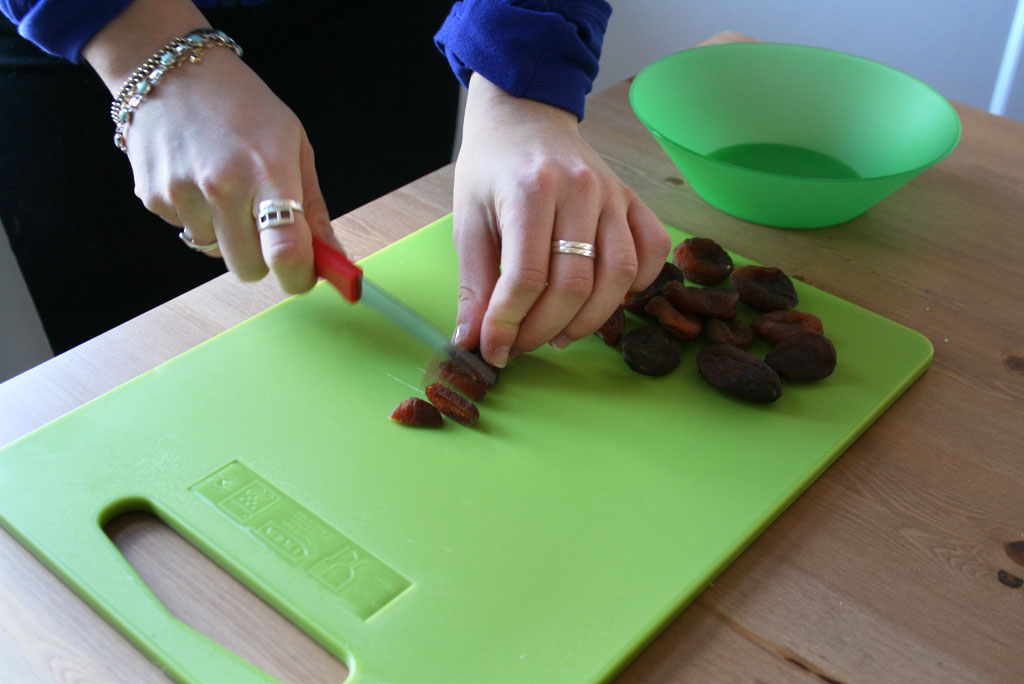
Photo by Alex Tom
8. Line a baking sheet with parchment paper. Leave an inch hanging over each side of the pan to use as handles for easy removal of the bars after baking.
Tip: The size of the baking sheet will determine how thick your bars turn out. If you want thicker, chewier bars a smaller pan will work better. However, don’t pick a pan smaller than 8×8. For thinner bars, a shallow cookie sheet with 1 inch sides works great.
9. Pour the mixture into the pan. Use a spatula to spread out and flatten the mixture evenly. Don’t worry if the mixture doesn’t reach every end of the pan, especially if you’re using a large cookie sheet.
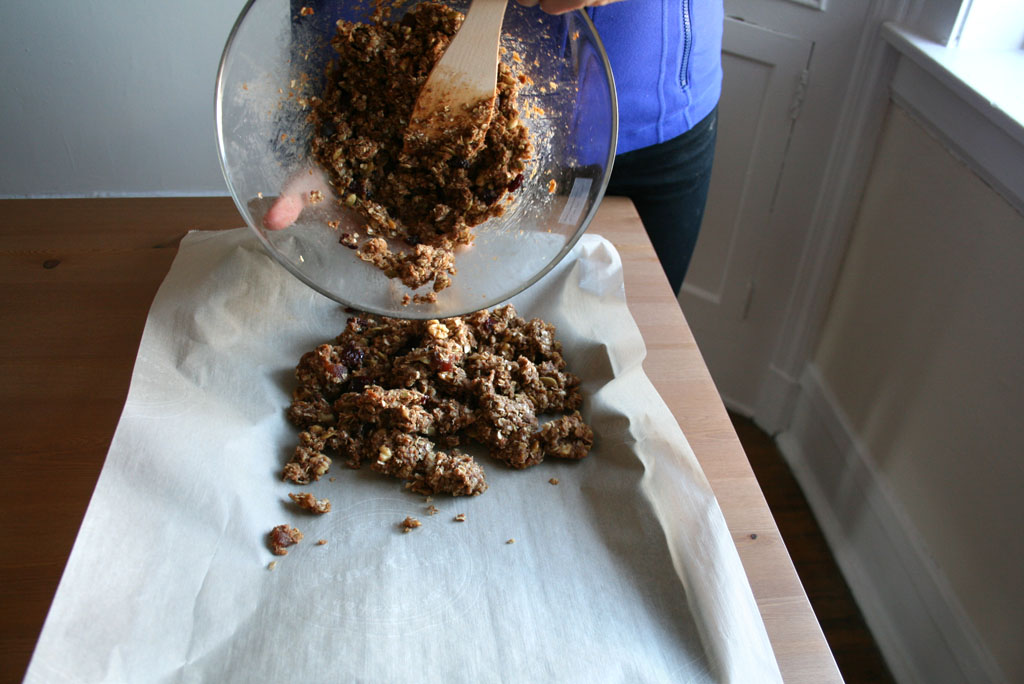
Photo by Alex Tom
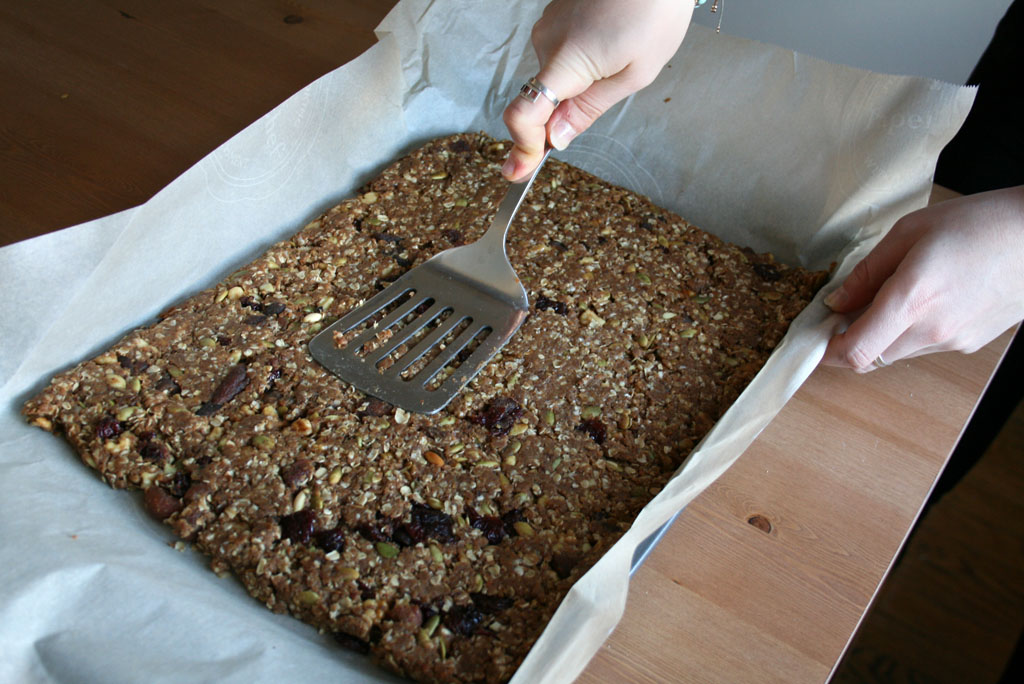
Photo by Alex Tom
10. Bake for 25 minutes, or until the edges begin to brown.
11. Let cool then place pan in the refrigerator for 30 minutes.
12. Remove the bars from the pan using the parchment handles. Use a sharp knife to cut out individual bars. The size of the bars is up to you!
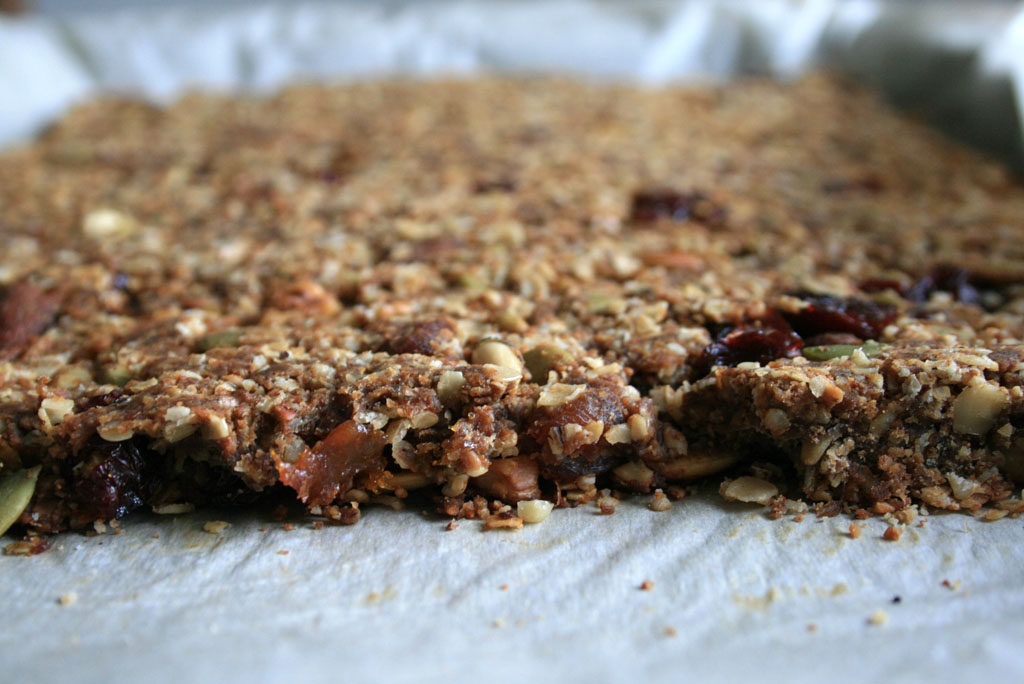
Photo by Alex Tom
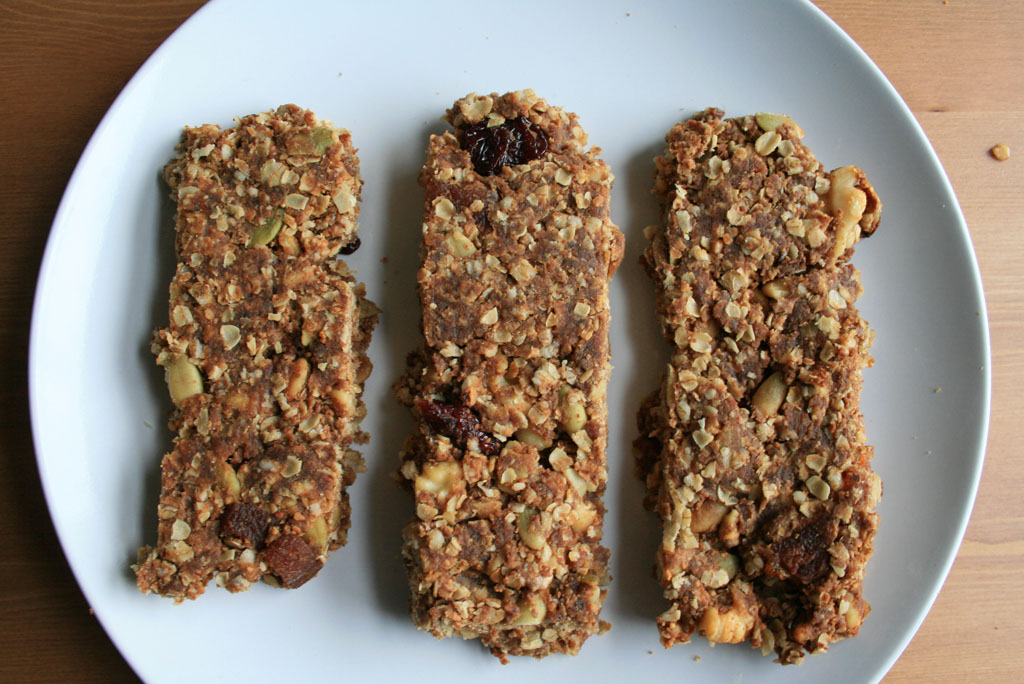
Photo by Alex Tom
Tip: To store, wrap the bars individually and store them in an airtight container at room temperature for up to a week.

