Back in the day, Cheez-Its were the quintessential lunchtime snack. Every day, come around noon, it wasn’t long before you and your friends rushed to get out your lunch boxes to unwrap the goodies your mom packed for that day. And among all the other snacks, Cheez-Its were the gold.
Now we’re all in college and lunch boxes are a thing of the past. But that doesn’t stop anyone from grabbing a box of Cheez-Its every now and then. It’s high time though we accept the grown-up life (…I guess), and the grown-up version of Cheez-Its along with it. These cheese straws are buttery, crisp and just a little spicy with a rich cheddar flavor. Perfect for a party snack or just casual munching. Make a lot; trust me, they run out fast.
Adapted from Smitten Kitchen
Prep Time: 5 minutes
Cook Time: 12 to 15 minutes
Total Time: 17 to 20 minutes
Ingredients:
1 1/2 cups (about 6 ounces) grated extra-sharp Cheddar cheese
4 tablespoons (1/2 stick or 2 ounces) unsalted butter, softened and cut into 4 pieces
3/4 cup flour, plus more for dusting
1/2 teaspoon kosher salt
1/2 teaspoon crushed red pepper flakes
1 tablespoon half-and-half (I used whipping cream)
Directions:
1. Preheat your oven to 350˚F.
2. Put the cheese, flour, butter, salt and red pepper flakes into a food processor (or a blender).
3. Combine the ingredients in five-second pulses until the mixture forms into coarse crumbs.
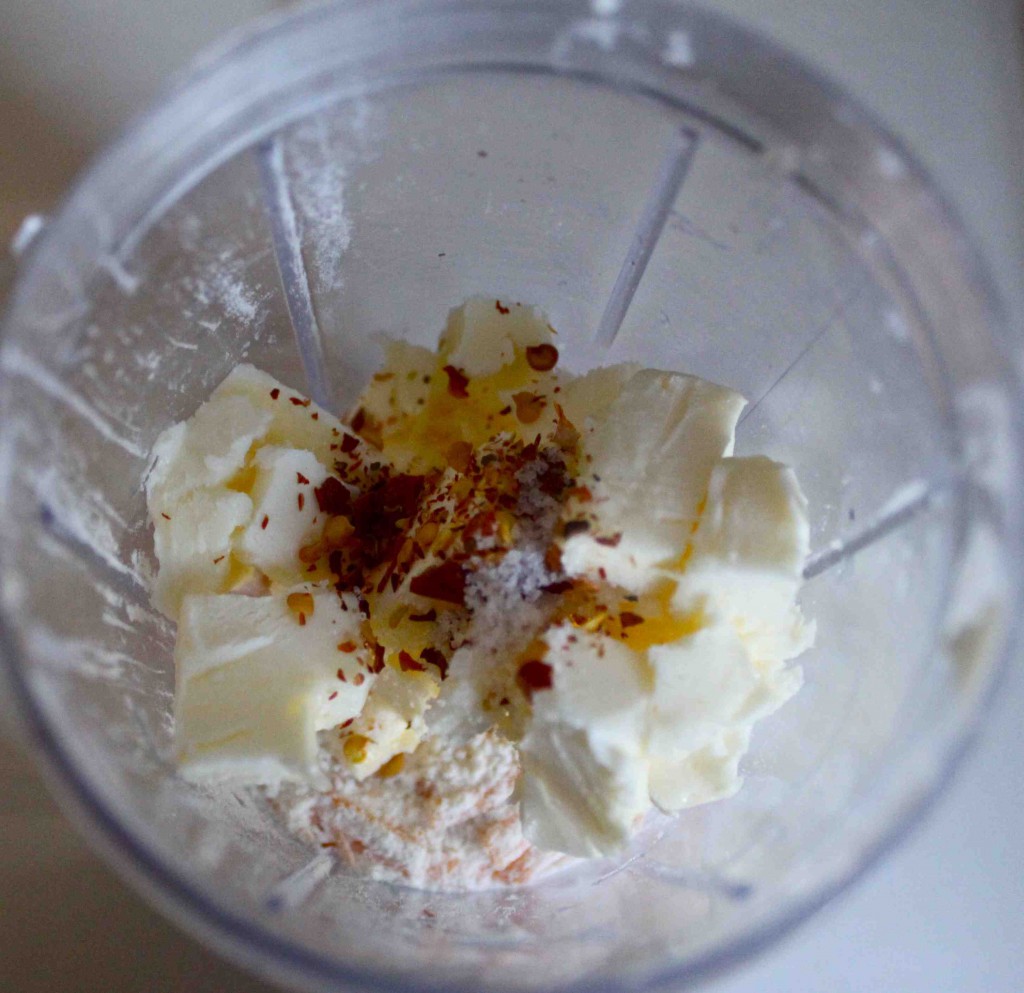
Photo by Christina Cala
4. Pour in the half-and-half and process until the mixture forms into a ball of dough.
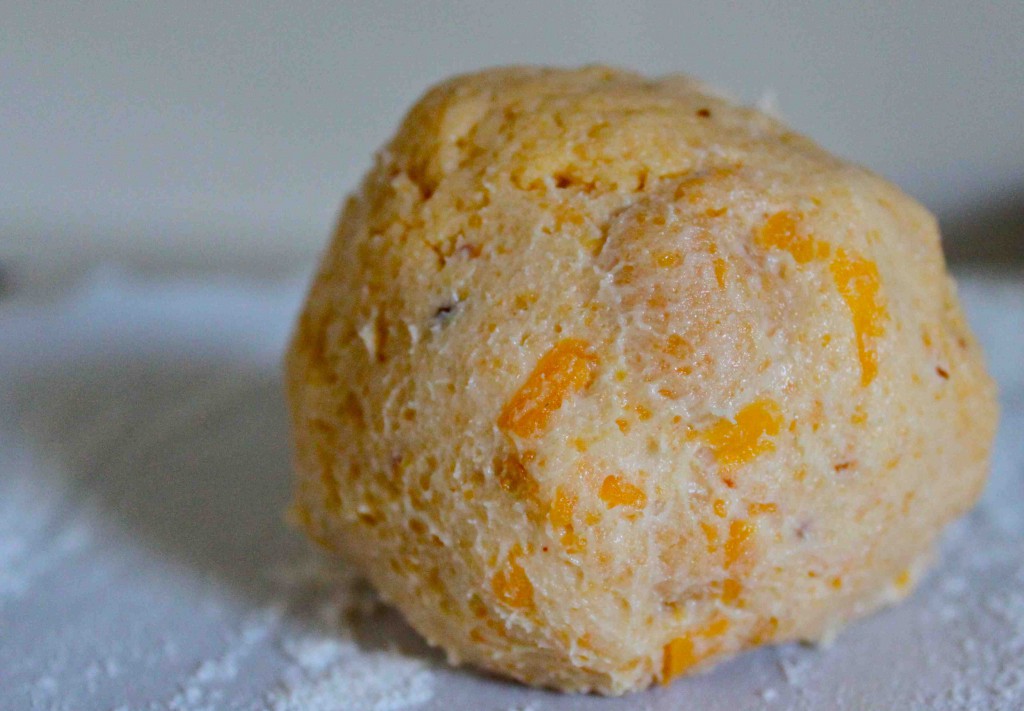
Photo by Christina Cala
5. Place the dough on a lightly floured surface and roll out into a 1/8 inch thick sheet with a lightly floured rolling pin. Ideally, it should resemble a rectangle but honestly, it doesn’t matter.
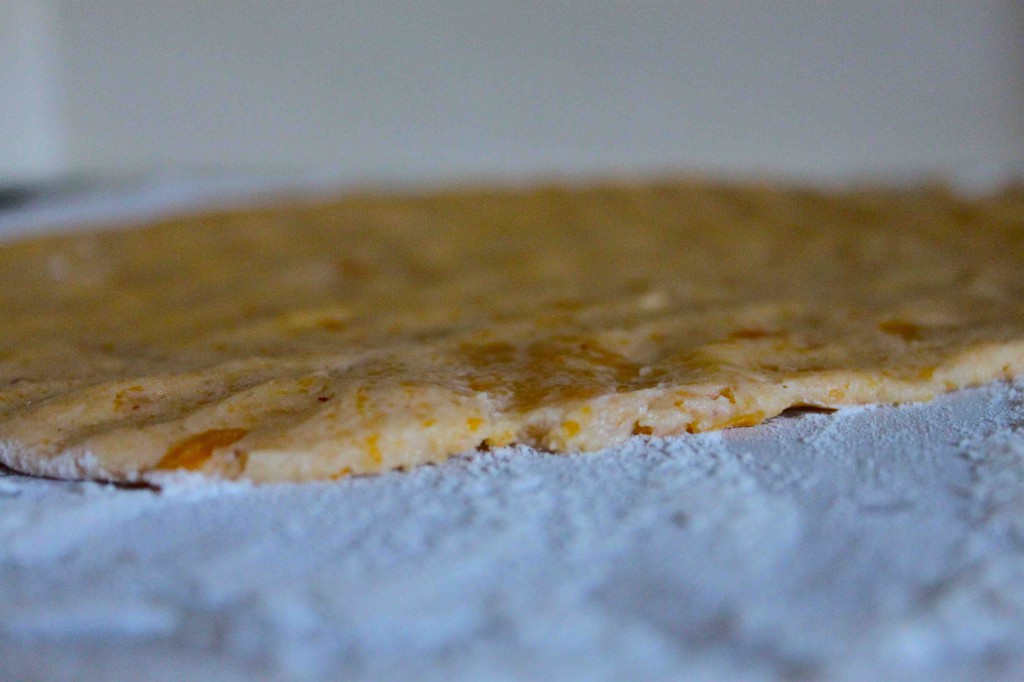
Photo by Christina Cala
6. Slice the dough into 1/3 inch wide strips. Dip the knife into some flour before each slice to ensure clean, non-sticky cuts.
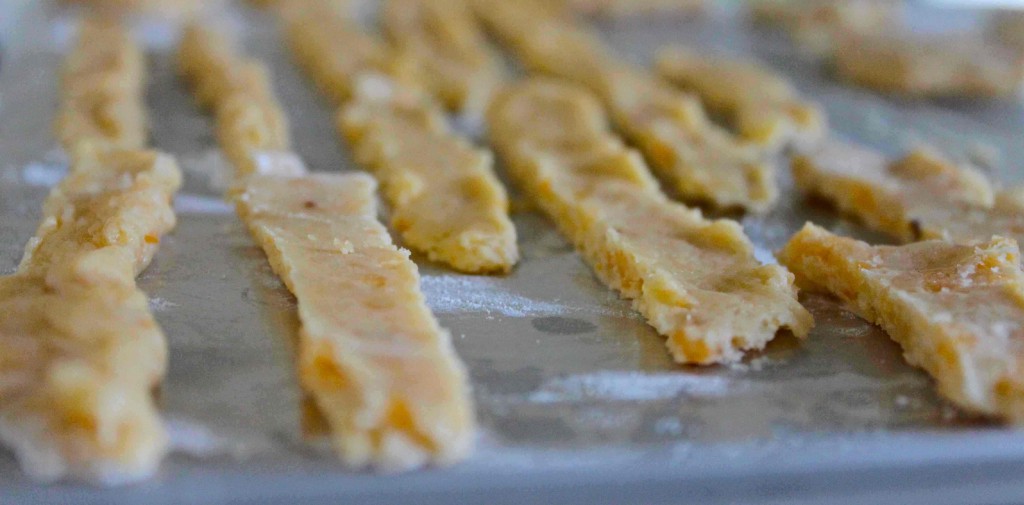
Photo by Christina Cala
7. Transfer the strips onto a cookie sheet lined with parchment paper. Be careful to support the dough as you transfer them. The long strips may break or pull apart if you don’t.
8. Bake for about 12 to 15 minutes or until the edges are just barely browned.
9. Serve at room temperature. And try not to eat them all yourself.
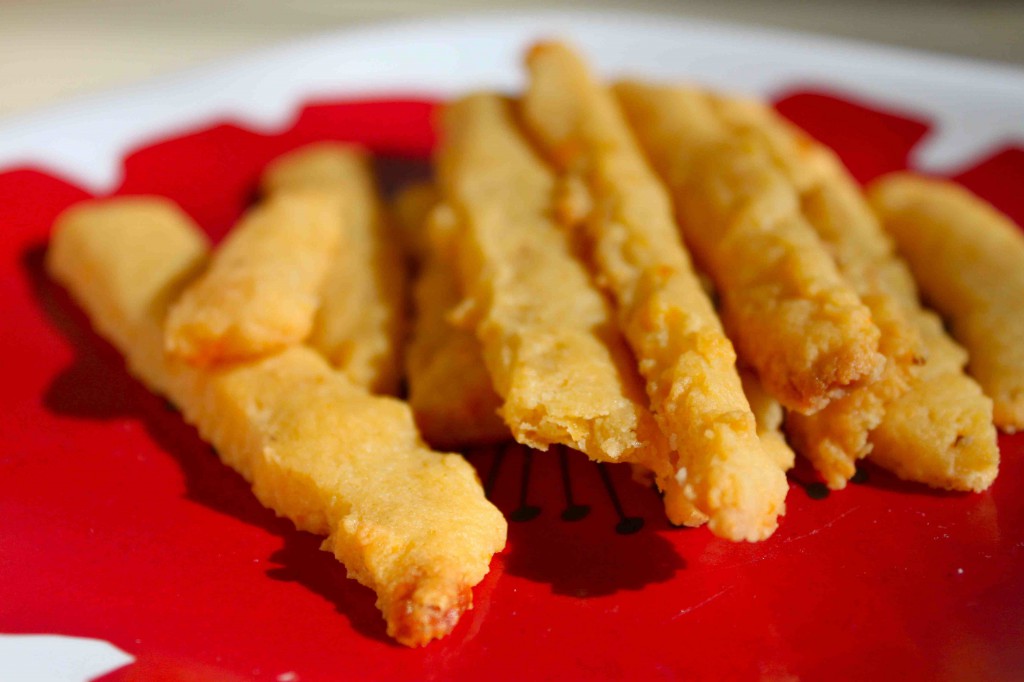
Photo by Christina Cala

