Growing up, my mom had a million different cookbooks and food magazines allover the house. I loved to flip through them, amazed by how delicious each picture looked. Yet, I could never seem to make anything that looked as good.
Fast forward a few years, and I found myself at a legitimate food photoshoot. We had a creative director, a photographer, a food stylist and two interns to help with lighting and the necessary clean-up that comes with food prep. To say I was excited is an understatement. I mean, the photographer had worked with Bon Appétit, and the recipes sounded incredible. However, the experience truly made me understand why I could never and will never achieve cookbook-worthy results with a recipe.
Here is what I learned about food photoshoots from watching one unfold, and some key tips and tricks of the food styling trade.
Know that none of the food will be edible.
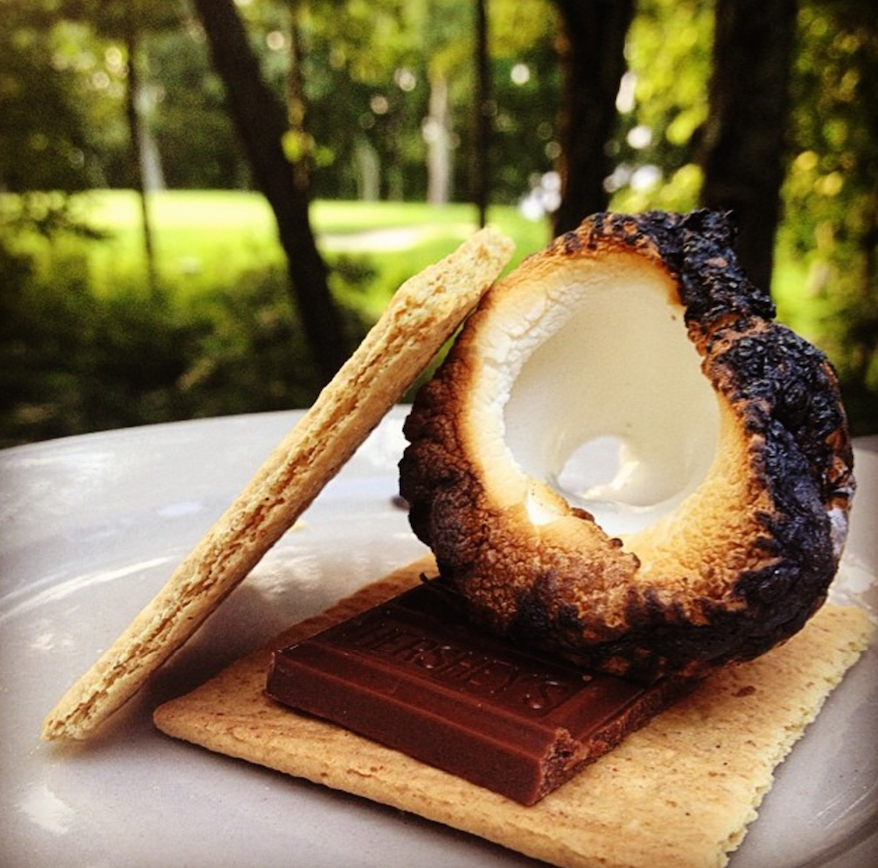
Photo by Abby Mainwaring
Remember when I said all the recipes sounded amazing? Well, after eight hours of non-stop food styling and photographing, I did not try a single bite of food. Not one bite.
The food stylist dabs, touches up, and primps the food, much as you would an actual model. She did this to the extent that espresso peanut butter s’mores were no longer appealing to me (and how freaking amazing do those sound?).
As disappointing as it was to not want to eat the food, some of the tricks she used were actually pretty cool.
Prep ahead of time.
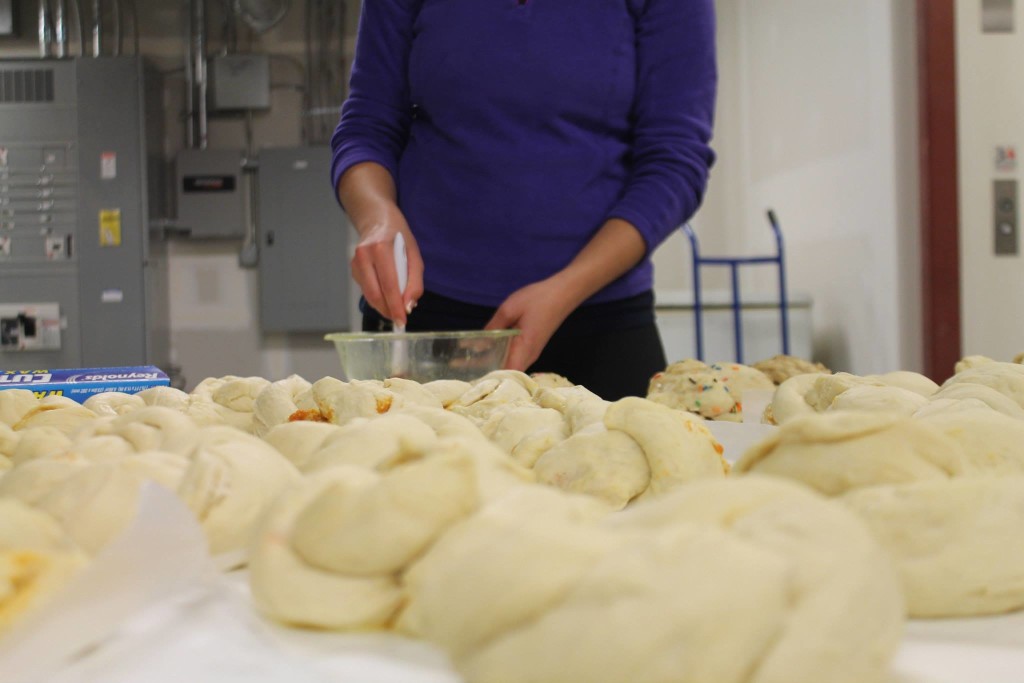
Photo courtesy of CFH at UVA on Facebook
Since no one is actually eating the food, making sure it tastes fresh and delicious is not of paramount importance during a photoshoot. Time is of the essence, especially when working with certain dishes and certain natural lighting. Prepping ahead of time can ease those pressures.
Use Pam.
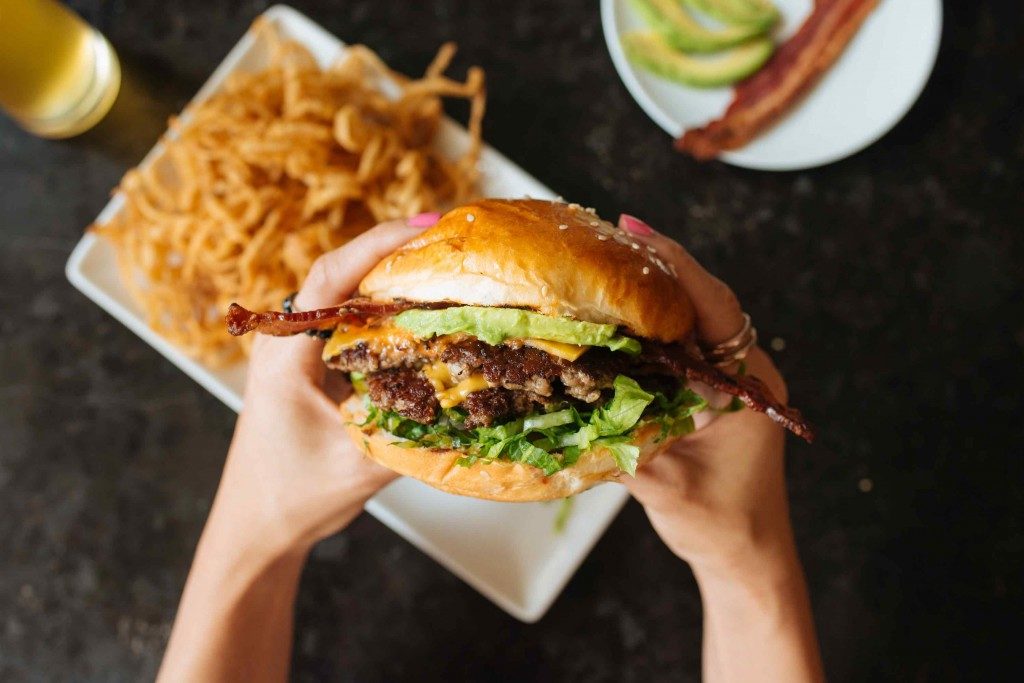
Photo by Melissa De Mata
Have you ever seen a really juicy looking piece of steak in a recipe? Well, it turns out one of the tricks of the trade is to add extra juices and substances that look like fat—such as Pam—to the steak or burger.
I’m not talking one little spray. I mean spraying that meat like you would for a super sticky recipe in a really deep pan. While it sounds pretty gross, the coloring and shiny quality of the Pam really do resemble the glistening juices of a well-cooked slab of beef.
Paintbrushes are essential.
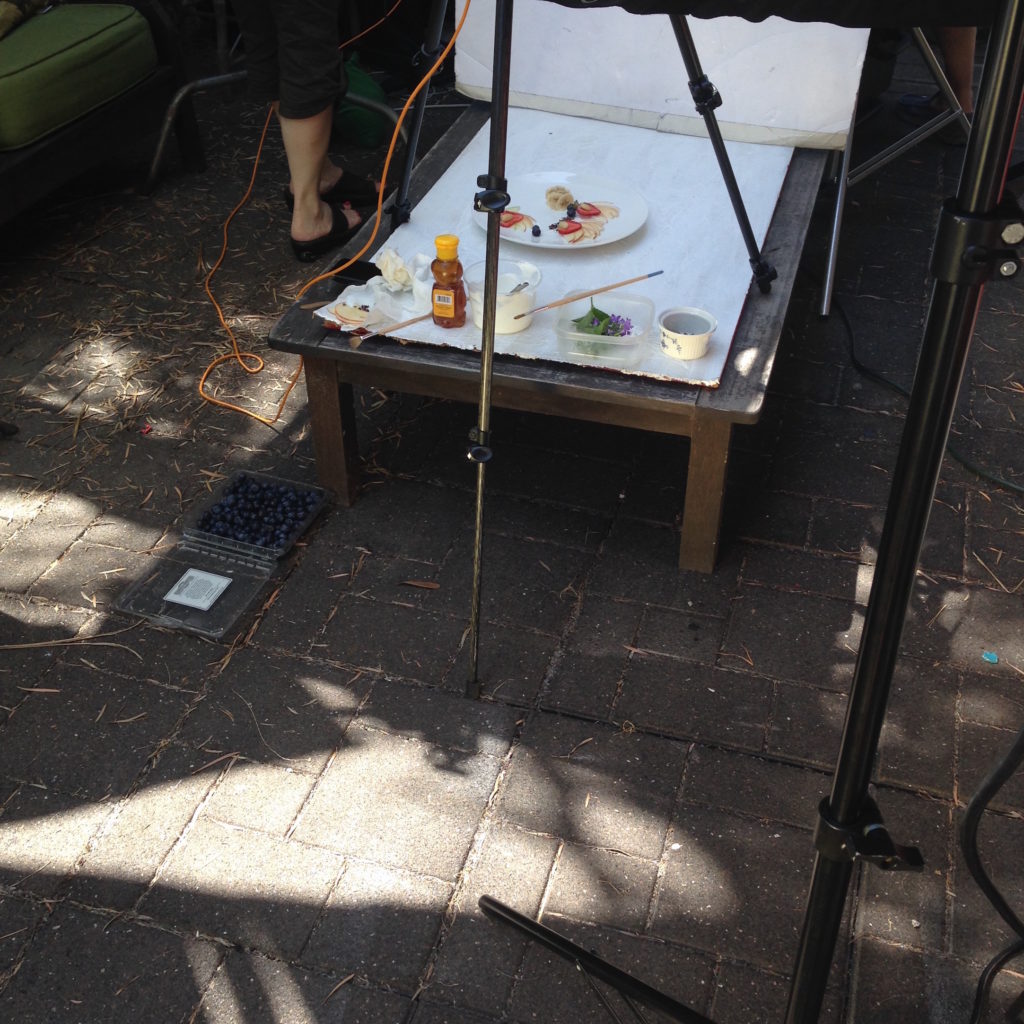
Photo by Kaely Egan
High quality food photos suspiciously lack crumbs and misplaced items. Most of that is thanks to paintbrushes that put tiny pieces of thyme or pinches of cocoa powder right into its intended spot. The rest is done in photoshop—like I said, similar to using human models.
Spritz bottles are a must-have.
Photo courtesy of imgflip.com
Another essential tool is a spritz bottle of water for close-ups of leafy greens or succulent strawberries. The smaller the nozzle the better because you need to aim well. You can’t risk having your crunchy chips get soggy when you spritz the lettuce and tomato sitting right next to it; that would just ruin the shot.
Take as many pictures as possible.
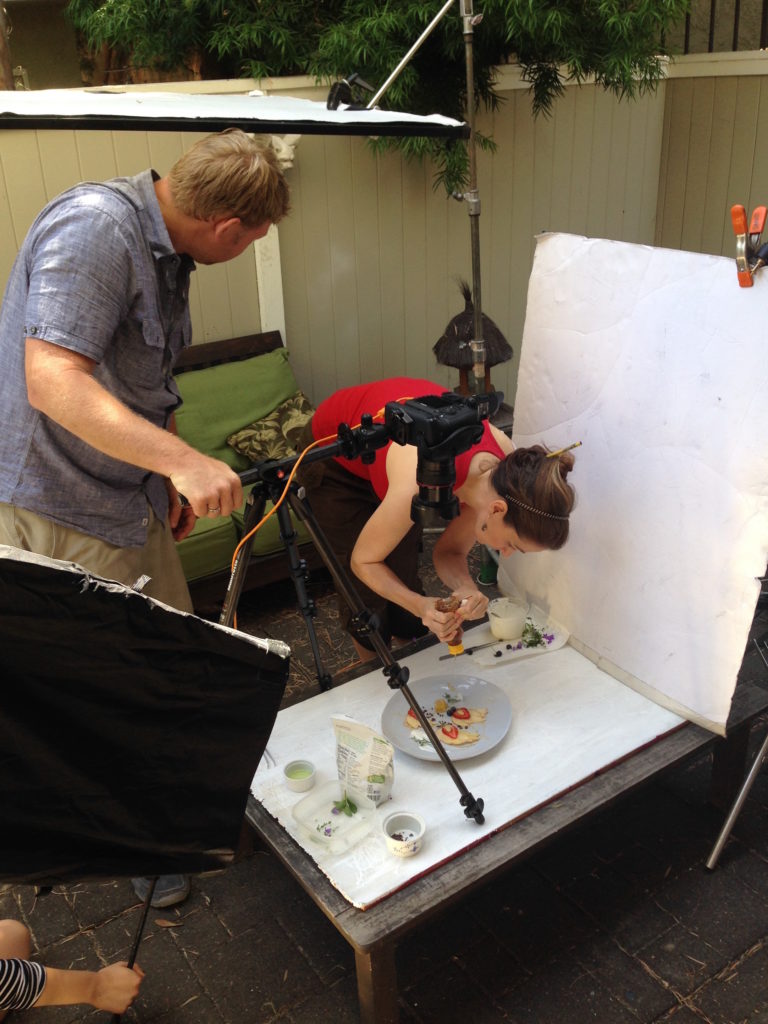
Photo by Kaely Egan
Speaking of ruining a shot, there is nothing worse than spending all day making inedible food, only to get lousy shots of it. The food stylist I worked with made a million tiny adjustments to each plate and forced the photographer to take a picture of each one.
She focused on moving things in the background, adjusting the lighting, and even placing a tiny sprig of mint. That way, the creative director had plenty to work with, and she didn’t have to make the food again.
Food styling is an art form.
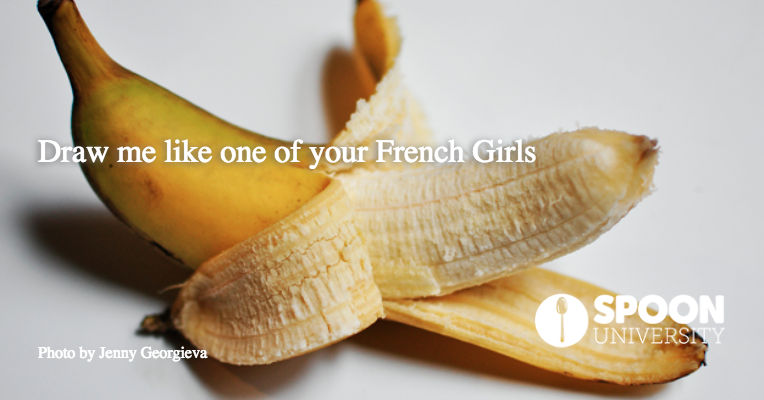
The food stylist I was working with quite literally said she channeled Jackson Pollock in her first plating. It reminded me that food truly can be an art form, from the edible to the non-edible.
While not being able to eat the food was torture, the whole experience of watching food being styled and photographed was really cool. If nothing else, it made me feel better that my dishes never turn out quite like they do on glossy magazine pages.


