College is known to be the time when you stack up on boxed ramen and brownie mixes. For most people, baking or cooking from scratch is out of the question. Where and when do you get all those ingredients? Where do you keep them? How about all the tools you need to use?
Well I’m here to give you my tips and tricks on how I do it. I don’t cook at college, but I bake, and quite often. I was baking about once a week all throughout freshman year, and here’s how.
1. Find a good kitchen to bake in
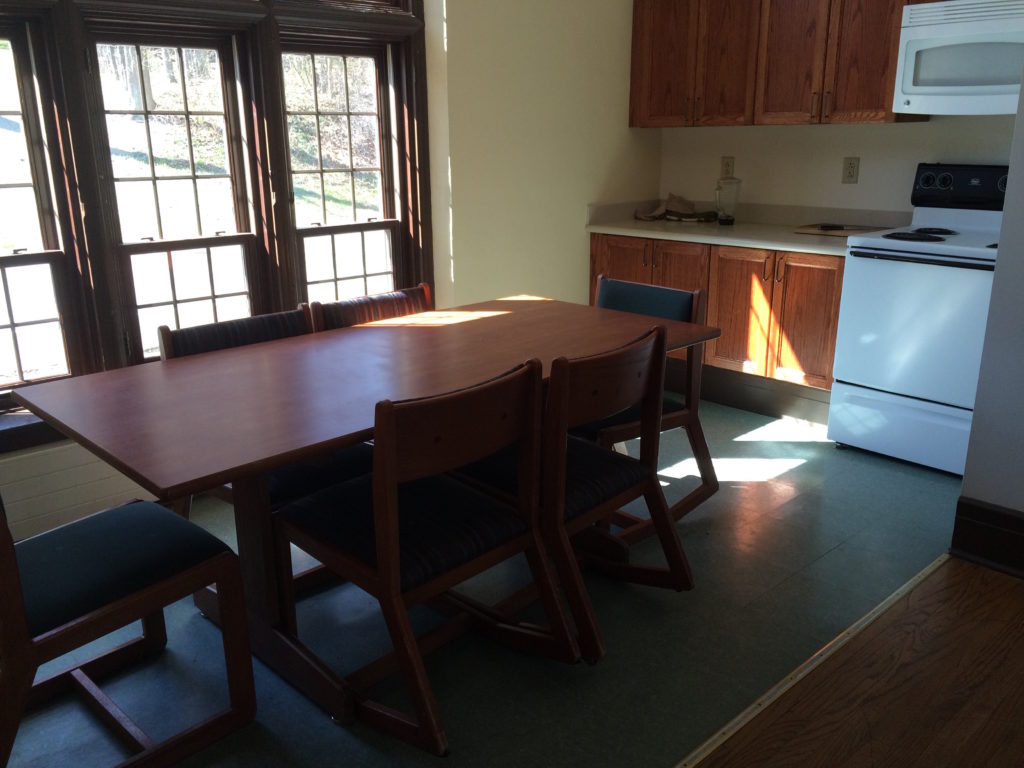
Photo by Katherine O’Malley
Find a good kitchen on campus that you will use to bake. You want it to be close so you don’t have to lug everything too far, and you want it to be pretty nice and rather spacey if possible, so you actually have room to do the baking.
2. Buy a cheap set of tools and pans
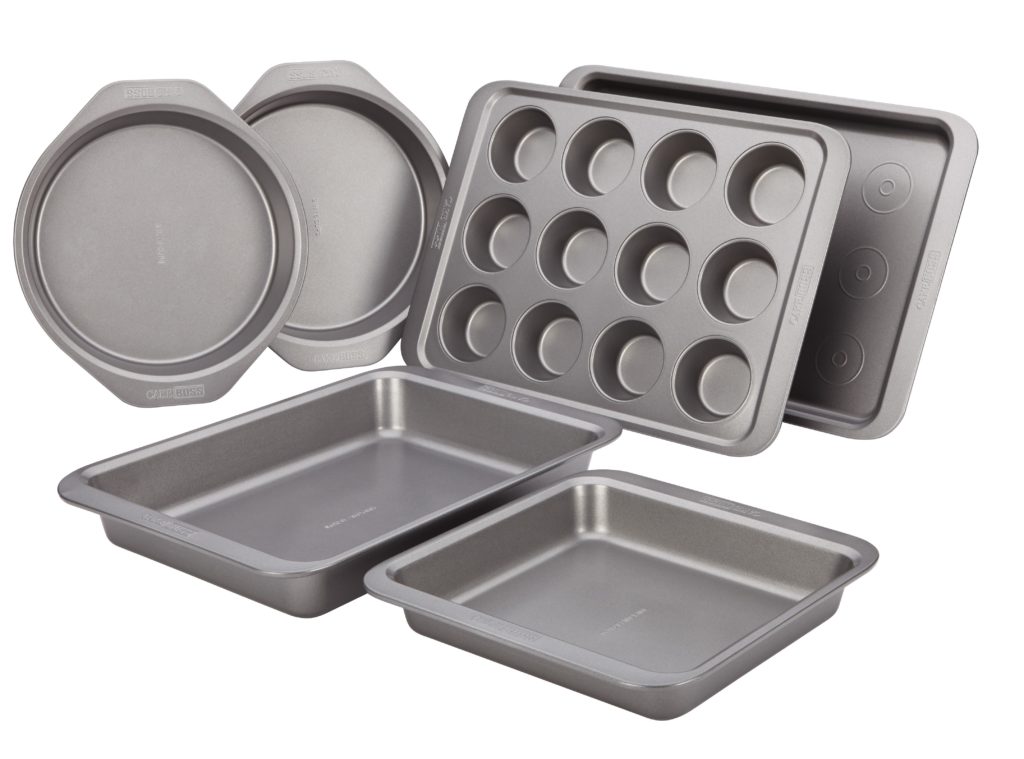
Photo courtesy of blogs.rediff.com
I bought this set of pans off Amazon and they were amazing. They are so inexpensive, but they always got the job done and I was never limited in my ability to bake because I didn’t have a certain pan. To start off the year, I also bought two rubber spatulas, a whisk, a liquid measuring cup, dry measuring cups, parchment paper, and aluminum foil.
3. Have one or two mixing bowls

Photo courtesy of containerstore.com
You can buy these online or nicely ask your relatives about bowls they don’t use (my suggestion). You probably want them to be light so you don’t have to carry a heavy Pyrex bowl around your campus, like I did last year (not recommended). I suggest having two mixing bowls.
4. Buy in small quantities, except necessities
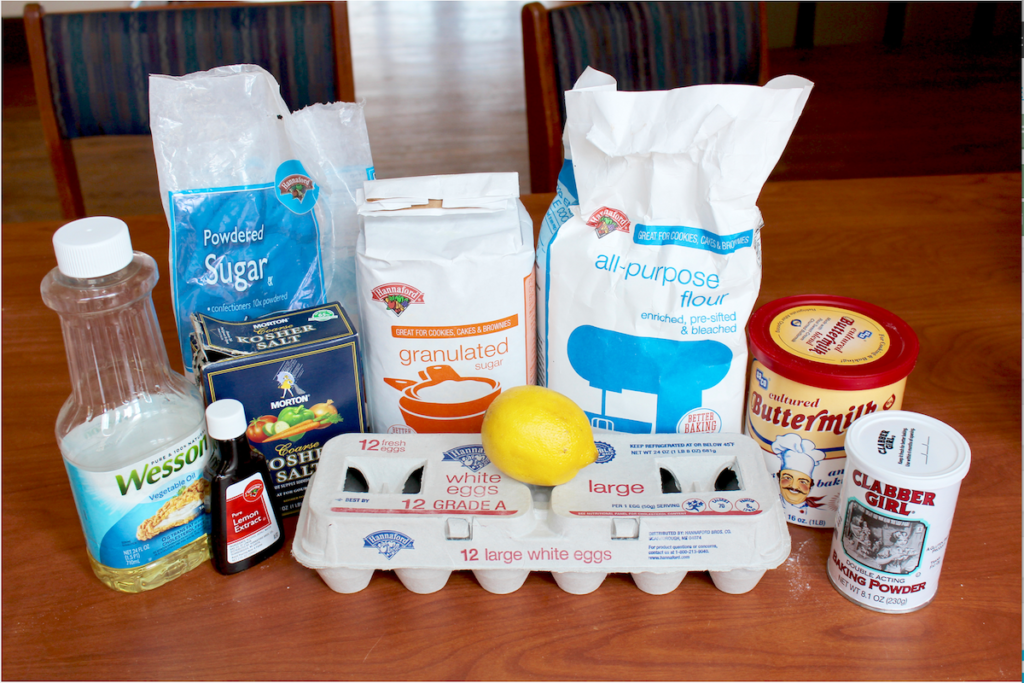
Photo by Katherine O’Malley
Most ingredients will go a long way, so buy in rather small quantities, depending on how often you think you’ll bake. The exception is flour, white and brown sugar, butter, and eggs you will probably want to buy in regular or large quantities, depending on how often you bake. Your goal is to go to the grocery store as little often as possible, because it’s a pain (especially if you don’t have a car like me).
5. Keep a box of all your ingredients
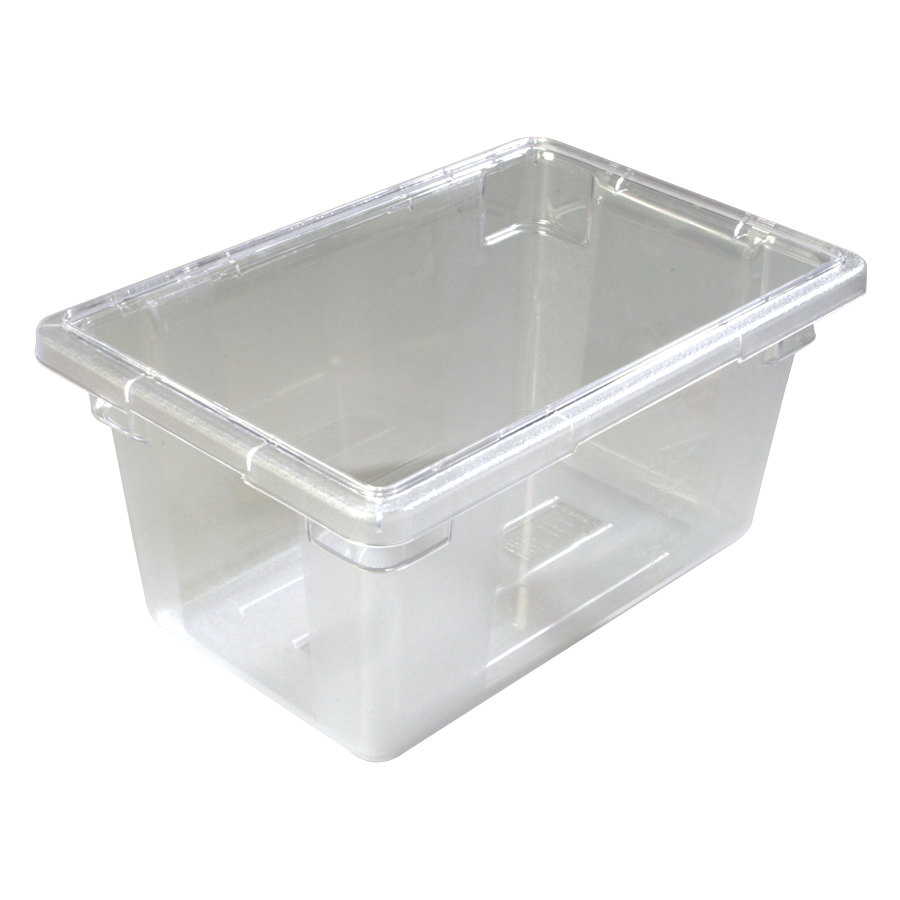
Photo courtesy of webstaurantstore.com
When I ordered a set of pans off Amazon, it came in a rather large cardboard box, and I used that for storing my ingredients. It was probably the most helpful thing that allowed me to bake at college, and yet it’s so simple. If you trust people well enough, you can label it and place it in the kitchen you’ll be using, or else you can keep it in your room and bring it with you when you want to bake.
6. Aggressively label refrigerated goods and store them in the kitchen fridge
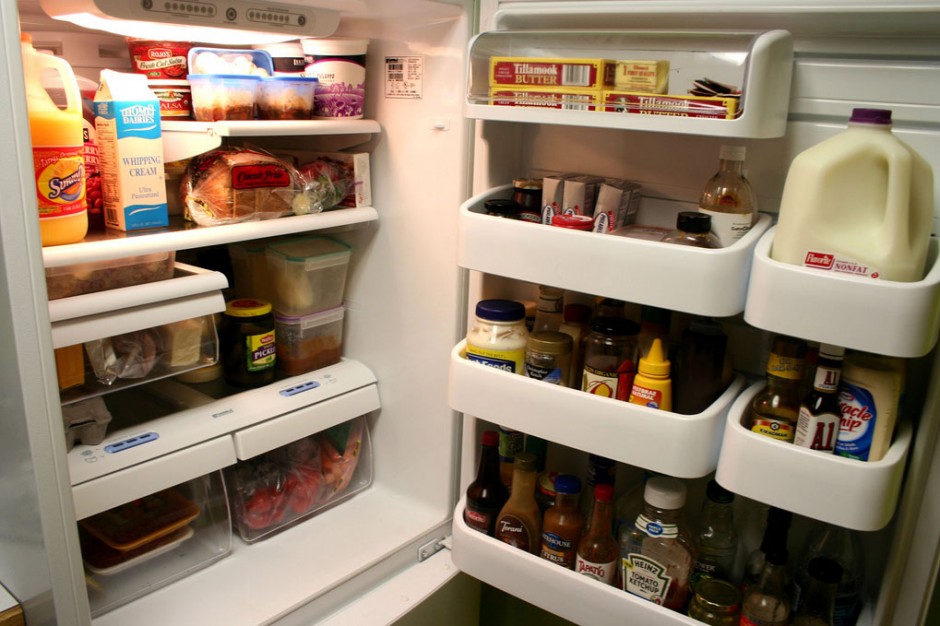
Photo courtesy of indianapublicmedia.org
No joke. No “please don’t drink” sticky note on your milk, I mean an all-caps, slightly threatening note that scares people off from using your butter, milk, eggs, etc. Even if you have a mini-fridge in your room, you will soon realize that transporting an unsealed cup of milk and three eggs, along with your pan and tools all to the kitchen is impossible.
7. Plan ahead

Photo courtesy of etsy.com
It’s important to plan what you’re going to make a little ahead of time so you can make sure you have all the ingredients, enough time, and the right tools. You don’t need to restrict what you’re able to bake if you plan correctly.
8. Read the recipe ahead of time
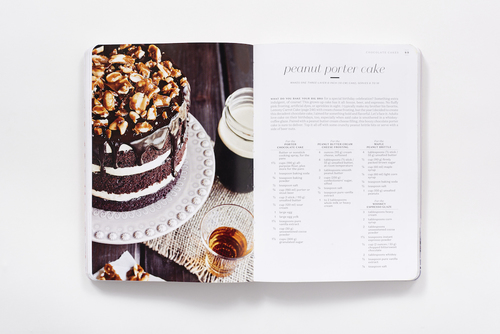
Photo courtesy of stylesweetca.com
You just finished the dough, and now it says to refrigerate for 3 hours, but it’s already 11pm. No fun. Make sure to read the recipe ahead of time so you know you have enough time and all the correct tools. If you don’t have a pot but you need one for the recipe, make sure you either borrow a pot or just find a new recipe.
9. Enjoy yourself and be creative!

Photo by Katherine O’Malley
The point of this article is to show that you can bake awesome things at college and still bake from scratch. Don’t just bake chocolate chip cookies to get you through finals when you can bake chocolate cupcakes with white chocolate frosting, or chocolate dipped peanut butter balls, both of which I made at college, along with many other desserts.


