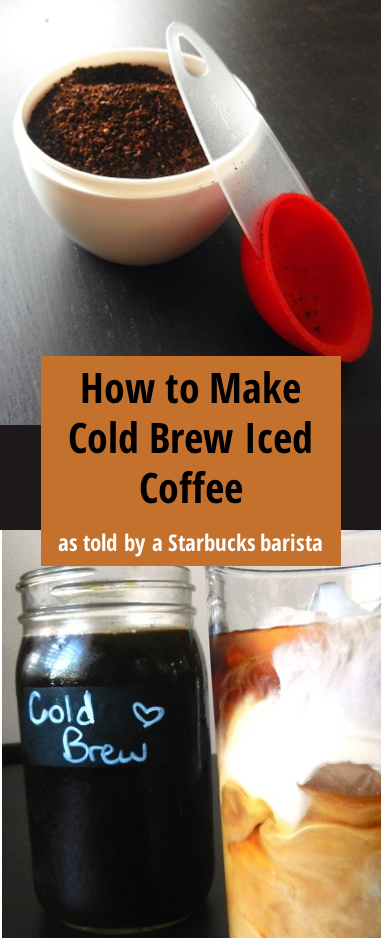
Let’s face it. As college students, most of us wouldn’t be here today if it weren’t for the power of a good (and strong) cup of coffee. Hot or iced, black or with cream, many of us have turned to coffee at least a few times in our collegiate careers to write those last few paragraphs or memorize those last few elements.

GIF courtesy of giphy.com
While there are plenty of great and effective ways to brew that neat little bean, none are as unique as the elusive cold brew. Once limited to small hipster coffee shops because it takes 12+ hours to brew in small batches, this tasty sensation is catching our eye and finally getting the attention it deserves. As Starbucks stores across the country are launching cold brew as a new beverage option, it’s easy (and cheap) to make and customize your own version at home.

GIF courtesy of photobucket.com
The mechanics of making coffee are pretty simple. Grind the beans and add hot water, where the hot water then soaks into the grinds and extracts the caffeine and flavors of the bean. The grinds are then filtered out, and we can drink our coffee and go about our merry, caffeinated ways. With cold brew, the idea is that the heat is replaced with time- instead of brewing with hot water and achieving (nearly) instant gratification, cold brew uses cold or room temperature water, so the process takes longer.

GIF Courtesy of giphy.com
Here’s the kick- because the bitterness of coffee comes entirely from the heat of the water, the cold brewing process can remove most if not all of the bitter taste and acidity of the coffee (depending on the acidity of the particular blend or roast being used). As a result, you get a much smoother and generally better tasting cup of iced coffee than if you had brewed it with a more traditional method. Because nobody likes a bitter cup of coffee.

GIF courtesy of gifsec.com
In fact, cold brewing inhibits so much of the acidity of coffee so much so that people with sensitive stomachs can generally stomach cold brew much better than a more standard cuppa joe. Which also means that you don’t necessarily have to pile in milk and sugar into it, and many people find that they can drink it black. So it tastes better, doesn’t kill your stomach, and it won’t kill your diet either? That’s right.
At this point, you’ve probably pulled up your search engine of choice to find out how to DIY the crap out of this whole thing. Don’t worry, we’ve got you covered. Below you’ll find a full recipe for some seriously yummy iced coffee, without any fancy equipment. Happy sipping!

Graphic by Spoon University

Easy Cold Brewed Iced Coffee
Ingredients
Instructions

Measure out your ground beans and pour them into the bottom of the brewing vessel. While a large mason jar or drink pitcher with a lid and a metal filter will suffice, a French Press is ideal because the filter and everything is built right in. I really like this one, but any large model will do.

Pour the cold water over the grinds, making sure to make sure that all of the grinds are covered. It’s definitely not a bad idea to use a spoon to make sure all of the grounds are wet.

Leave the whole thing on the counter for 12-24 hours (the longer the better).

After letting the coffee sit, either press your beans (if you used a french press) or use a filter or strainer to strain out out the grinds.

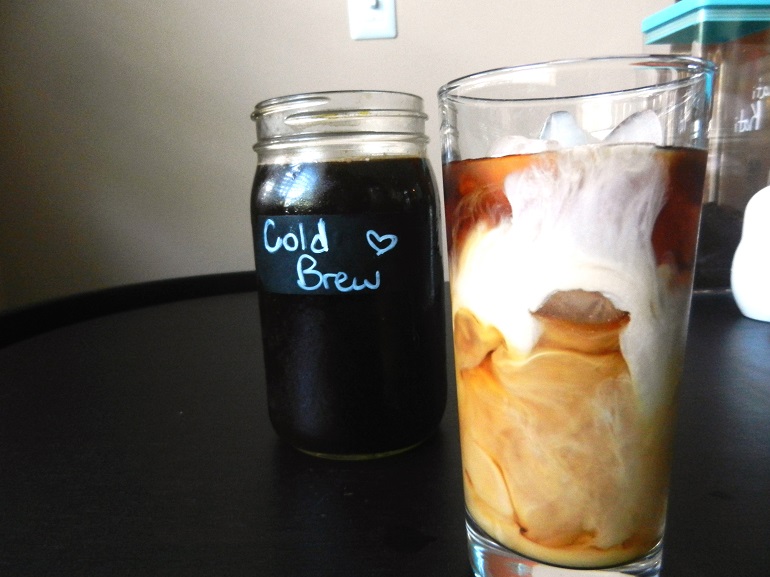
Ta da! You now have cold brewed iced coffee! Depending on the roast of the beans you used, the coffee may be concentrated. In my experience lighter roasts don’t need added water, but I imagine if you used a dark roasted coffee you may need to dilute it with some additional water to taste. After adding the water (if needed) you’re ready to add whatever syrups/sweeteners or milks you usually take with your coffee. Enjoy your new ultra-hip and delicious coffee, and brag to your friends!


