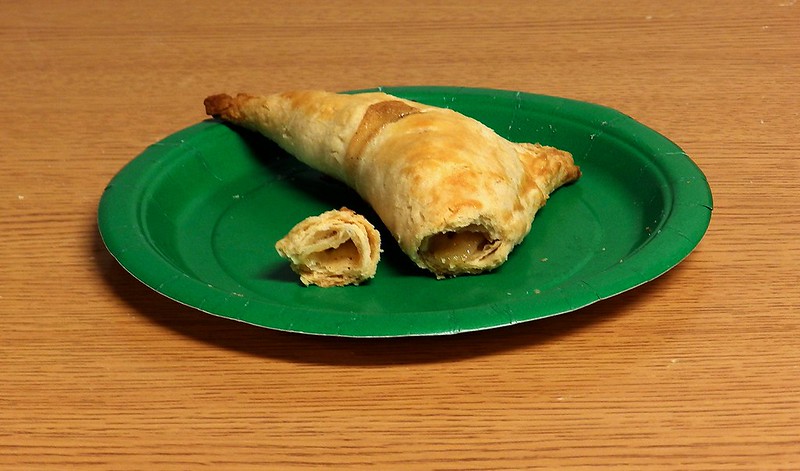
Making a pie crust from scratch isn’t nearly as hard as it sounds, and the flavor and texture is well worth any extra effort. Follow these tips, and your pies and turnovers will go from flat to fabulous in 3.14 seconds.
The three things every good pie crust needs are flour, fat and liquid.
Your best options are these:
- Flour: All-purpose is best. Flours with higher gluten content (like bread flour) can cause more gluten development in your crust, and you won’t get a nice flaky texture.
- Fat: Butter, butter and more butter! Shortening is also an option that will make your crust flakier and lighter, but it won’t taste nearly as good as an all-butter crust.
- Liquid: Ice water. One of the keys to flaky crust is to keep everything as cold as you possibly can before baking. This includes the water—Keep a couple of ice cubes in the glass of water you’re using.
Start with the flour (and extras).
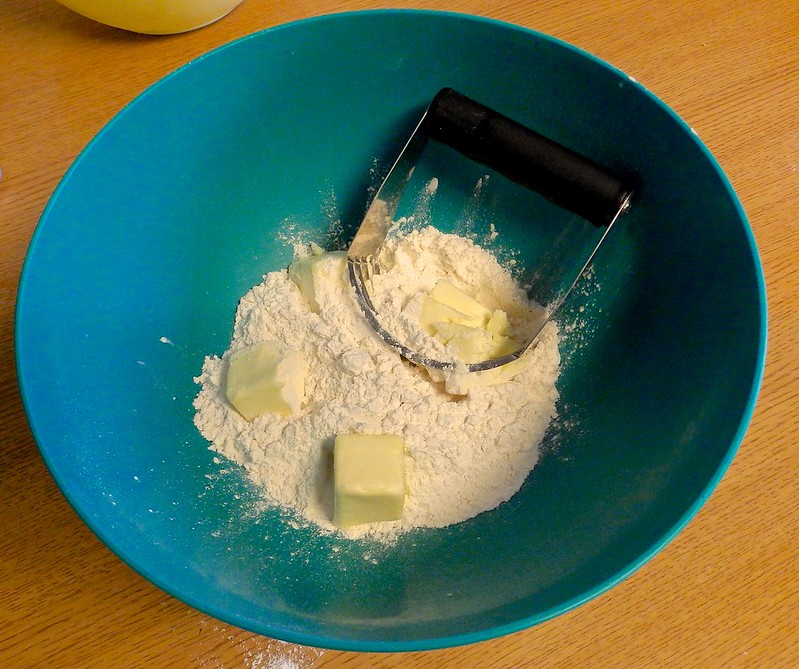
- Flour goes in a bowl with the salt and any other flavoring you choose. This could be cinnamon for an apple pie or dried basil for a quiche.
Incorporate the butter.
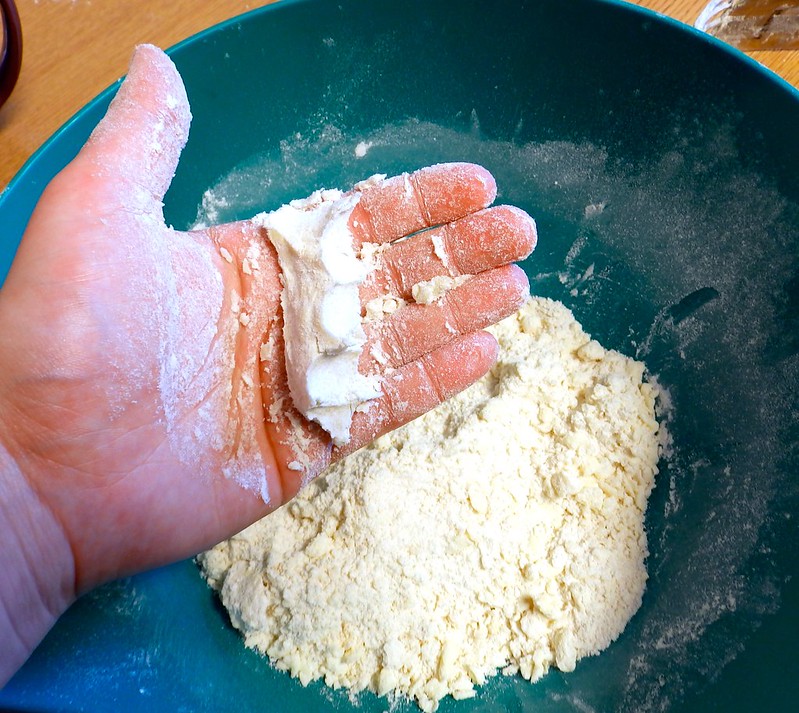
The best way to do this by far is with a pastry cutter. These aren’t very expensive ($8 on Amazon.com), but they’ll make your pie taste like a million bucks by incorporating the butter evenly without warming it. If you don’t have a pastry cutter, you can “pinch” the butter into the flour—Imagine the finger gesture that means money. However, this process will warm the butter, so you’ll need to refrigerate it for longer before baking to make sure the butter gets firm again. The key is to cut in the butter until the mixture looks like sand, but will stay in a clump when you squeeze some of it in your hand. Now you’re ready for water.
Gradually add water.
- Start with a few tablespoons of ice water and continue cutting it in the same way you did with the butter. Then continue adding one tablespoon at a time while squeezing the dough together into a ball, then using the ball to pick up the dry parts at the bottom. Don’t add more water than you absolutely need to get all of the dough to come into the ball.
Flatten, refrigerate and bake.
- Form the dough into a hockey puck, and let it chill in the fridge for a half hour or so. Once it’s mostly firm, roll it out, add your filling and bake according to your recipe.


