Knives are the quintessential kitchen tool, and there’s a dictionary-load of different techniques that comes with them. Cutting large dice for a stew will give a very different shape and size compared to a julienne for a stir-fry.
No matter what or how you’re cutting, the core of all knife-work is having a sharp knife and the right grip. From there, the technique comes with practice, and with a little time you’ll be chopping through veggies like a weed-whacker.
Here are some basic tips for mastering the art of the knife.
Keep your knives sharp.
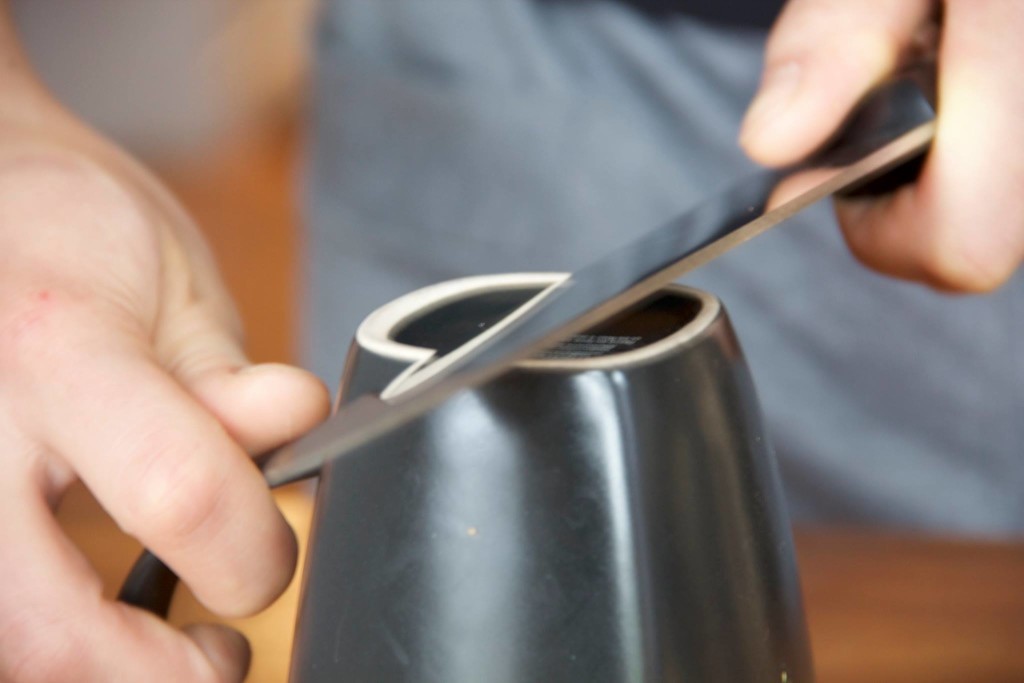
Photo by Bonnie Wang
Having a properly sharpened knife will make cooking faster and safer, no matter what you’re cutting. We don’t all have sharpeners or whetstones, and sending knives out to be sharpened professionally can put a pretty big dent in the wallet. Something we do all have, though, are mugs.
Yep, mugs. The bottoms of most ceramic mugs are ever so slightly abrasive, making for a good sharpening surface. To sharpen, press the knife’s edge against the bottom lip of the mug so that the knife makes about a 20° angle with the mug. Next, slowly draw the knife toward you making sure to keep pressure on the edge.
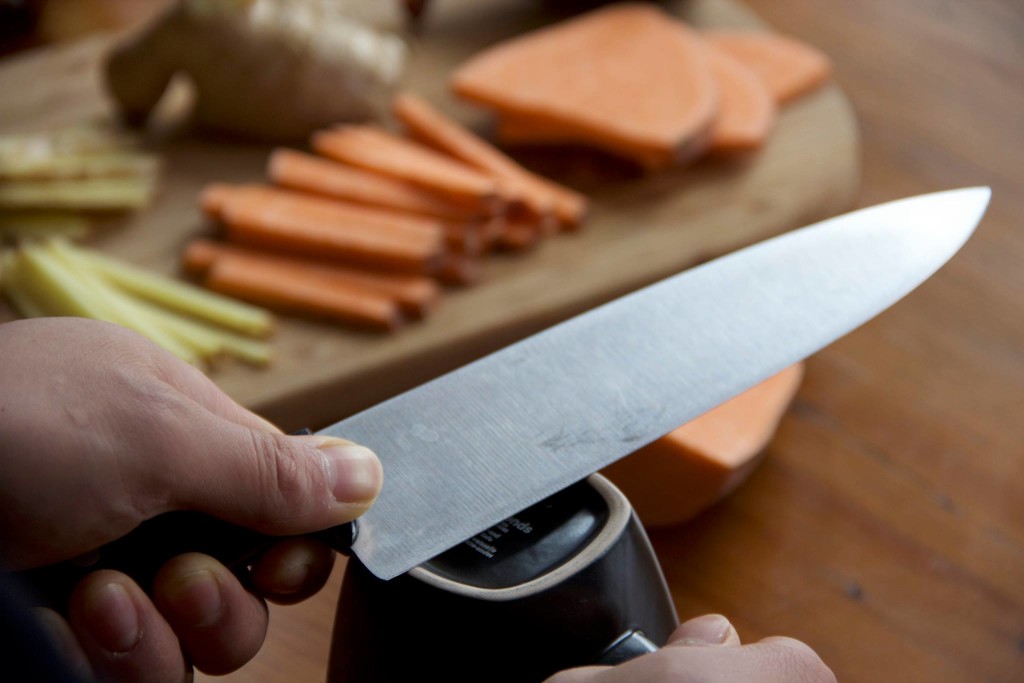
Photo by Bonnie Wang
You need to actually remove metal from the knife in order to make the edge sharper, so don’t be scared to put a little force on the blade. Repeat the slow drawing motion on the other side. Flip the knife back and repeat, and repeat, and repeat.
#SpoonTip: Put the edge of your knife on your thumbnail and carefully try to slide the knife away from your thumb. If the edge catches on your nail, then you’re good to go. If the edge slides off your nail easily, keep sharpening.
Perfect the grip.
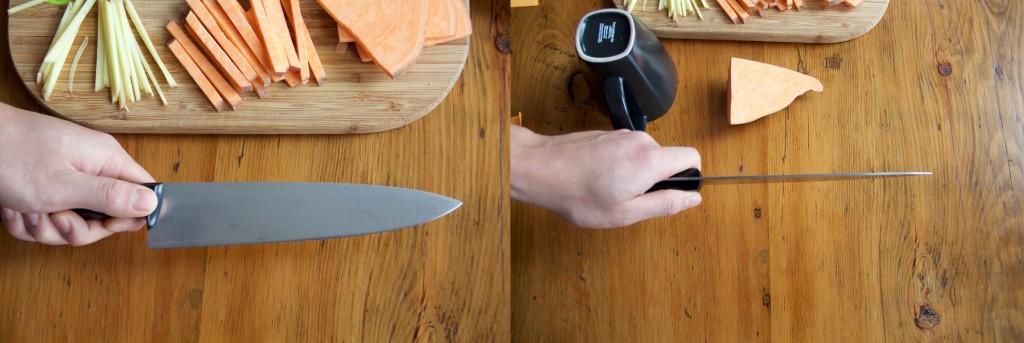
Photo by Bonnie Wang
There’s a proper way to grip a pencil, there’s a proper way to grip a golf club, and there’s also a proper way to grip a knife (thankfully, it’s really easy).
Pinch the top of the handle between the tip of your thumb and the second knuckle of your index finger and wrap the rest of your fingers around the handle comfortably. You should be gripping mainly with your thumb and index finger and should be able to hold the knife with just the two.
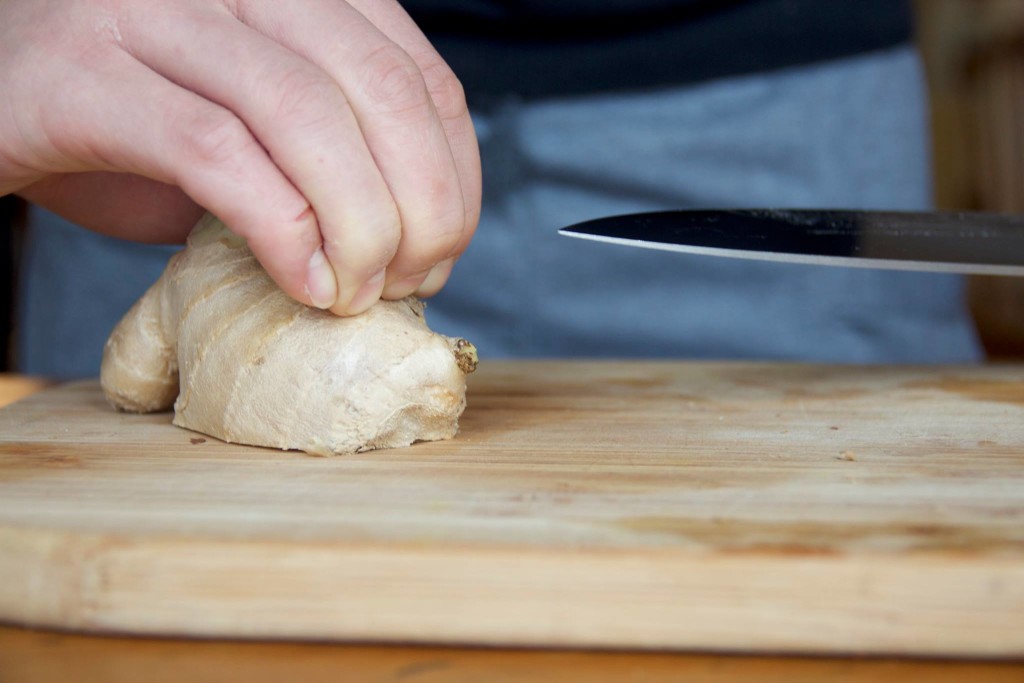
Photo by Bonnie Wang
So now you’ve got a sharp knife snug in your hand with the right grip. But before you start chopping, it’s just as important to hold your food the right way. Tucking your fingers under your knuckles not only protects your lovely digits from your freshly sharpened blade, but also lets you use the flat edges of your fingers to guide your knife as you cut.
Learn the basics.
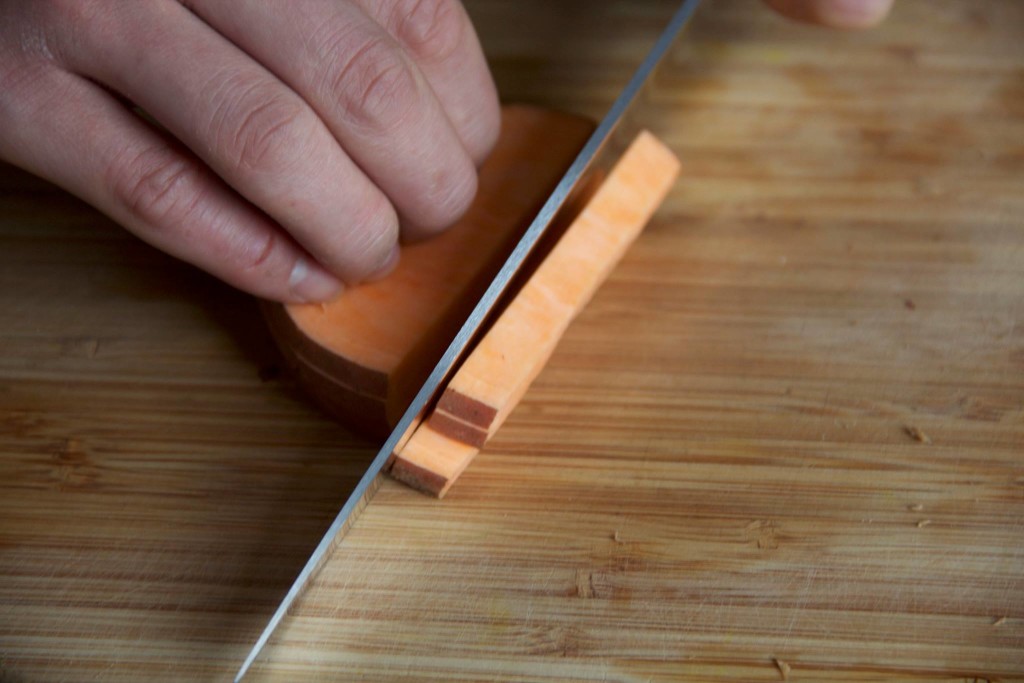
Photo by Bonnie Wang
Most cuts can be divided into two general shapes, either strips or dice. From there you can delve into a long list of terms ranging from alumette, to julienne, to brunoise, but all mean either strips or dice of different sizes.
Sizes affects how long it will take the food to cook, so keeping consistent size in your cuts is important. To cut strips, first make even slices of your food, keep your slices in a stack, and then cut through your stack to make your strips of the same size.
If you need to make dice, just gather your strips and cut 90° the other way.
#SpoonTip: Start off with stacks of two or three slices and move on to taller stacks as you get more comfortable.
Master mincing.
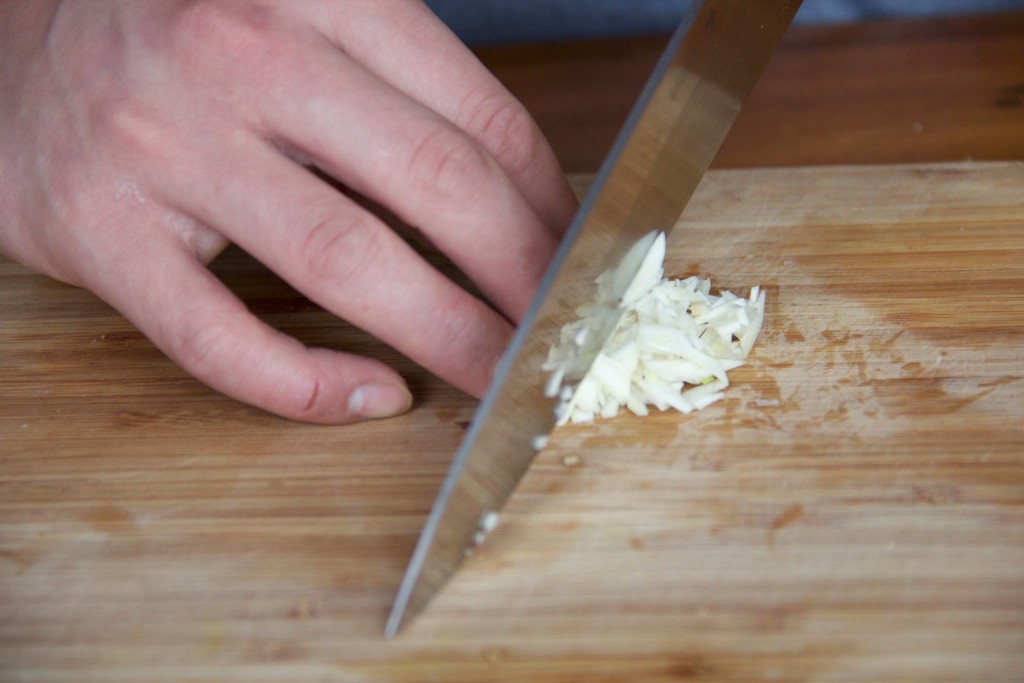
Photo by Bonnie Wang
Mincing cuts your food into very fine pieces, making it great for distributing strong flavors like garlic throughout a dish.
For garlic, remove the root end of your clove and give it a rough chop to make a pile of little garlic bits. Use a rocking motion to repeatedly cut through your pile of bits until you get a fine consistency, regathering the pile as needed. The same thing applies to herbs and other aromatics you want to evenly disperse.
#SpoonTip: Always keep a point of contact between the blade of your knife and the board for a smoother motion. Putting your other hand on the top of the blade helps.
So what are you waiting for? Grab your knife, board, a mug, some food, and get chopping.


