At the beginning of summer, I usually look down and realize that I actually have legs. The rest of the year they’re covered, and then all of the sudden, the sun comes out and so do they. It’s miraculous.
That said, summer is the perfect time to give the biggest organ of your body—your skin—a little TLC. It’s been a long winter of itchy sweaters and beanies pulled down over your eyebrows.
The kitchen is the best place to find materials for a good body scrub or face mask. I personally feel better if I can pronounce the names of the ingredients (and eat them). Your skin will eat these up too.
Remember: before applying any of the scrubs/masks below, clear your skin of makeups, lotions or sunscreens. Wash your face with warm water and mild soap and pat dry with a towel.
And a note for the men out there: facials are good for everyone.
GO BANANAS
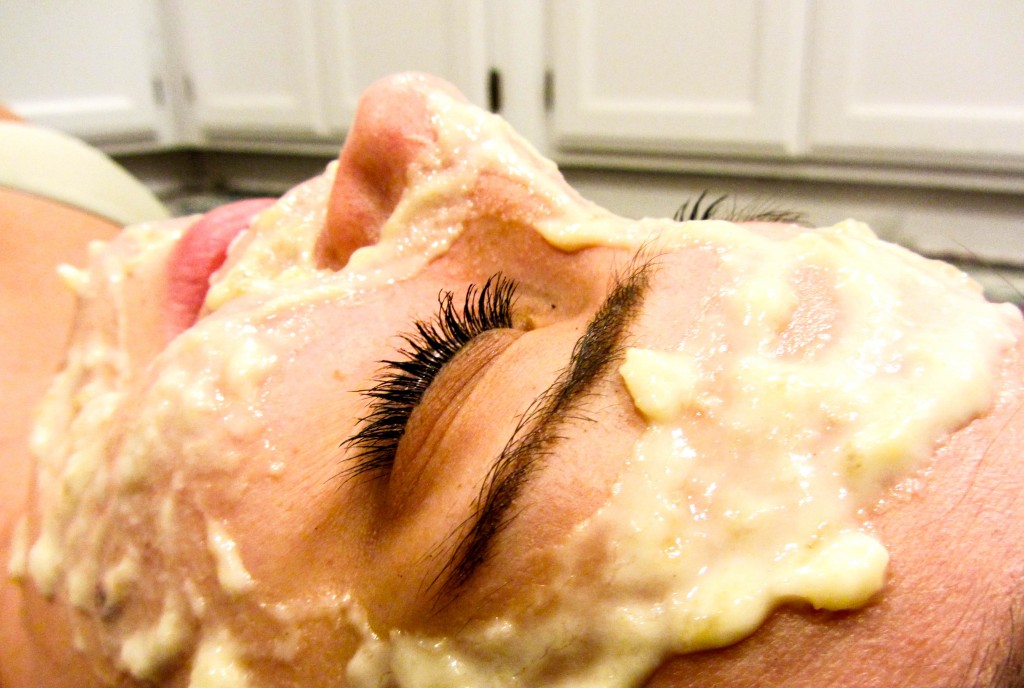
Photo by Elizabeth Layman
Ingredients:
1 banana
1 teaspoon honey
1 teaspoon lemon juice
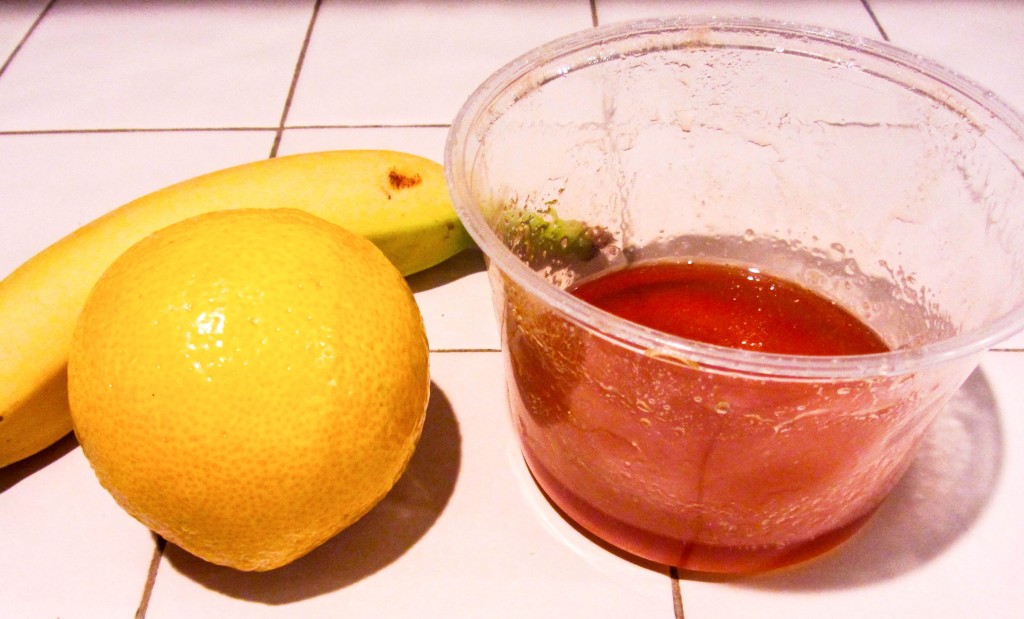
Photo by Elizabeth Layman
Directions:
1. Mash up the banana in a small bowl with a fork.
2. Add the honey and lemon juice. Mix until well combined. Pro Tip: If it’s too runny, add more honey, some flour or some corn starch.
3. Apply to face/skin and let sit for ten to fifteen minutes.
4. Rinse off.
Inspired by DIY Banana Face Mask.
HORSE FEED
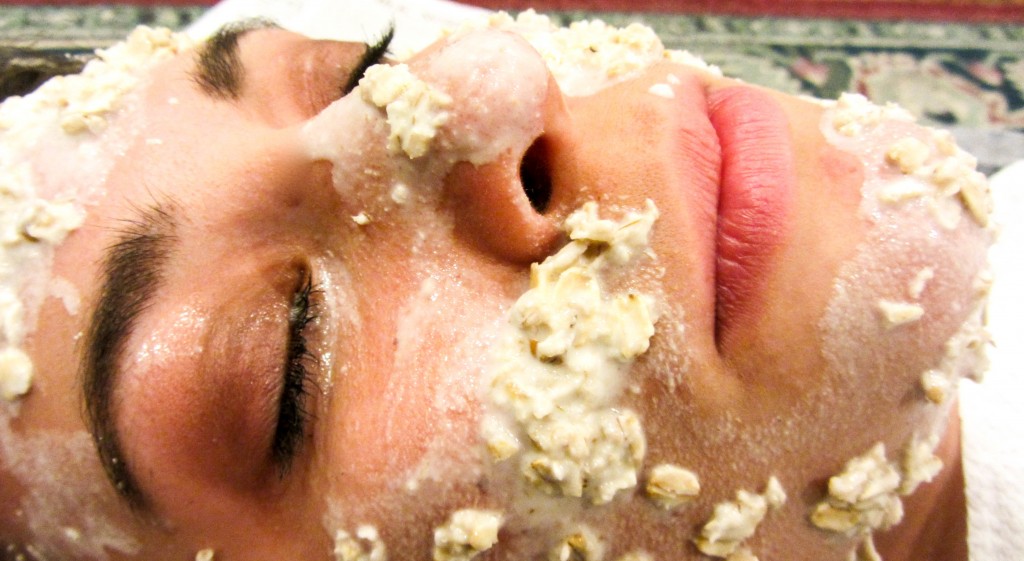
Photo by Elizabeth Layman
Ingredients:
½ cup oats
¼ cup green tea
2 teaspoons honey
2 teaspoons yogurt
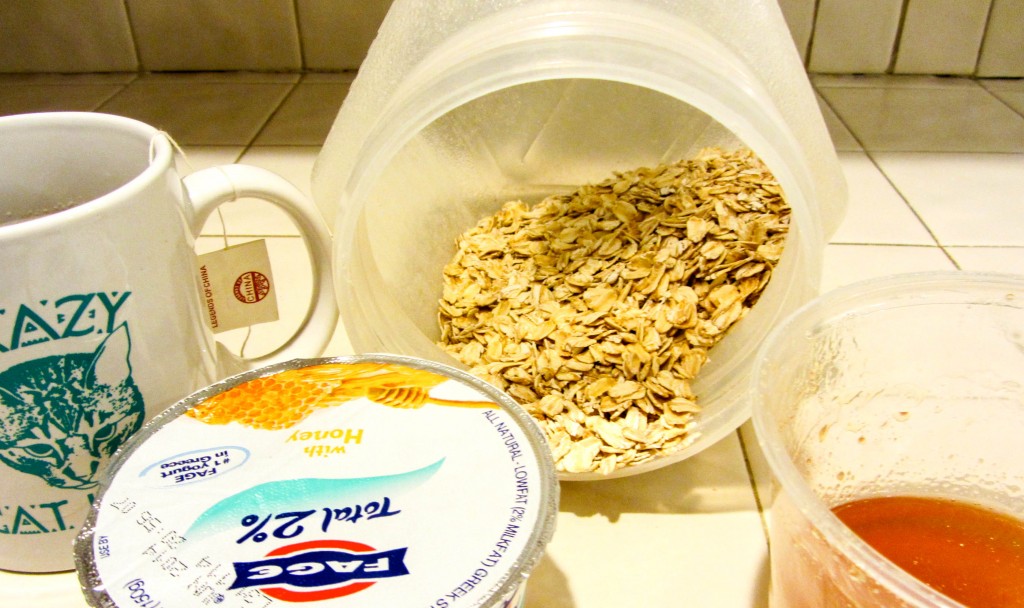
Photo by Elizabeth Layman
Directions:
1. Make a strong green tea and carefully mix all the other ingredients into it.
2. Apply to face/skin and let sit for five to ten minutes.
3. Rinse off.
Inspired by The Whole Food Project.
DIY FRANK COFFEE SCRUB
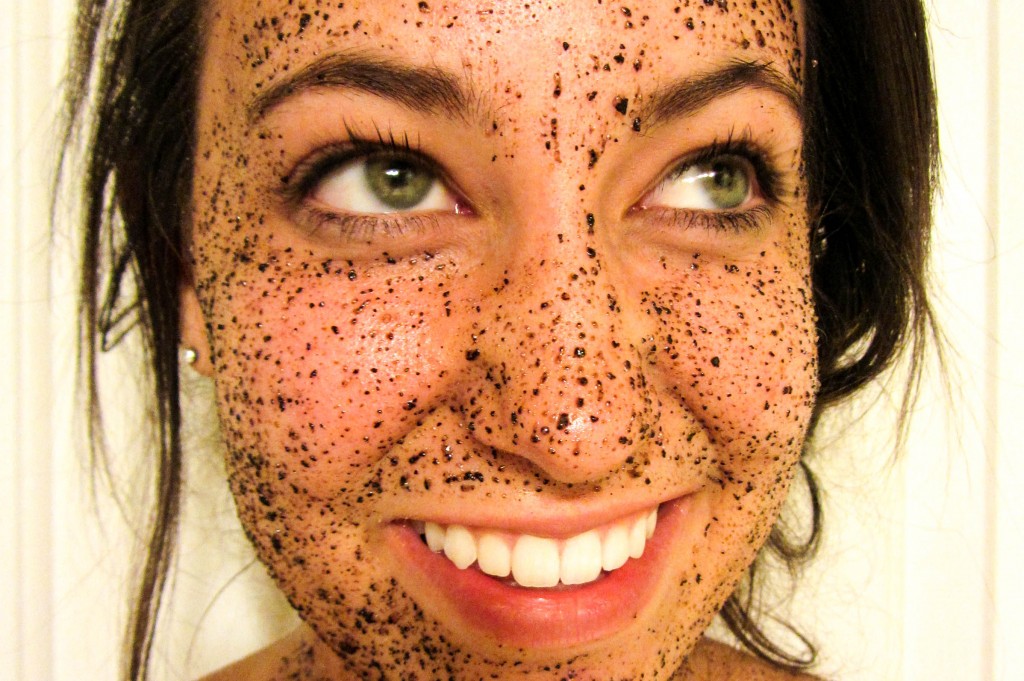
Photo by Elizabeth Layman
Ingredients:
1 cup ground coffee
½ cup sugar
½ cup sea salt
A pinch cinnamon
2 teaspoons melted coconut oil
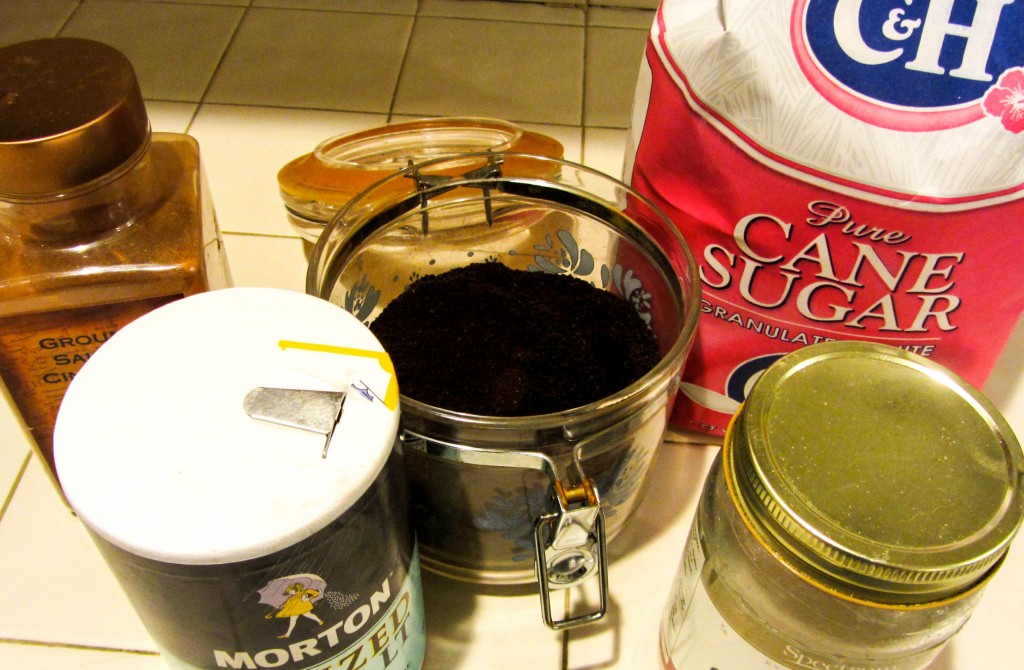
Photo by Elizabeth Layman
Directions:
1. Blend all ingredients together in a blender.
2. Apply to face/skin for ten to fifteen minutes. (This can be a little harsh, so be careful if using on the face. Everywhere else, don’t be afraid to scrub a little to get rid of dead skin cells.)
3. Rinse off.
4. You can store leftovers in an airtight container in the refrigerator for later use.
Inspired by This Is Lovely Blog.
A BIG thanks to my beautiful little sister for sitting through a night of trial and error and banana dripping into her ears.

