Spherification is the process of forming a liquid into the appearance of a solid or a gelatinous sphere. It’s often used on juices or sauces in restaurants as a garnish and is a form of molecular gastronomy used to transform the conventional state of a food into a product that resembles caviar.
Inspired by a Stuff You Should Know podcast on molecular gastronomy, I decided to try spherification at home. Spherification involves two main chemicals: sodium alginate and calcium chloride. Sodium alginate is a thickening agent made from seaweed that’s added to the base liquid. The calcium chloride reacts with the sodium alginate to form a thin membrane around the liquid, which in turn creates the sphere.
This process is supposed to work on any liquid, so I chose to try it on coffee. I purchased a spherification kit from Modernist Pantry that included the basics: chemicals, a dropper, and a strainer spoon.
How I Did It

Photo by Ashley Hunter
To start, I brewed a small pot of coffee. Considering coffee is essential in my life, I was quite familiar with this part of the process. I let the brewed coffee cool, and then began the initial steps for spherification.
I sprinkled sodium alginate on top of the coffee (2.5 grams for 200 grams [1 cup] of coffee) as well as a bit of xanthan gum and sodium citrate.
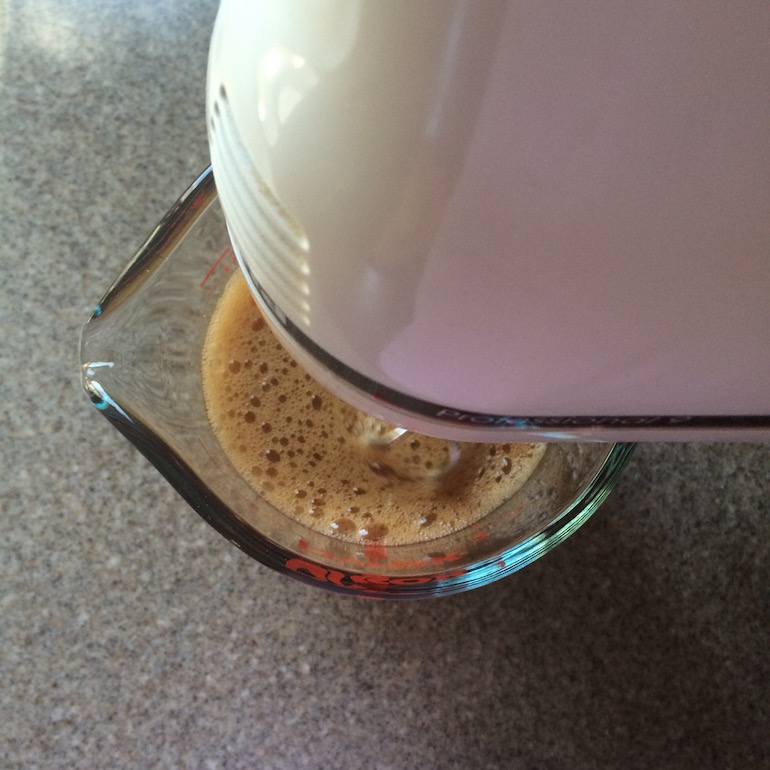
I then allowed it to rest for two minutes. The layer of chemicals on the top of the coffee began to crack. After two minutes, I combined the mixture with an electric blender; it became frothy and the consistency thickened slightly.

Photo by Ashley Hunter
I passed the mixture through a fine sieve and then let it chill for two hours in the refrigerator.
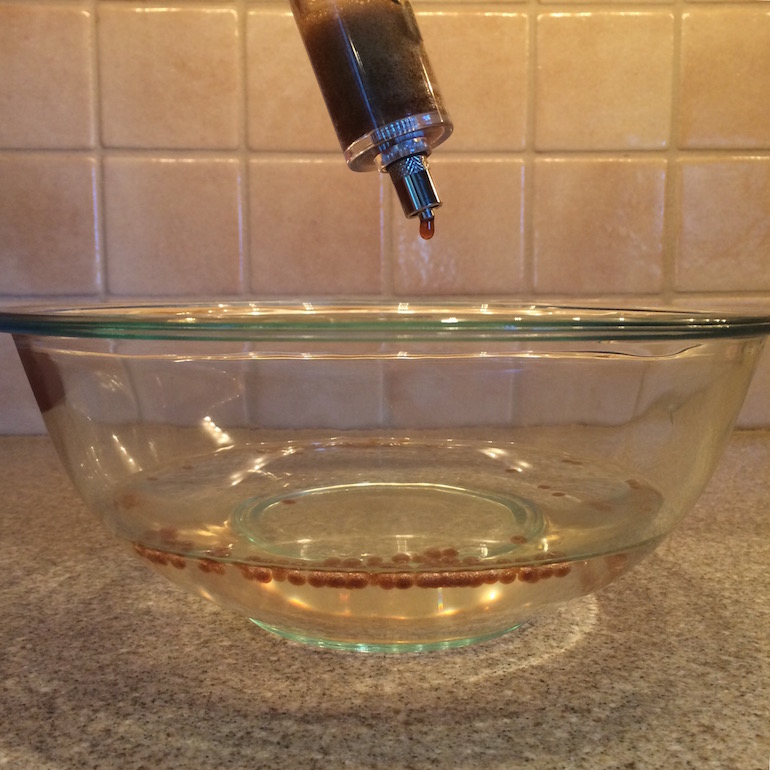
After the coffee mixture had time to chill, I combined 500 grams of filtered water with 2.5 grams of calcium chloride and whisked the two into one. I transferred the coffee mixture to the dropper, and, holding it 6 inches above the water, I began to release tiny drops of coffee.

Photo by Ashley Hunter
You could hear the drops as they hit the water. The tiny spheres floated on the surface momentarily before sinking to the bottom of the bowl. This was the most patience-testing part of the process.

Photo by Ashley Hunter
Creating the spheres one by one was time consuming, but by applying a steady amount of pressure to the dropper I was able to produce a continual stream of coffee droplets. I let the spheres rest in the calcium chloride bath for two minutes, then used a strainer spoon to transfer them to a bowl of the filtered water for a rinse. Using the strainer spoon again, I removed them from the water.
Did It Work?

Photo by Ashley Hunter
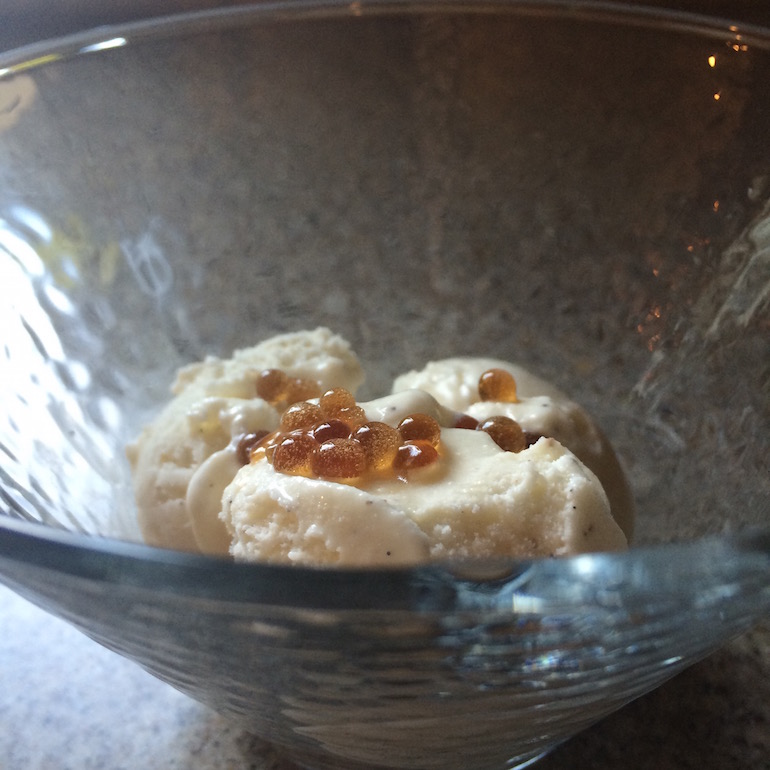
I used my completed coffee spheres as garnish on vanilla ice cream. Unfortunately, they seemed to dissolve fairly quickly, possibly as a result of sitting too long in the filtered water while I made more spheres. They were also full of air bubbles. I believe if I had let the mixture chill longer than two hours, many of the air bubbles would have been eliminated.
These air bubbles may have also played a role is the seeming dissolution of the coffee from the spheres. Some were drained of color, and when I tasted them they were lacking the coffee flavor. However, the membranes remained intact, and I was left with what appeared to be tiny gelatinous beads.
Final Thoughts

I was successful in making spheres, but with such little flavor the entire ordeal seemed pointless. I don’t cook anything at home that would require a spherical garnish. Maybe this would be a suitable experiment for someone with a little more patience, but for me the results were not worth the time and effort put in for something that is nonessential. The process of spherification is fairly simple, but tedious, and ultimately not practical for at-home use.


