There are many foods that come and go within our diets from childhood to adolescence to adulthood and beyond. Preferences evolve as tastes change with age, and we tend to enjoy dishes that we previously had zero desire to consume.
There are, though, some foods that will never get old. These foods taste even better with the passing of time, and pasta is one of these foods.
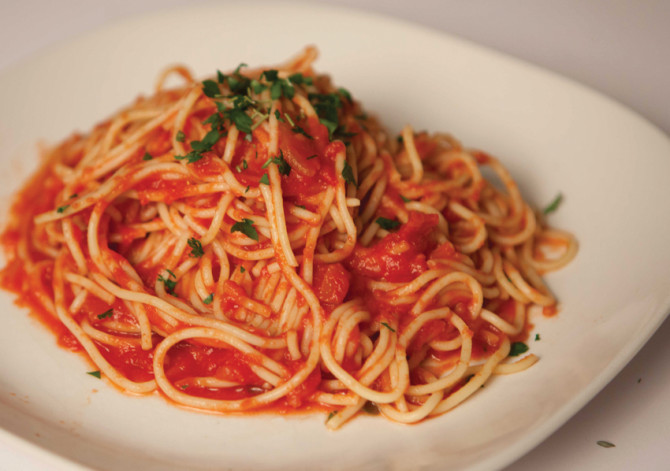
Photo by Daniel Schuleman
Pasta can be enjoyed in various ways with different shapes and thicknesses, the accompanying sauces, cheeses, spices and seasonings, and also the myriad foods that can be added to as well as eaten with pasta. The possibilities are literally endless, as is the appetite for pasta.
Despite pasta’s high praise and demand, its average consumers do not get to fully experience pasta while it is in its best form—homemade.
I’ve had the privilege to assist in the making of pasta dough for the past couple of Christmas dinners at my house, and I can vouch for the significant distinction of pasta from scratch compared to its boxed counterpart.
So now that your mouths are watering, allow me to explain how to wholly satisfy your pasta-yearning tastebuds.
The Ingredients
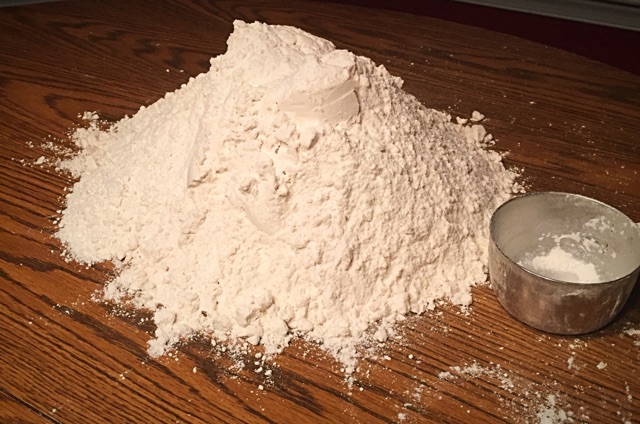
Photo by Kevin Kozlik
Surprisingly, the only ingredients truly needed are flour and water. While this is true, almost all recipes call for eggs (in various combinations of whole eggs, egg whites, and/or egg yolks) to establish the desired flavor and elasticity. Salt and oil may also be added based on personal preference, but these ingredients are definitely not needed for a quality batch of dough.
The Ratio

Photo by Kai Huang
The ratio of eggs to flour varies depending on recipes, with the average being about two eggs for every cup of flour. For the hungry guests at our Christmas dinner, we used 15 cups of flour and added 14 eggs and 20 egg yolks.
Forming the Dough
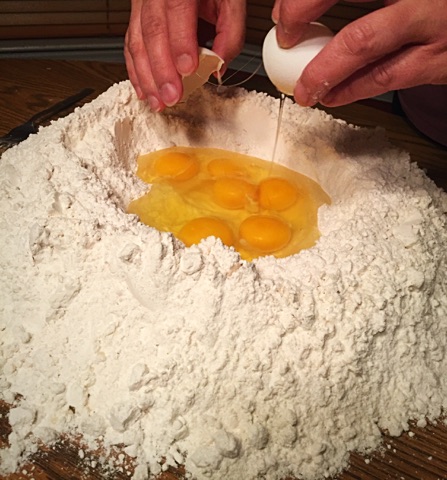
Photo by Kevin Kozlik
Once the mound of measured-out flour is in place, the first step is to create a large well in order to add the eggs and other ingredients.
After the eggs are in the well of flour (like a bread bowl and soup), it is time to mix the two together. Before doing so, the eggs must be whisked carefully.
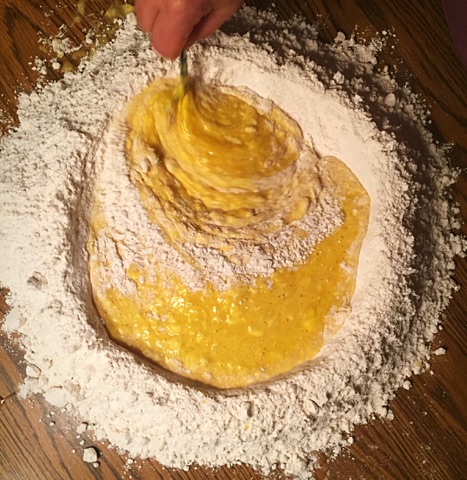
Photo by Kevin Kozlik
Once all the yolks are broken, the whisking motion is continued with larger circles, gradually drawing in flour from the rim of the well towards the center of the mixture.
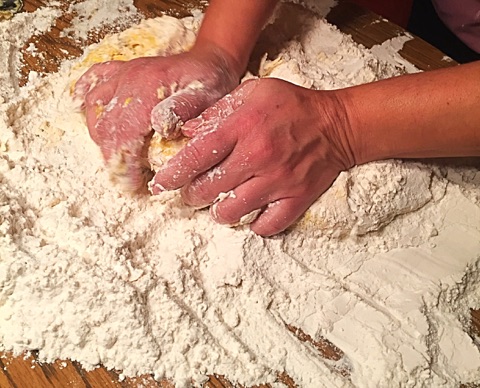
Photo by Kevin Kozlik
The result of the mixing is a mess of flour along with a mass of dough. These have to combine to create a nice and clean ball of dough. Now is the time to bring back those Play-Doh modeling skills, hand-mixing globs of dough with excess flour until there is a uniform ball of pasta dough.
Often the dough seems too dry and refuses to accept any more flour—this problem can be solved by adding small amounts of water until the flour easily combines with the rest of the product.
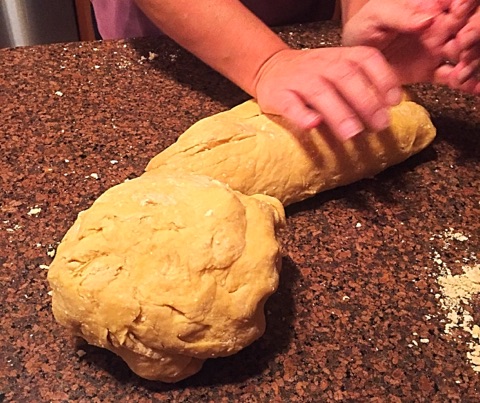
Photo by Kevin Kozlik
Unfortunately, the worst part of the process has now come: kneading the dough. Kneading is basically just pushing the dough down and away from you over and over again to add smoothness, strength, and elasticity. It is a long and exhausting process, but in order to create the best possible batch of pasta, it kneads to be done (hahaha).
After massaging a ball of dough for ten minutes as if it paid an introductory price of $9.95, it is essential to take the time to admire the golden ball of perfection that has just been created. Damn. Dat pasta dough.
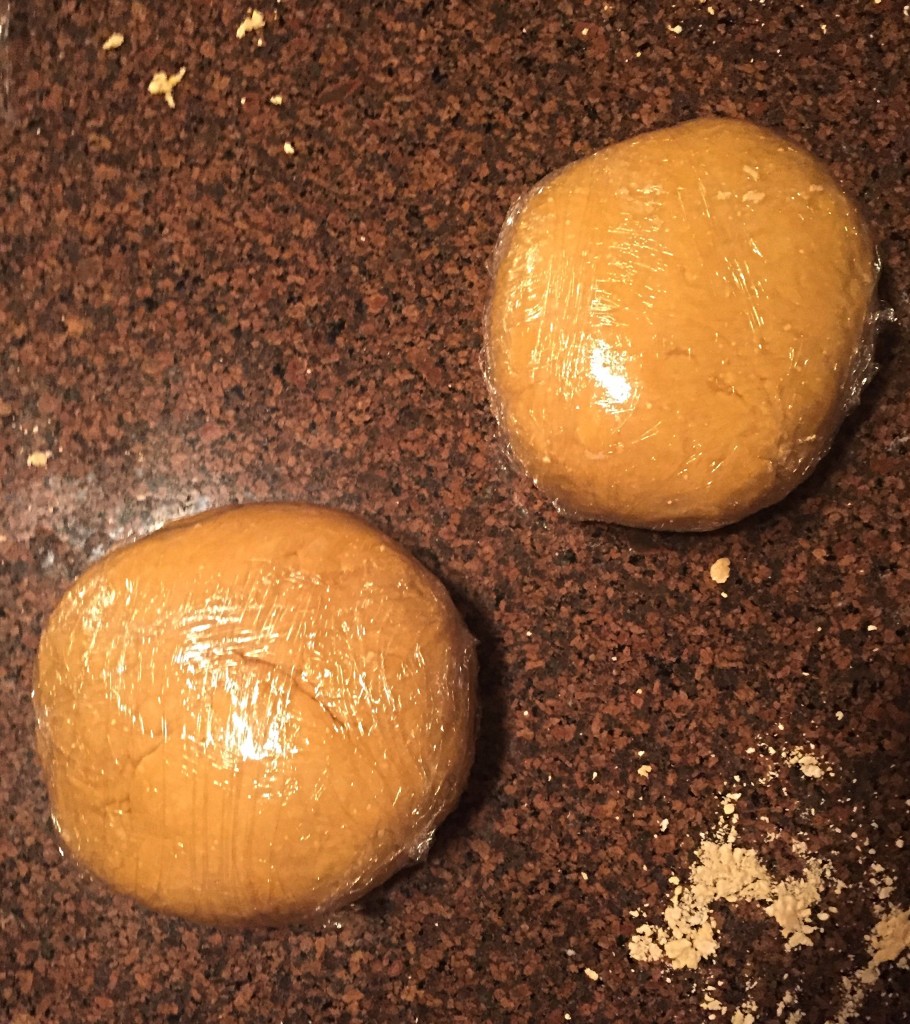
Photo by Kevin Kozlik
Resting the dough after kneading is in fact beneficial, even though it is not essential. Allowing the flour to hydrate longer may result in a smoother rolling experience as well as overall better-textured pasta. Regardless, a rest will surely be appreciated after all of that energy spent on kneading.
Rolling the Pasta
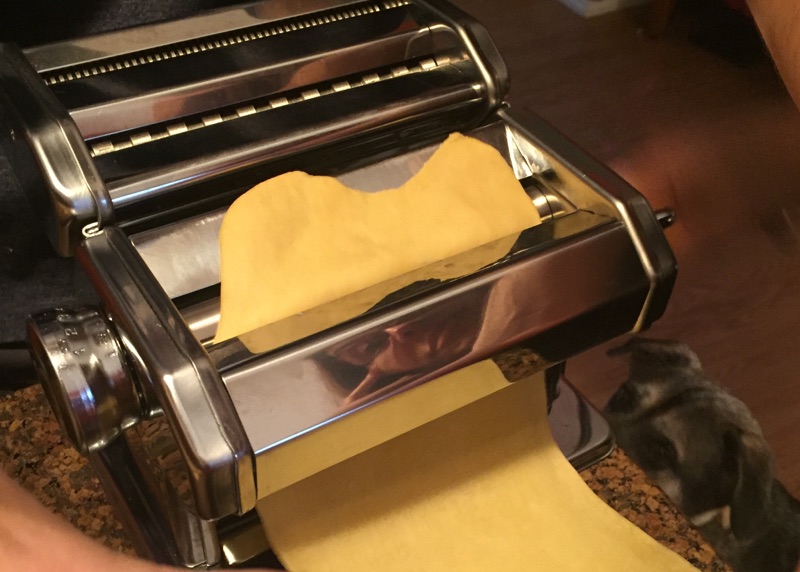
Photo by Kevin Kozlik
Finally, the fun part begins. The pasta dough is made and the time has come to turn that dough into actual pasta. This is done by first rolling the dough and then cutting it into strands of desired thickness.
Both of these steps are done by using a pasta machine, which is a metal machine that flattens as well as cuts dough as it is fed through. The roller is hand-cranked or attached to a blender to function—I recommend hand-cranking for the enjoyment as well as the true “homemade” experience.
To begin the process, a small piece of dough is broken off and inserted into the roller at its widest setting. After running it through once or twice, the setting on the roller is changed to a thinner one, and the dough runs through again a couple of times. This is repeated as the gap on the roller is continually adjusted to be smaller until the perfect width of the dough has been reached.
Cutting the Pasta
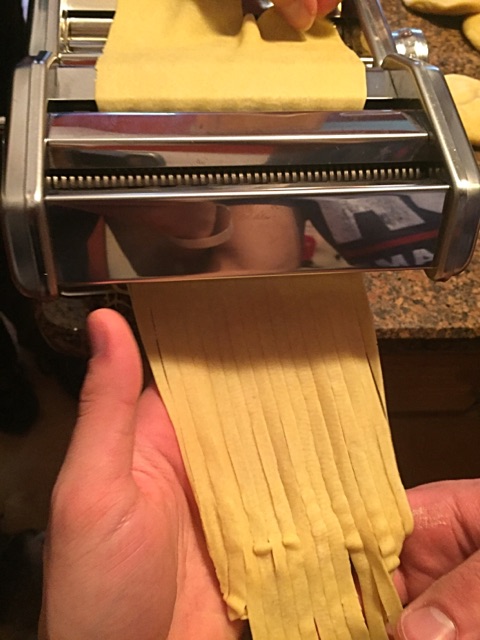
Photo by Kevin Kozlik
Cutting the pasta is quite similar to rolling. The now-flattened dough is fed through the cutting attachment of the machine, and is run through in the same manner as rolling. Obviously, the dough only needs to be processed through the machine once during cutting as opposed to multiple times during flattening. For our Christmas dinner, we decided to make our pasta into fettuccine (a thicker version of spaghetti).
Drying the Pasta
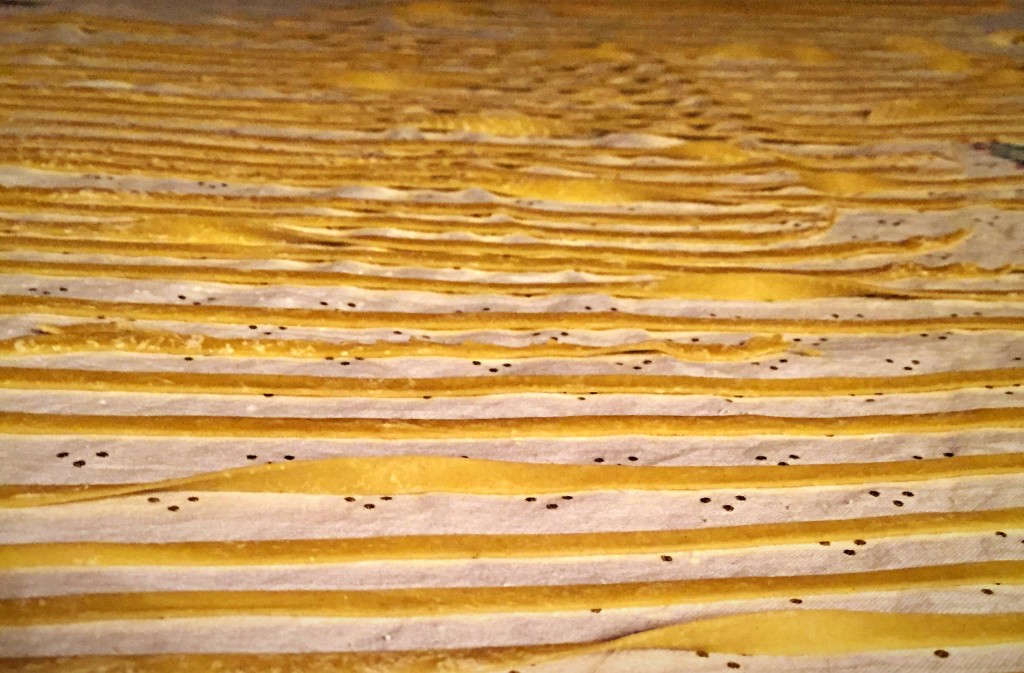
Photo by Kevin Kozlik
And here we are—the final product. Of course, the pasta seems much softer and mushier than the boxed pasta that everyone’s used to, but that’s only because the pasta hasn’t been dried out yet.
Drying is not required, however my mother likes to lay out the pasta overnight to dry. This is mostly based on tradition, and may or may not have an impact on the taste of the pasta in the end. In my opinion, the sight of all the strands of pasta lying out on a long table is a beautiful thing, so it’s worth it.
The hard work and time consumed during these steps not only creates a truly distinguishable, delectable batch of pasta created from scratch, but it also generates everlasting memories with the ones you make it with. I sincerely recommend making pasta over buying boxes or bags if the time permits.
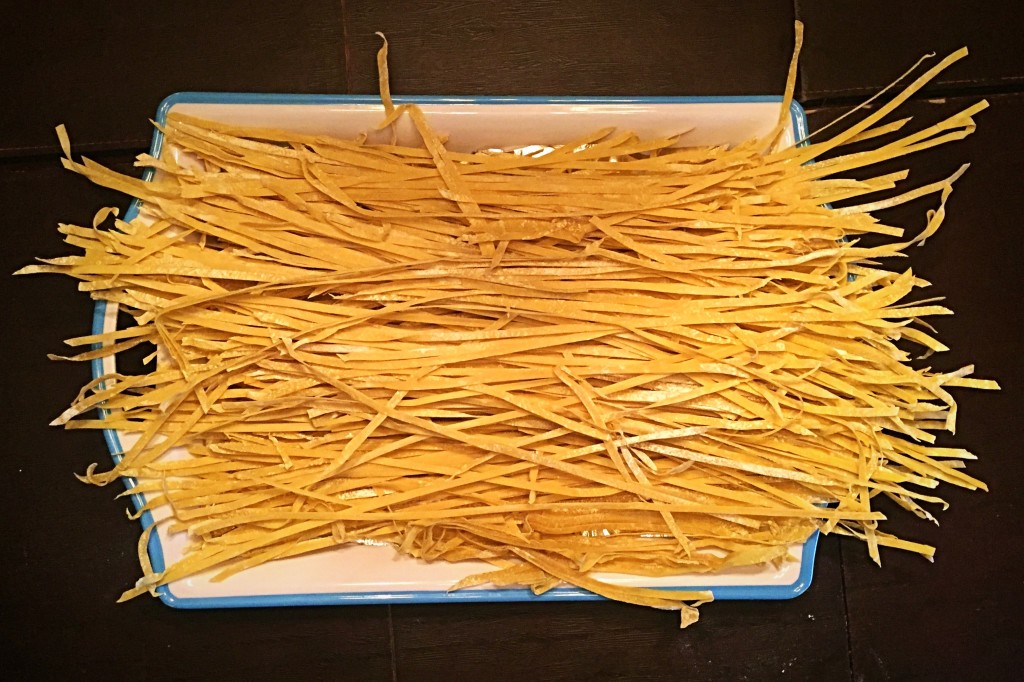
Photo by Kevin Kozlik
All that’s left now is the easiest and, of course, the best part: cook it and eat it. Homemade pasta only has to be cooked in a pot of boiling water for about 60 seconds to two minutes—much less time than the traditional 8-12 minutes that the boxed kind calls for.
When the timer is done, that pasta can be smothered in your choice of sauce, buried in heaping amounts of fresh shaved cheese, and savored as one of the best meals ever created. Mangia!


