If you’re like me, you’re most likely a Millennial Foodie, AKA you not only love to eat delicious food, but you also like to take (many) photos of it – much to the dissatisfaction of your friends and family. However, I have found through my years of experience on Instagram that not everyone knows the best way to truly capture a dish’s brilliance (with the help of some handy-dandy filters) behind their small screen. Never fear, I’m here to help rack in that plethora of likes.
Step 1: Natural Lighting

Photo by Jane Madden
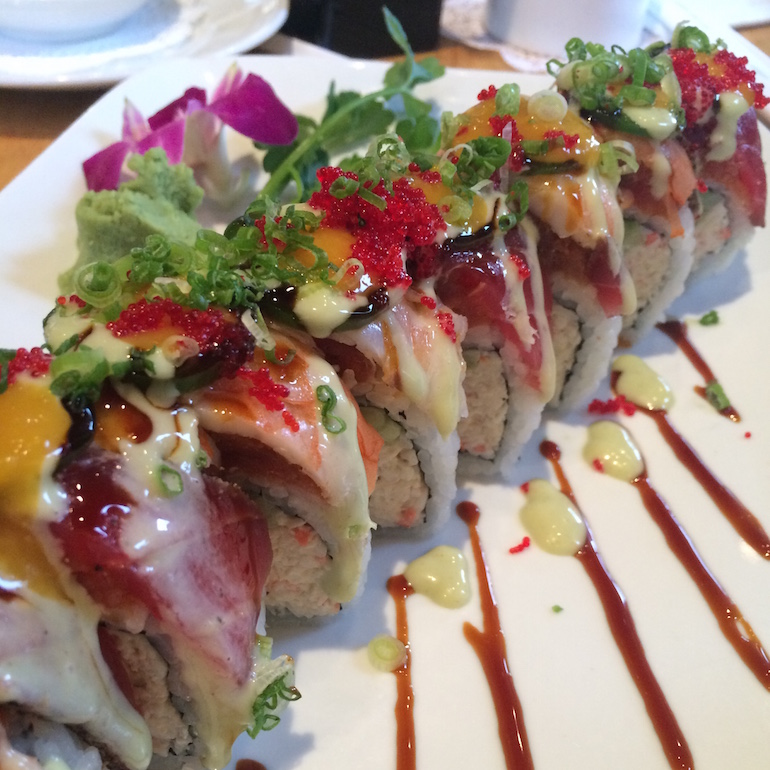
This is a tip applicable when it comes to all types of photography, but the lighting will make or break your photo from the get-go. You could have the best miso-marinated black cod ever at Nobu, but the dim lighting in the hip establishment WILL prevent you from having a good base for editing.
#SpoonTip: Crop, if necessary. Thanks to the new Instagram update, pictures don’t have to be square, but for aesthetically pleasing purposes I usually just take square photos to save cropping hell down the line.
Step 2: Color Correct

Photo by Jane Madden
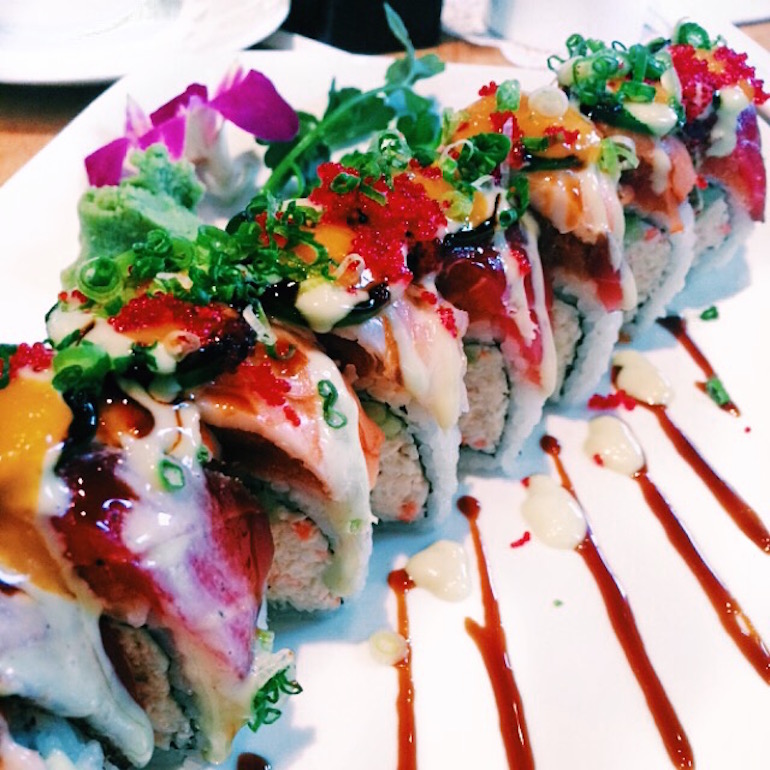
This is a part where you can really have free reign. If you’re like me (certifiably Insta-insane), you may have a theme for your feed – a certain color scheme to your photos so that they all match. I personally use VSCO, with the filter C1. Adjust the saturation/highlight/shadow to your liking.
#SpoonTip: Up the clarity/sharpness, as editing apps tend to lower photo quality.
Step 3: Turn Up Saturation and Turn Down the Temperature

Photo by Jane Madden
You want your colors to be bright, but I find that when boosting the saturation in photos, it’s common that the red/oranges become very warm. Simply knock down the temperature to a cooler level and ta-da! ‘Blue’ photos tend to look cleaner and sharper, and who doesn’t want that?
Step 4: Whiten the Whites

Photo by Jane Madden
Okay this is the biggest secret to success I can reveal. Open up some sort of ‘beauty editing’ app, such as FaceTune (the Kardashian key to success) and use the teeth whitening tool to edit anywhere that white. Trust me. This works wonders.
#SpoonTip: If you really want to get fancy, you can also use the tool meant to hide blemishes to clean up any spills or crumbs on the plate.
Step 5: Open Instagram and Post it Like a Polaroid Picture

Photo courtesy of @spoon_standrews on Instagram
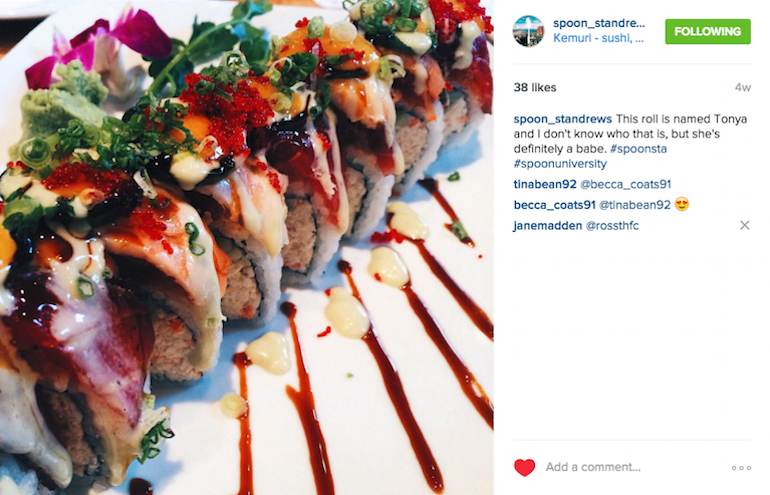
Open up Instagram and post away, so all of your friends can see the food you carelessly snapped… they don’t have to know all the work you just put into it.

Collage by Jane Madden
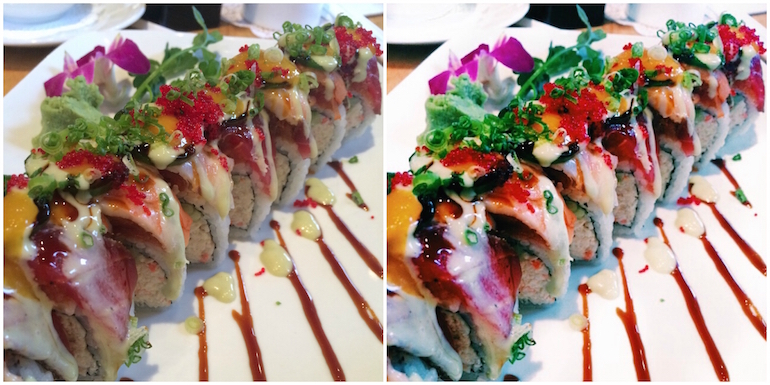
So there you have it, friends. Taking pictures of meals, and caring way too much about what they look like, one day at a time.


