Like any reasonable young person trying to make my way in this world, I love to experiment with how little work as possible I can do while still achieving the same result. Baking and cooking are no different; I am way too lazy to actually follow recipes to a T. Here’s a helpful primer on which recipe steps you can skip if you are lazy or busy like me, and which one’s you should never skimp on.
1. Sifting Flour
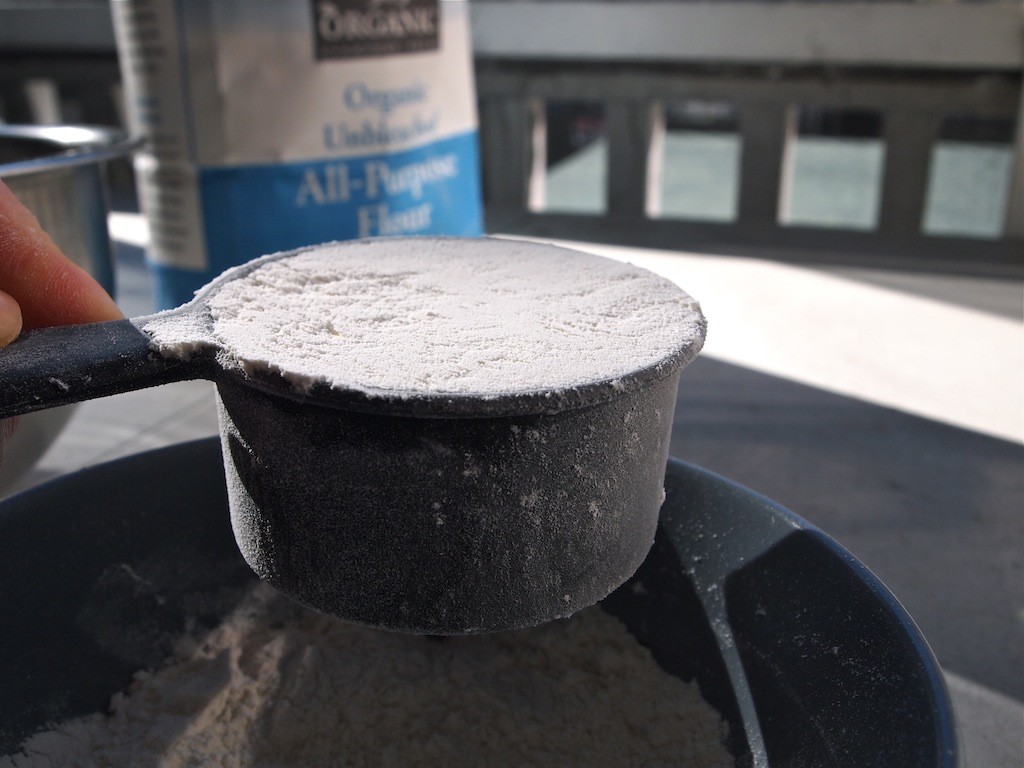
Photo by Kendra Valkema
While many recipes specifically call for sifted flour or powdered sugar, most college bakers don’t have a sieve or sifter on hand in a cramped kitchen. Good news: Epicurious says that properly sifting your ingredients isn’t always necessary. Some ingredients, like powdered sugar, are more prone to clumps, but as long as your flour is stored upright and un-squished, you can probably get away with skipping this one.
VERDICT: SKIP IT IF YA LAZY LIKE ME
#SpoonTip: You can use a whisk instead of a sieve if you are really in a pinch.
2. Mixing Dry and Wet Ingredients Separately
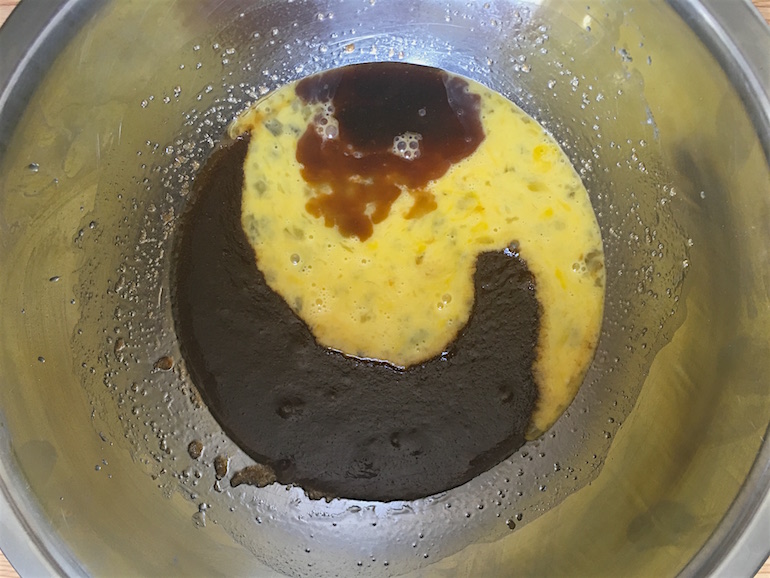
Photo by Francesca Rinaldo
If you’re like me, you like to minimize the amount of dishes you’ll have to do at all costs. Sometimes, I’m tempted to just mix all ingredients in one big bowl even if the recipe says to mix it separately and add dry ingredients in slowly. Unfortunately, especially in recipes with baking soda or yeast, it is really important to make sure that the dry ingredients are properly distributed, so you’re better off dirtying that extra bowl and mixing those first.
VERDICT: SUCK IT UP AND DO IT, MAN
3. Measuring Butter or Oil
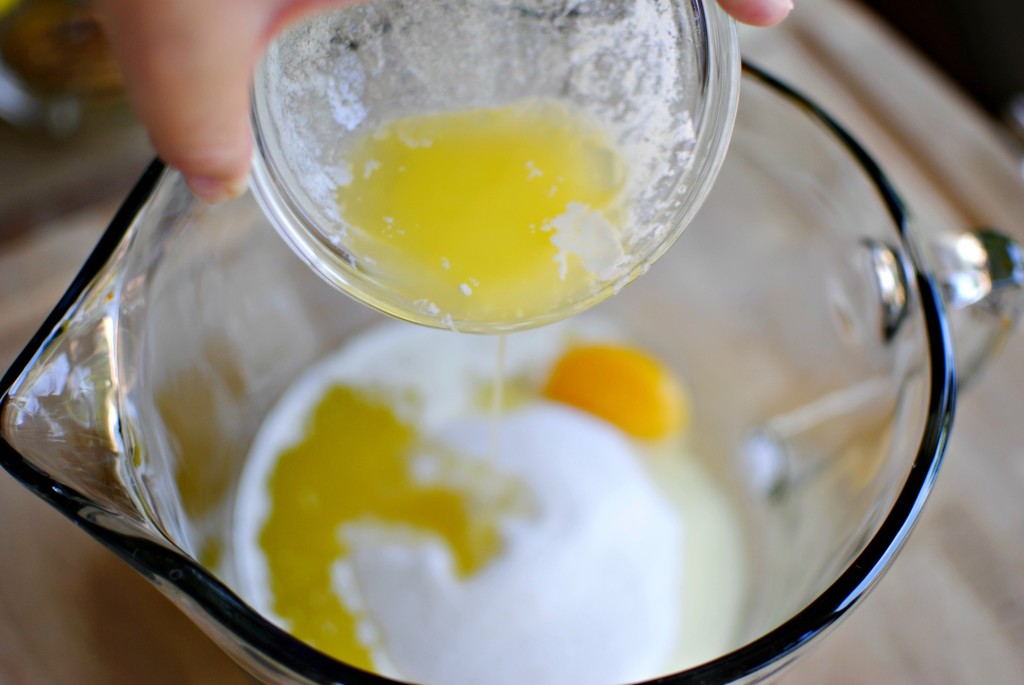
Photo courtesy of simplyscratch.com
One of my favorite food blogs, Macheesmo, recently let me in on a little secret: Sometimes writers put less oil or butter in their recipes then they actually used to make the recipe seem healthier. While this may seem like a crazy conspiracy theory, it kinda makes sense, especially considering recent healthy baking trends. This means that you probably can go a little over or a little under the recipe requirements for this step and get away with it.
VERDICT: YOU CAN FUDGE THIS ONE BRAH
4. Salting Your Pasta Water
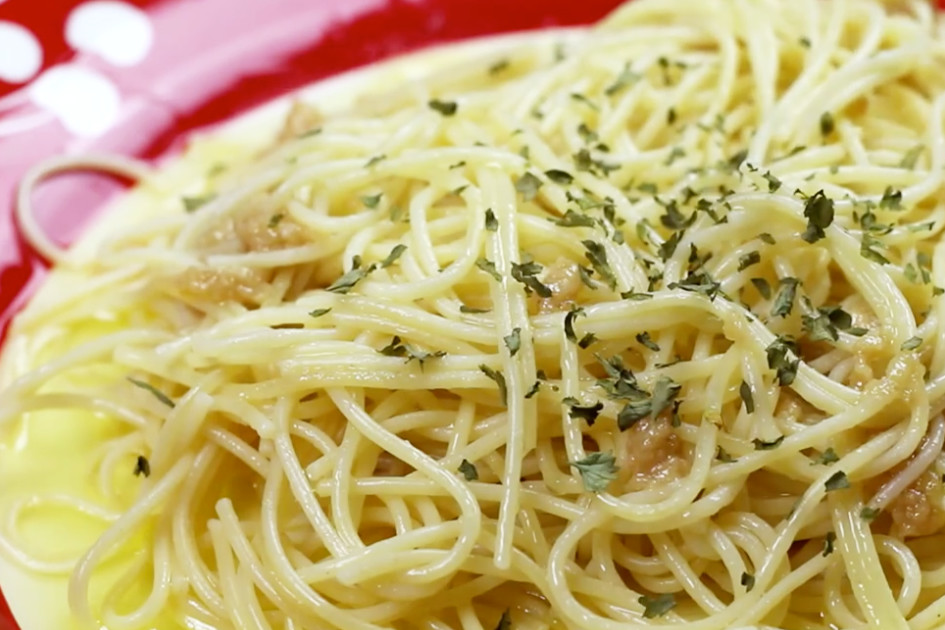
Photo by Steph Cozza
This one’s pretty easy, and almost everyone has salt on hand, but it’s easy to forget about this step in the grand scheme of a delicious pasta recipe. While salting your water doesn’t actually make it cook faster as some old wive’s tales pronounce, it is still actually super important. It makes the pasta taste way better. Don’t be like Olive Garden. Salt your pasta.
VERDICT: NOT CRITICAL BUT MAKES A SIZEABLE DIFFERENCE
#SpoonTip: Salt the water after it’s boiled, as there is more oxygen in the water for the reaction to take place.
5. Chilling Cookie Dough
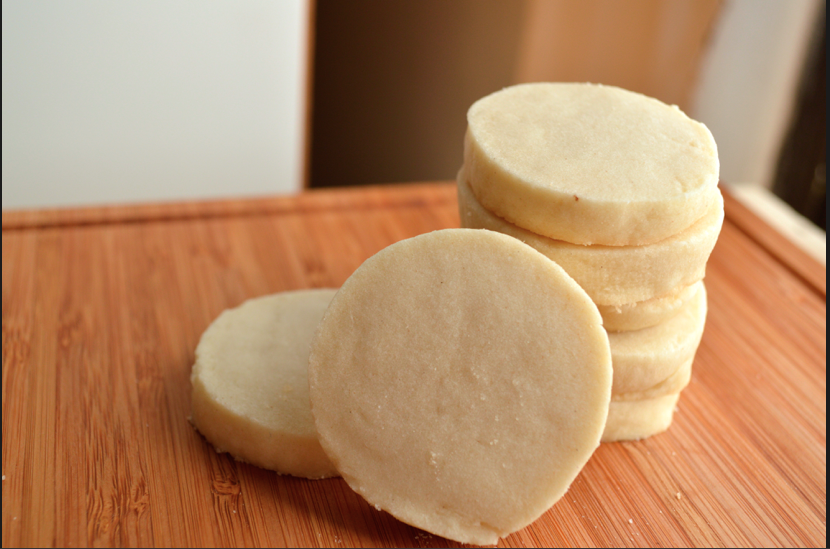
Photo by Mimi Takano
Who the heck wants to wait 12 or more hours before baking their cookies?? I definitely don’t. Unfortunately for impatient bakers like me, you are seriously doing yourself a disservice if you don’t hold off. Chilling your cookie dough makes your cookies chewier, fluffier, and all around more delicious and flavorful.
VERDICT: THIS ONE’S IMPORTANT HOMIES. I’M SO SORRY.
6. Fluffing Couscous
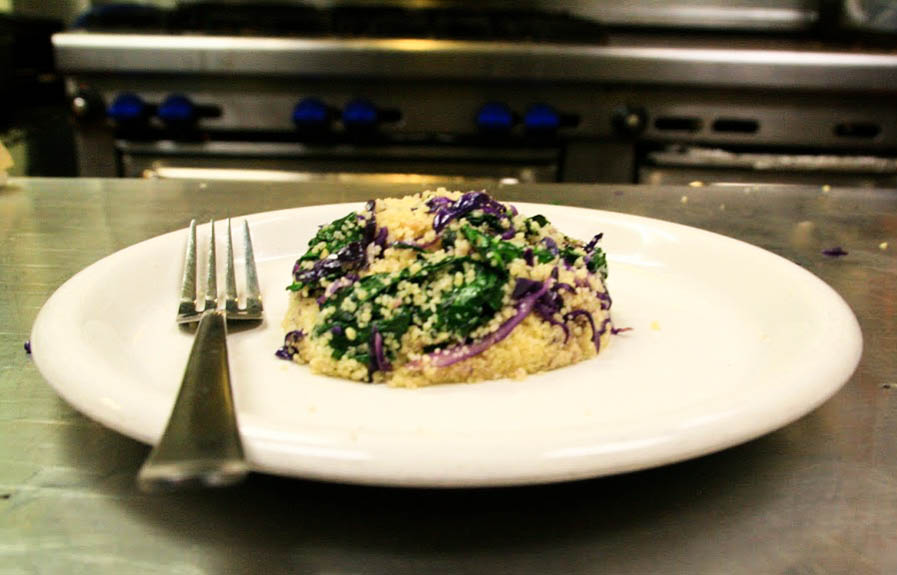
Photo by Summer Si
This one’s pretty much a niche, but considering how often I make couscous, I think it’s necessary to include. Couscous is seriously the most low-maintenance dinner ever, and so quick. Since it’s so easy, it shouldn’t inconvenience you too much to fluff it with a fork before letting it cool; this helps break up the clumps and make it, well, fluffy.
VERDICT: FLUFF THAT B***H. YOUR COUSCOUS WILL THANK YOU
7. Letting Butter Or Eggs Sit at Room Temperature
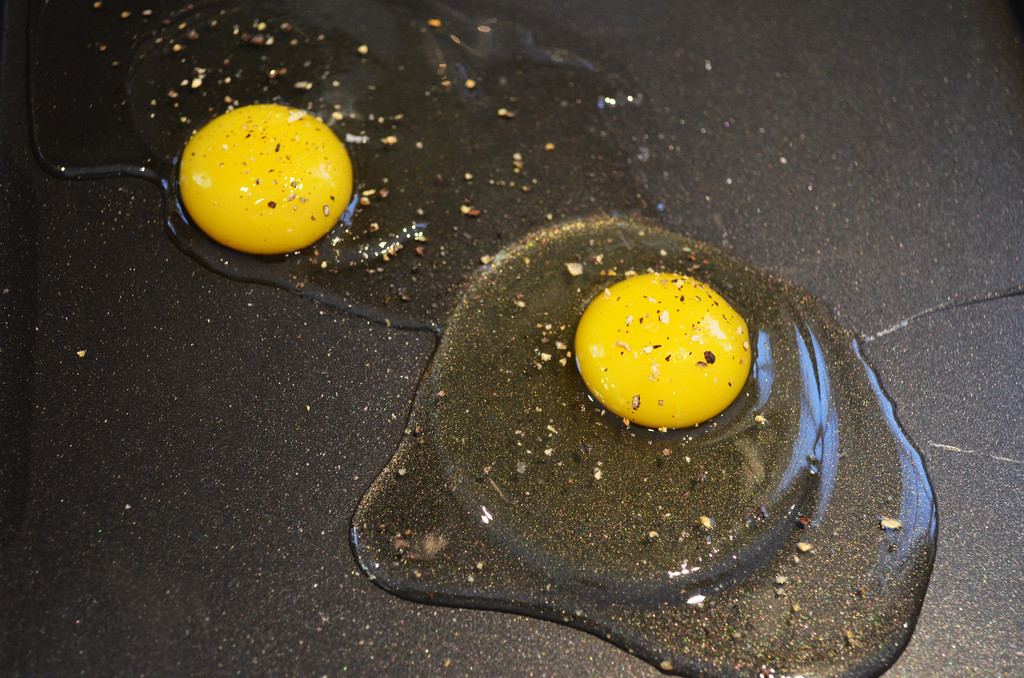
Photo by Megan Prendergast
This is another step that impatient bakers like myself tend to overlook. From personal experience, I usually get away with this one— using eggs right out of the fridge hasn’t noticeably changed my final product, and I just melt the butter a bit in the microwave, so I’d like to think this is not super necessary. You will probably find bakers out there that disagree with me, but what can I say, I like to push the envelope a little. Sue me!
VERDICT: NO WORRIES, YOU CAN SKIP IT
8. Soaking Quinoa or Rice
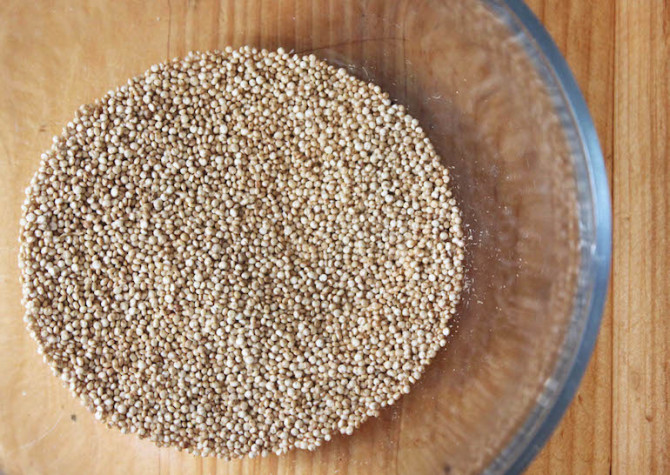
Photo by Grace Bodkin
Rice can be such a pain to make, and unfortunately, you usually have to get it juuuust right or your end product is gonna be subpar. While quinoa is less finicky for sure, it still has its little quirks that are necessary to follow. Thankfully, the rinse process is not one of these quirks. Rinsing quinoa removes its natural coating, which gives it an earthy and nutty taste. If that’s your thing, don’t worry about rinsing.
VERDICT: THIS IS THE ONE THING ABOUT RICE YOU CAN SCREW UP
9. Following Baking Soda/ Powder Expiration Dates
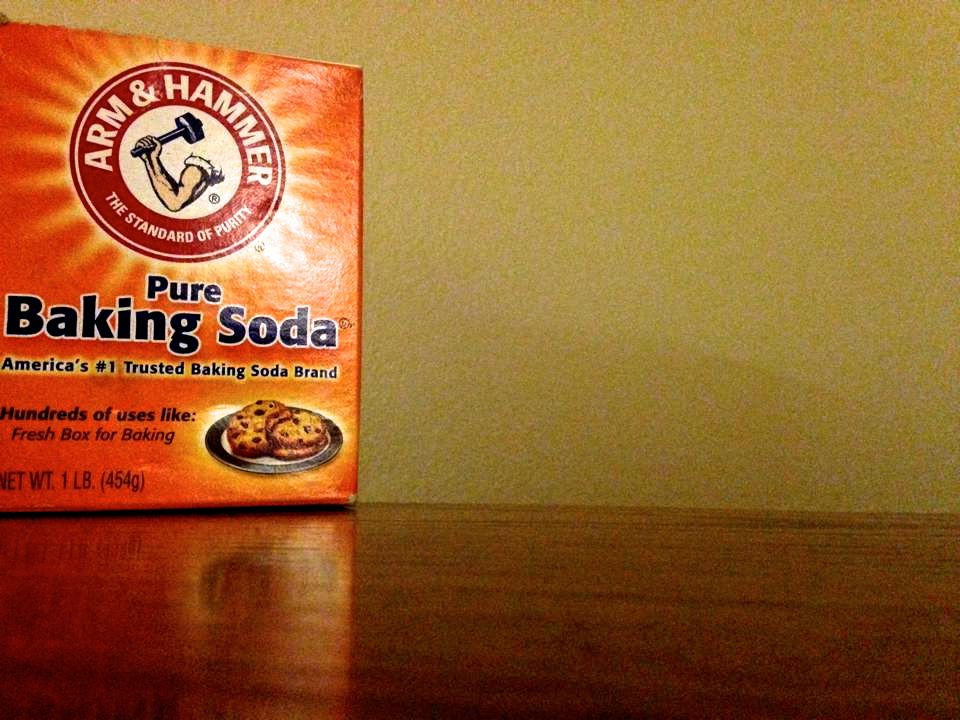
Photo by Nora Cliff
Baking soda and baking powder are two of those ironic, pesky kitchen pieces that you use very infrequently or sparingly but are still necessary to have in your kitchen. Plus, they sometimes end up ‘expiring’ before you get a chance to use it all. According to Eat By Date, baking powder can last up to one year after it’s printed date, and baking soda can last even longer. Instead of following these dates, try this simple test to see if yours are still potent.
VERDICT: NEVER LET THE SYSTEM BRING YOU DOWN. DONT FOLLOW ‘EM
10. Peeling Root Vegetables
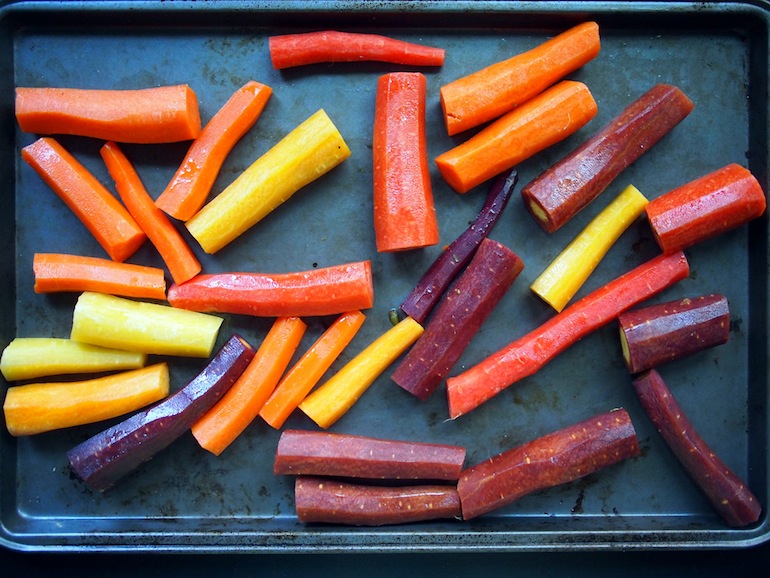
Photo by Elizabeth Tadie
In the Spoon McGill test kitchen, we love our root veggies. Carrots, beets and potatoes make our world go ’round. However, we are also busy bees who like to use our time wisely. Spoon writer Nathalie points out that it’s pretty unnecessary to peel these in a lot of cases. The peel is healthier and adds flavor, and after boiling, it is pretty easy to just rub the excess stuff off.
VERDICT: DON’T WASTE YOUR TIME, YOU’RE TOO IMPORTANT FOR THAT
11. Let Cakes Cool Before Taking Them Out of The Pan
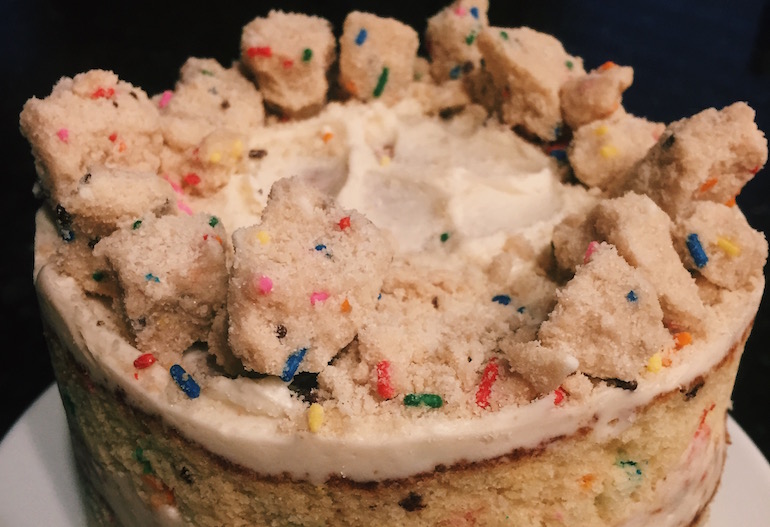
Photo by Grace Phillips
Once again, my need to consume baked goods ASAP sometimes takes over my patience (anyone noticing a pattern here, guys? I’m terrible). One thing I will NEVER skimp on, though, is taking cakes out of the pan before it has cooled. And don’t even THINK about trying to frost it while its still warm. It’s your funeral.
VERDICT: YOU WILL RUIN ALL YOUR HARD WORK. IS IT REALLY WORTH IT?
#SpoonTip: Don’t cool your cake on the oven, which is likely still super warm. That’s just dumb.
12. Using the Right Blender or Mixer Setting
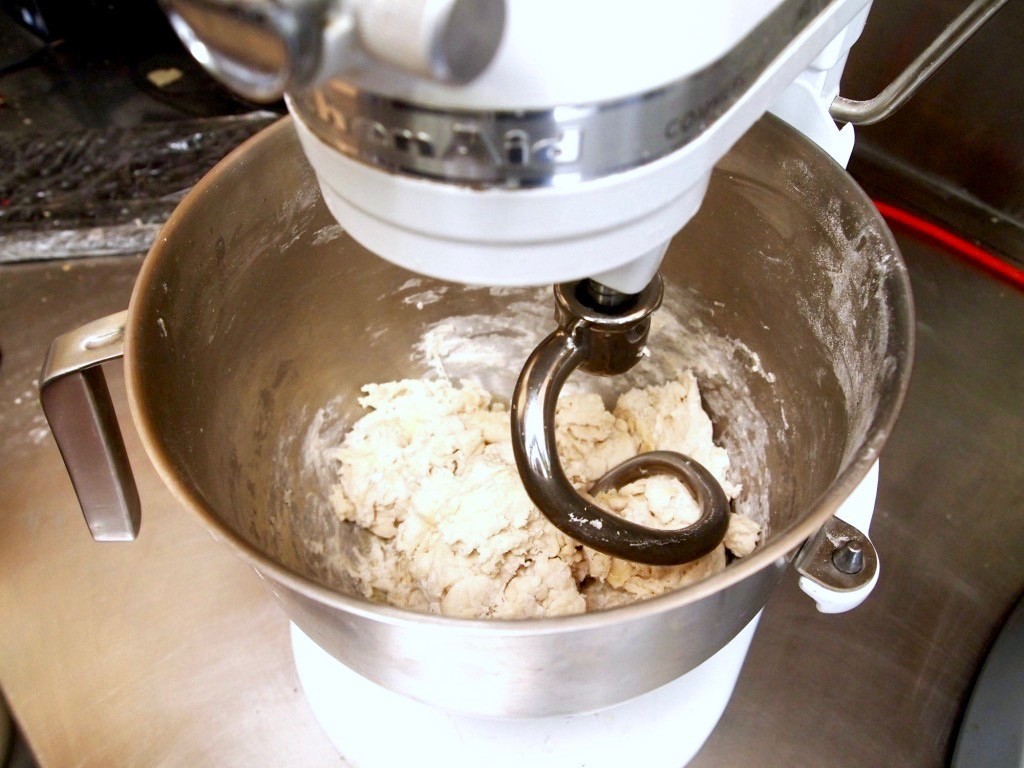
Photo by Laura Lim
While not everyone is lucky enough to get a KitchenAid for Christmas, this primer is pretty helpful in letting you know which settings work for which foods. And you can also logically apply these rules to blenders, too. I don’t see why you wouldn’t follow this anyway, unless one of your settings is broken or something, but yeah, you should do this one.
VERDICT: V HELPFUL, DEFINITELY GO FOR IT
13. Soaking Beans
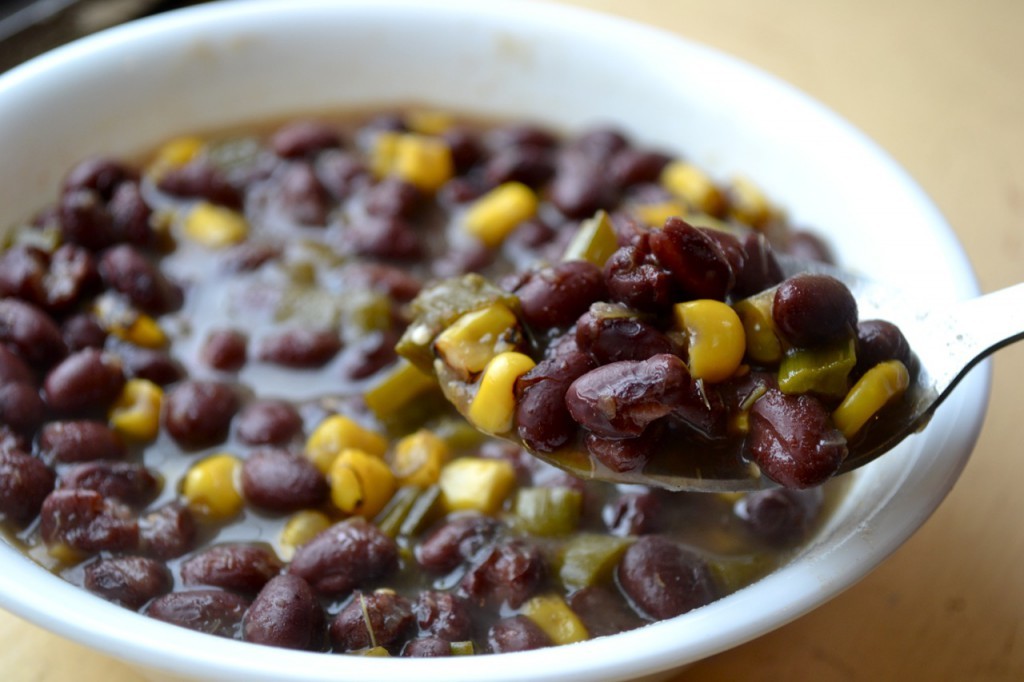
Photo by Kelda Baljon
While I usually just use canned beans for my bean needs, I guess there are some bean purists out there that use dry ones. While soaking the beans overnight may cut down on cooking times, it doesn’t actually improve the flavor or texture. And even in terms of cooking times, some are way less important than others, like lentils.
VERDICT: MEH DON’T BOTHER
14. Preheating Your Oven
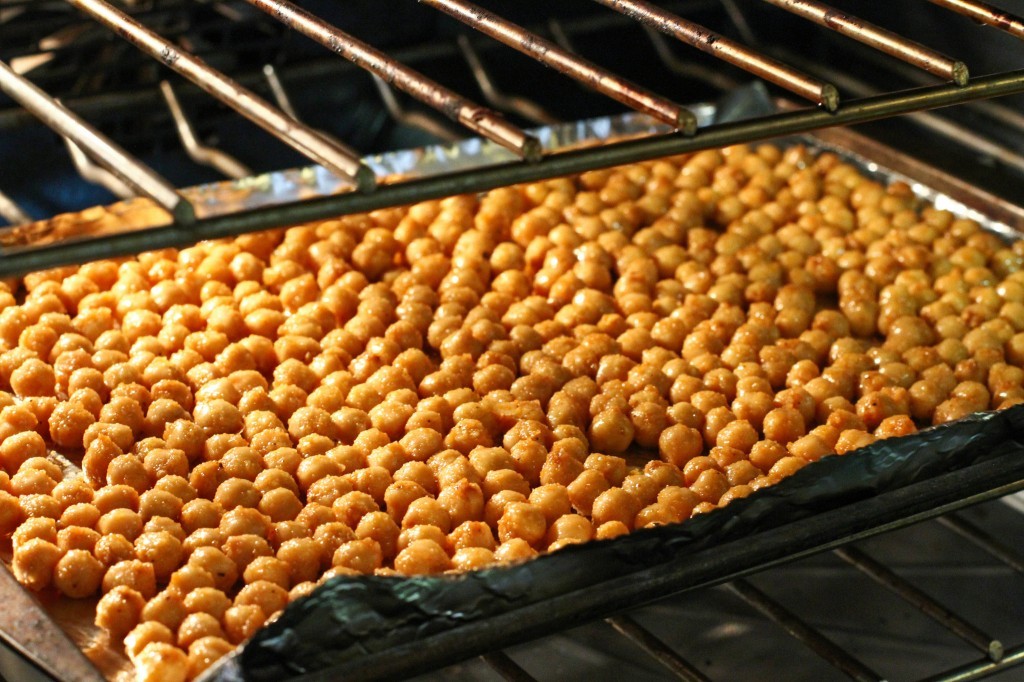
Photo by Mulin Xiong
I know what you’re thinking, like, is she serious? But I started thinking about how much time I leave my oven on before cooking and how much energy that wastes, so I decided to do some research. Turns out, quite a few sources say that you can start cooking before your oven is fully preheated, and it works just fine. However, food cooks unevenly in a cold oven, so especially if you are working with raw ingredients, you may be better off playing it safe.
VERDICT: JURY’S STILL OUT ON THIS ONE. TRY IT AT YOUR OWN RISK


