Cupcakes are delicious treats that are super easy to make, however, I always have problems making them look super fancy when I don’t have a piping bag or tips on hand. Through extensive googling, I found that there really aren’t many ways to fancily frost cakes with objects that could be found in a house or a dorm room.
So, with a little creativity and a lot of free time I decided to take random objects from around my house and put them to the test to see if I could use them to decorate my cakes.
Ziploc Bag
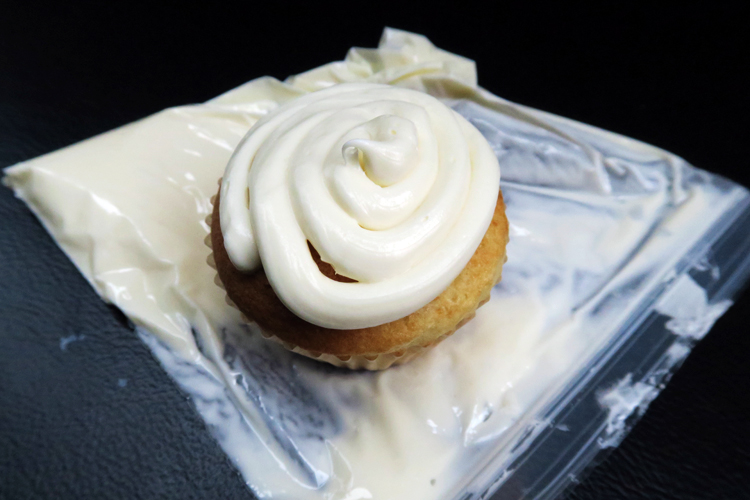
Photo by Julia Wigdor
Using a Ziploc bag is a well-known way to frost cakes when piping bags aren’t available. Start by filling a plastic baggy about half full with a frosting of your choosing. Squeeze all of the frosting down towards one corner. Use scissors to cut the corner off, but be aware the more you cut off, the thicker the frosting will be.
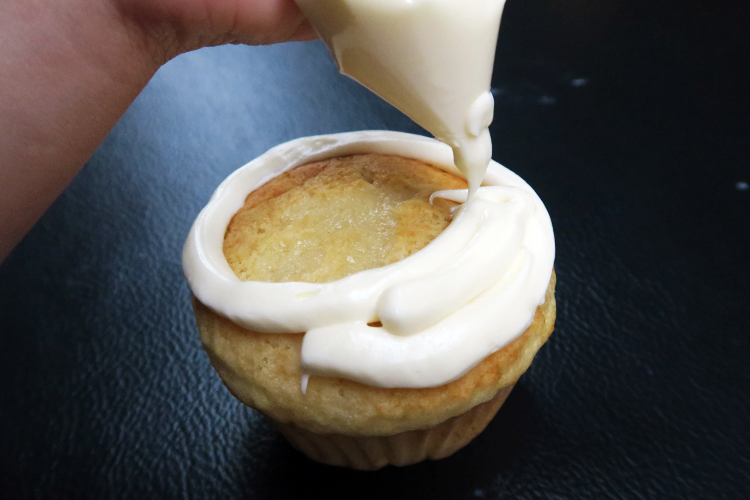
Photo by Julia Wigdor
Squeeze the bag until frosting comes out and swirl that delicious substance over your cupcake. Ta-da: you’ve got one fine looking cake!
Cups
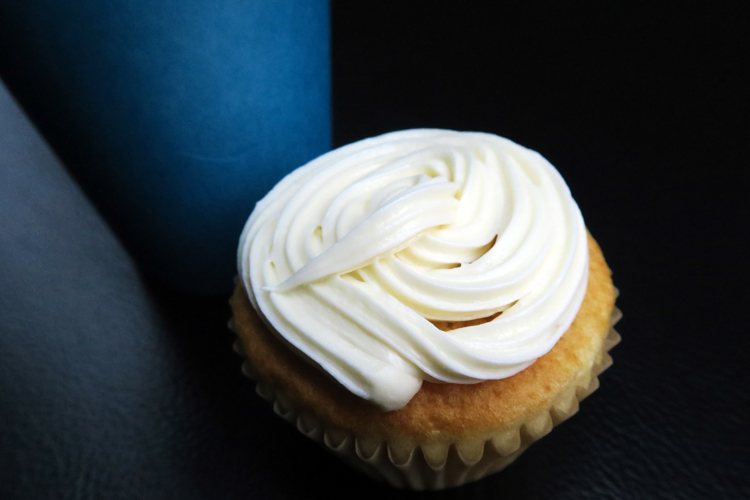
Photo by Julia Wigdor
Using 2 cups is a super easy technique for that super fancy frosting design.
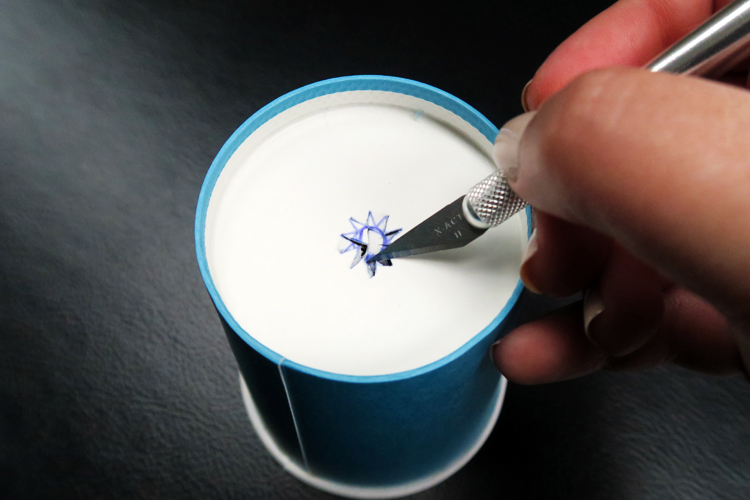
Photo by Julia Wigdor
Start by taking any disposable cup you have on hand (yes, red Solo cups work as well) and draw a shape into the centre. After that, grab a sharp knife or scissors and carefully cut out your shape. Keep in mind that the more defined the shape, the better it will look on your cakes.
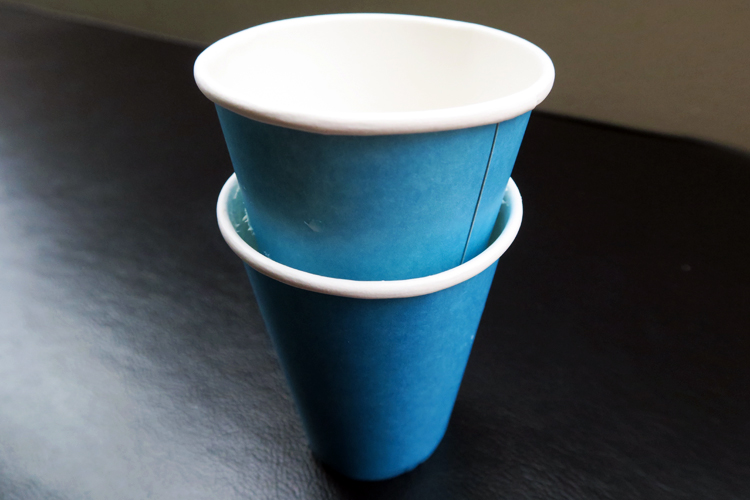
Photo by Julia Wigdor
When your shape is fully cut out, place frosting into the cut cup until it fills the cup about halfway. Then, place another cup (don’t cut this one) inside the cup with the frosting. Carefully press down on the top cup and your frosting will come out of the shape in the bottom cup. Swirl that frosting around your cupcake for a super fancy look any cupcake connoisseur will love.
Parchment Paper
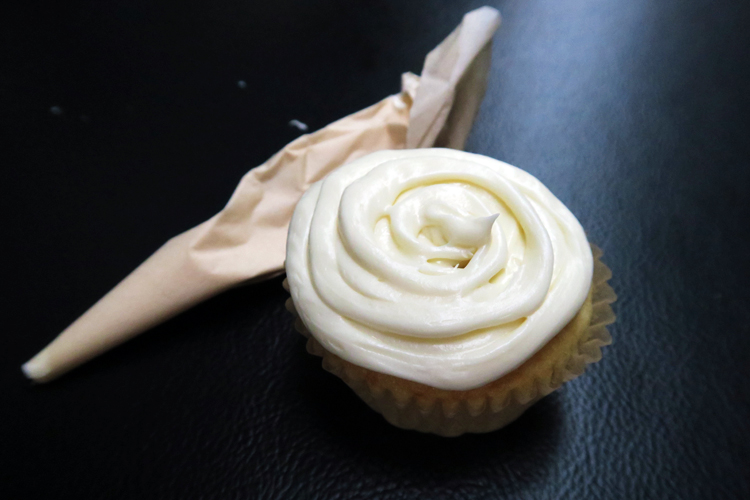
Photo by Julia Wigdor
Parchment paper, although the messiest technique of the three, is one of the best objects to use for a more precise frost. Start by cutting a square piece of parchment paper in half diagonally to create a triangle.
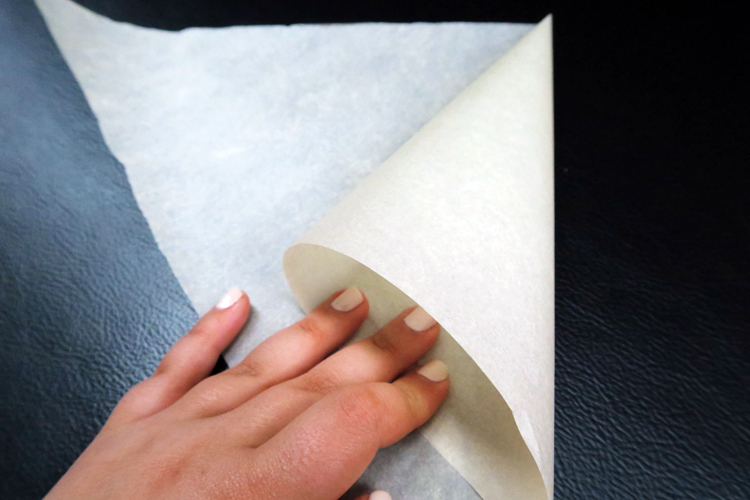
Photo by Julia Wigdor
Here’s where this technique gets tricky. With the triangle, roll the right corner towards the centre and then roll the left corner over that so they both meet up in a cone.
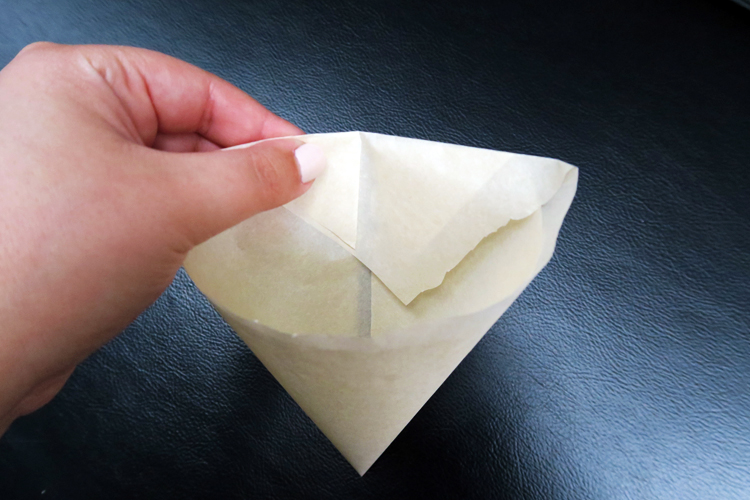
Photo by Julia Wigdor
When you have your cone, fold the edges that don’t fit into the cone to prevent it from unravelling. Fill the cone with frosting and cut the tip to frost.
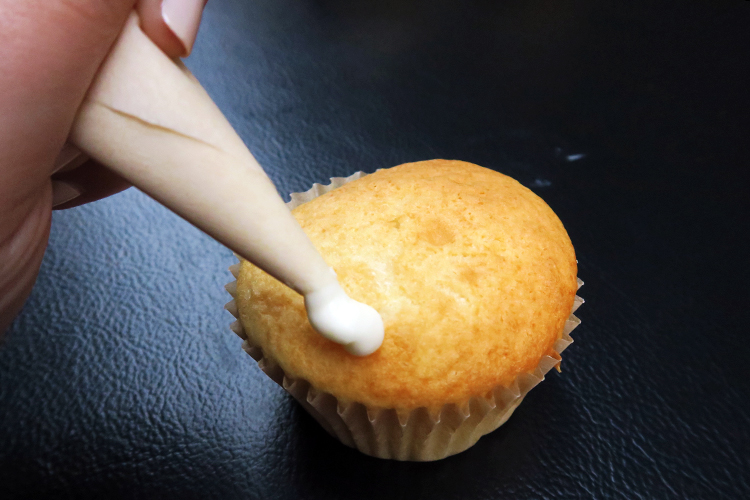
Photo by Julia Wigdor
If you don’t have Ziplocs on hand, this technique is great. The only problem I had while frosting is that it’s impossible to refill. However, if you want a super thin line this technique is best for that.
Your Finger
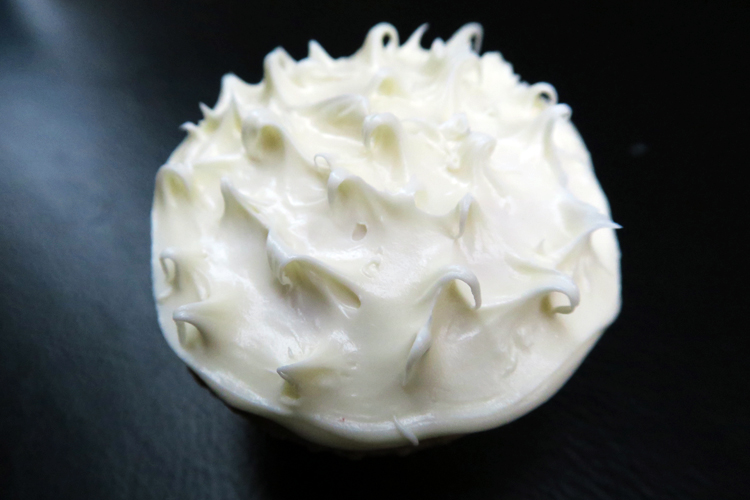
Photo by Julia Wigdor
You’re probably thinking, “really, a finger?!?” But let me tell you, nothing is better than getting your hands dirty. Sure it’s a bit messy, but this spiky cupcake look is so much fun to do…and you get extra frosting for later when you’re done.
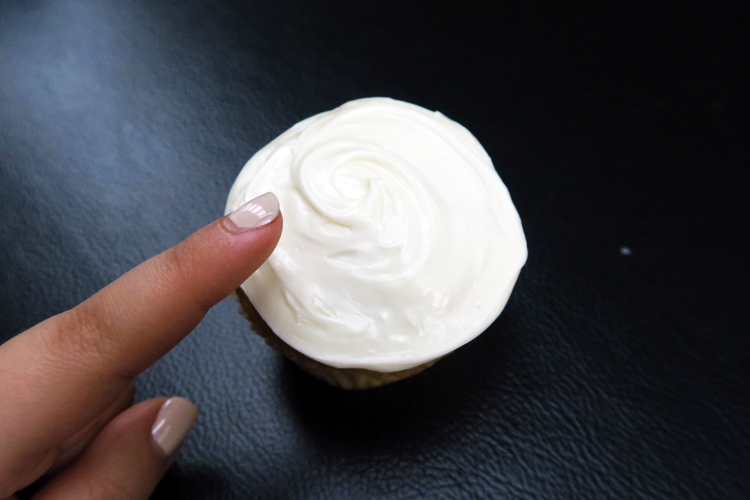
Photo by Julia Wigdor
Start by frosting the traditional way by scooping frosting with a butter knife onto your cupcake and smoothing it out. Next, take your finger (it doesn’t matter which one) and press it lightly into the frosting. Pull back your finger quickly and you should’ve made a little spike in the frosting. Rotate the cupcake to create spikes all over the cake.
Toothpick
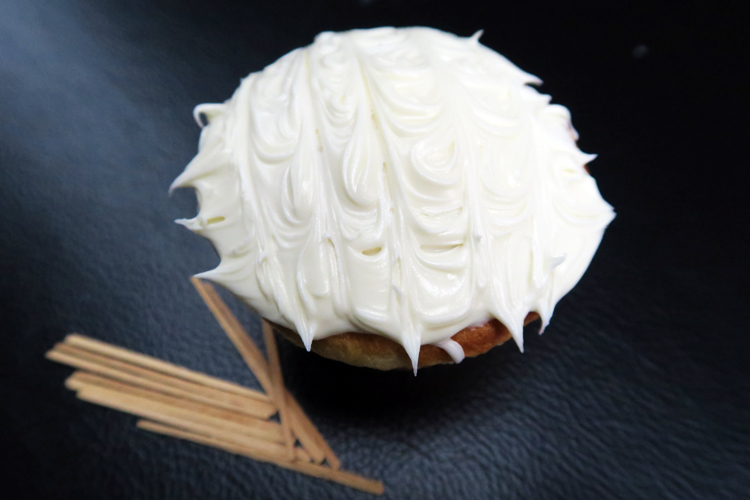
Photo by Julia Wigdor
There are so many different ways to make designs in your frosting with a toothpick.
Start by spreading frosting all over the cupcake with a butter knife.
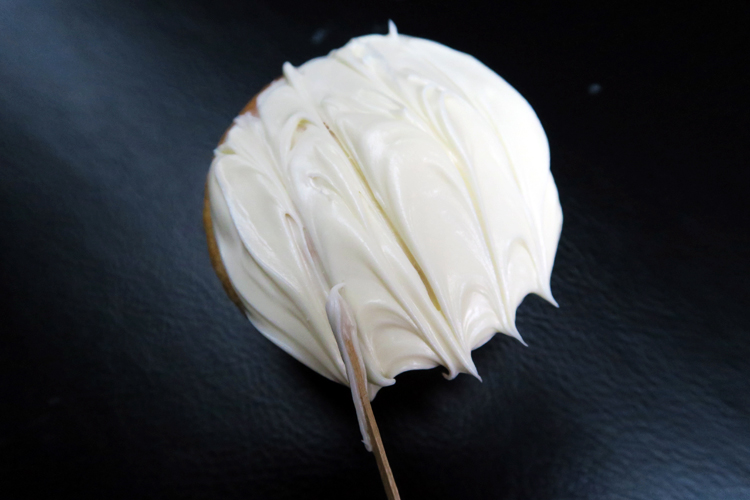
Photo by Julia Wigdor
Using a toothpick create lines like a tic-tac-toe board in the frosting back and forth until swirls start to appear.
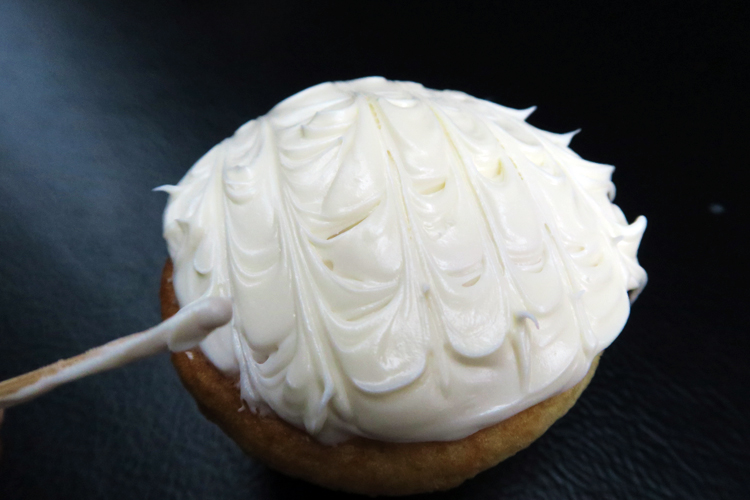
Photo by Julia Wigdor
The more lines you make, the more swirls appear. There really is no wrong way to do this technique so try it and be creative!
And for an added bonus …
Food Colouring Splatter
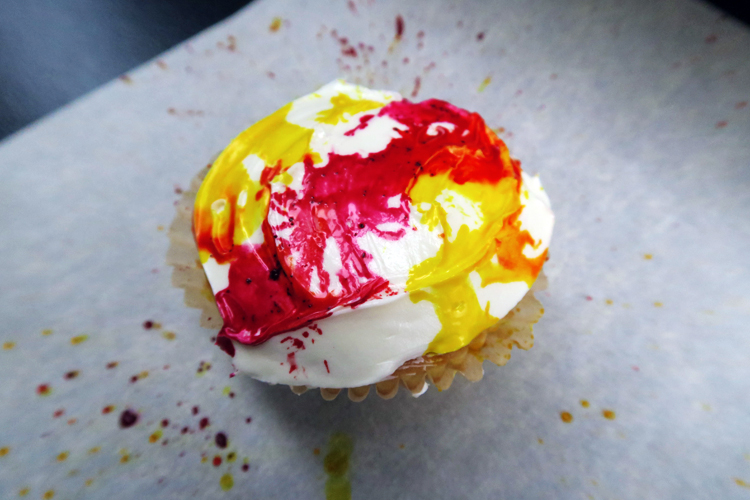
Photo by Julia Wigdor
If you don’t mind a little mess and a bit of light-headedness, this decoration is super cool. Squeeze a few drops of food colouring randomly on the top of the cupcake. Taking a straw, blow air onto the drops to have them splatter around the frosting and create a really pretty tie-dye effect. Mind = blown.


