Listen up, foodies and health nuts. I brewed my own kombucha and it was unbelievably easy.
If you’ve never heard of kombucha, you’re missing out on the latest health craze (which has actually been around for more than 2,000 years). The ancient Chinese probiotic powerhouse known as kombucha is fermented tea, mixed with whatever flavors are added to it.
It tastes like a mixture of vinegar, juice, and sparkling tea; it’s delicious, but somewhat of an acquired taste. If you need any more convincing that kombucha is the elixir of life, check out the numerous health benefits.
The Undertaking

Photo courtesy of Emma Christensen on thekitchn.com
I’ve been obsessed with this tangy tea ever since I discovered it in 2009. If you’re a fellow kombucha drinker, you know that at around $4 per bottle, buying your kombucha at the store quickly adds up. As my kombucha habit started to take a toll on my bank account, I became determined to brew my own.
Though I was intimidated, I was put at ease with a little help from the wonders of the Internet.
The Dreaded SCOBY

Photo courtesy of Emma Christensen on thekitchn.com
To make your own kombucha, you first need to purchase a SCOBY (Symbiotic Culture of Bacteria and Yeast). I bought a dehydrated SCOBY from Cultures for Health and followed the activation instructions on the box (which took about 30 days). Handling the SCOBY is by far the most daunting part of making kombucha.
When dehydrated, it looks like a dried out piece of bologna, but when activated, it looks somewhat like a jellyfish. The SCOBY can also be referred to as the “Mother” or “Mother Culture.” Ideally, the mother will grow a “baby,” which you can then use to ferment your next brew. After activation of the SCOBY, you’re ready to roll.
The Process

Photo courtesy of Emma Christensen on thekitchn.com
For my own brew, I took a combination of instructions and advice from The Food Renegade and YumUniverse and The Kitchn.
To start, I boiled 14 cups of water with 8 Lipton black tea bags (you can use any kind of tea, but I thought this was the easiest and most neutral). I then stirred in 1 cup of sugar, and let the sweetened tea cool to room temperature.
After the tea cooled, I mixed in one bottle of plain, store-bought kombucha. I transferred this to a large glass jar, placed my activated SCOBY on top, and covered the whole jar with a coffee filter. I let this ferment for 7 days on the counter, out of direct sunlight.
Adding Your Flavor

Photo courtesy of Emma Christensen on thekitchn.com
The next big step is to decide on your flavor. There are so many interesting flavor combinations, but I decided on raspberry/ginger/honey, because it is relatively neutral and the sweetness from the berries and honey balances the slightly sour taste of the fermented tea. I added ginger to the flavor profile for a slight kick, but also for the well-known health benefits of ginger.
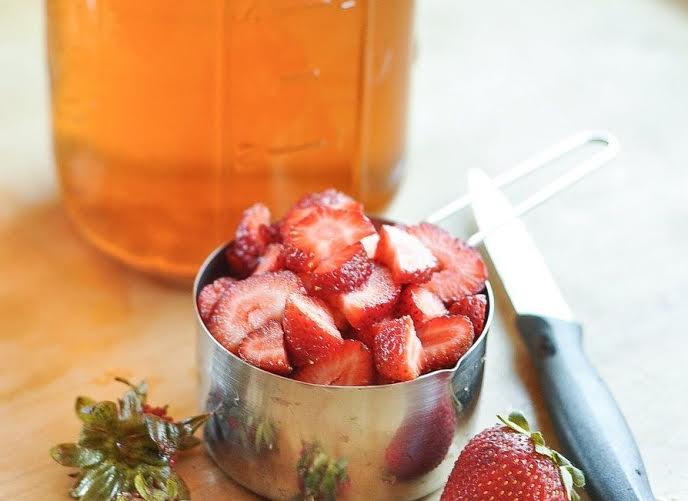
After the 7th day, I mashed two small containers of raspberries and added about two tablespoons of pre-minced ginger and one tablespoon of honey to the mixture. I transferred equal amounts of this fruity concoction into seven 8 oz mason jars. I poured the kombucha on top of the mixture, and closed them tightly.
I let these jars sit on the counter for 3 days for further fermentation (which will cause it to become slightly carbonated). Putting the jars in the refrigerator halts fermentation, so you can put it in the fridge whenever you want the fermentation to stop. The longer you let it ferment on the counter, the stronger your kombucha will taste.
My Findings
Brewing your own kombucha is way easier than you think, but requires some patience (because fermentation takes time). Making it yourself means that you can customize delicious flavor combinations to create a perfect tea all your own. Brewing the tea yourself is fun and rewarding because YOU actually made it.
So, if you’re someone who’s hooked on kombucha like me, making your own is a great way to save money in the long run.


