Avocado roses seem to be all the rage on social media these days. The Infatuation took over the Instagram handle @avocadotoast recently, and every couple of posts seems to be about avocado roses. Even puppies are obsessed with avocado roses.
Hungry? Perhaps it’s time that you make one.
Step 1: Pick the perfect avocado
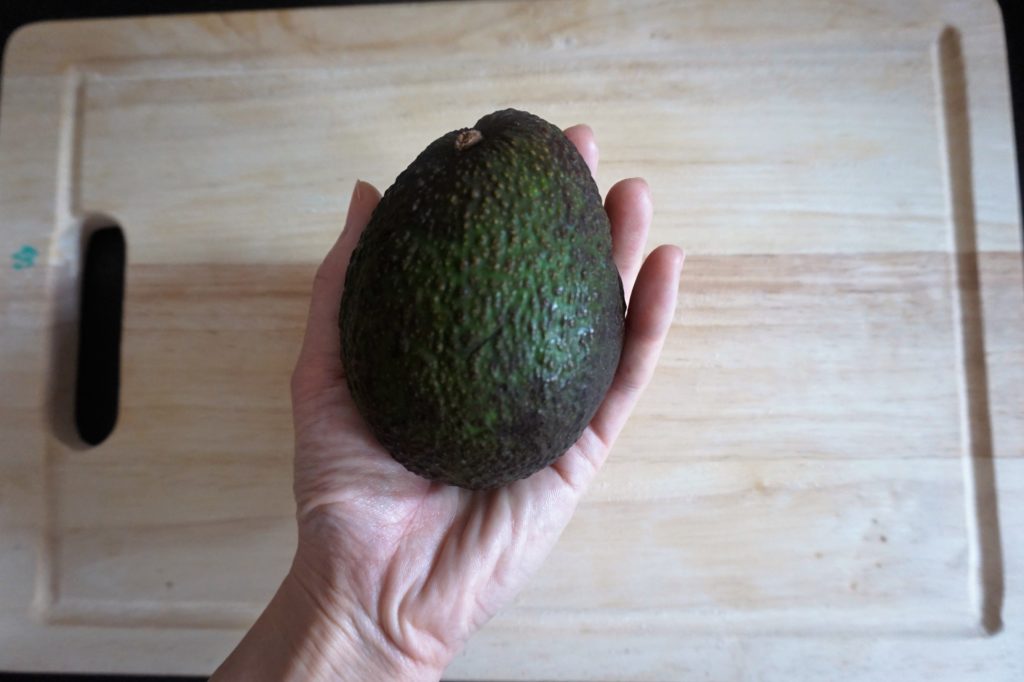
Photo by Weichen Yan
Easier said than done, we’ve had our fair share of not-so-perfect avocados. But there are some basic guidelines. Firstly, the color should be dark but still with a very slight hint of green. This is because you don’t want it too mushy: we are making avo rose, not guac. Secondly, when pressed with the palm of your hand, the avocado should yield to firm gentle pressure. Do not press with your fingers as it will bruise the avocado.
Step 2: Slice into halves and remove the seed
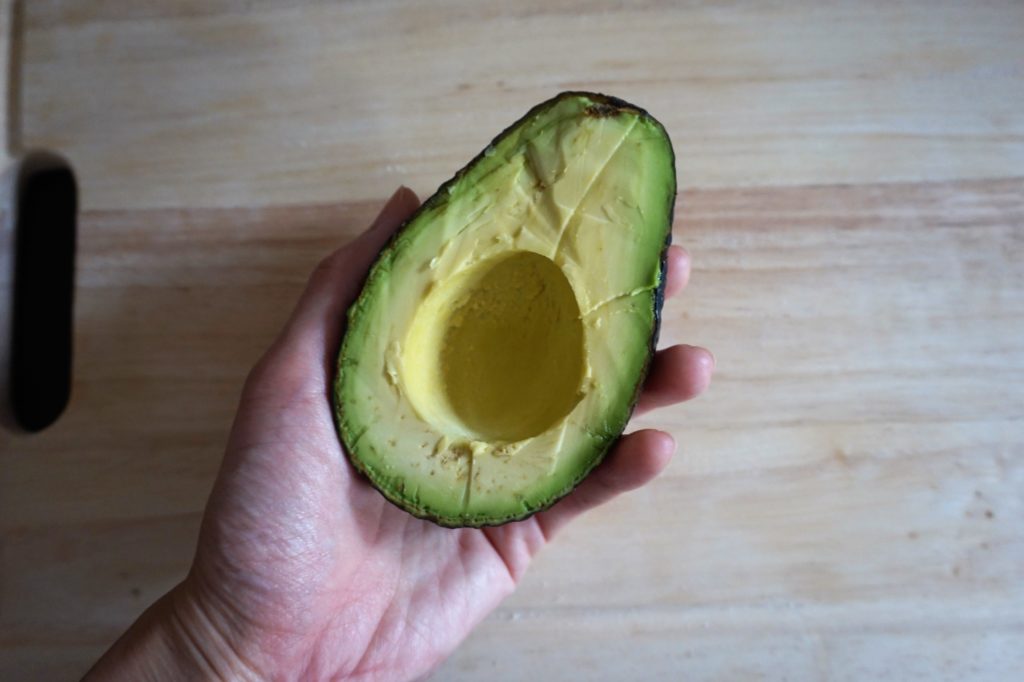
Photo by Weichen Yan
Step 3: Gently peel off the skin
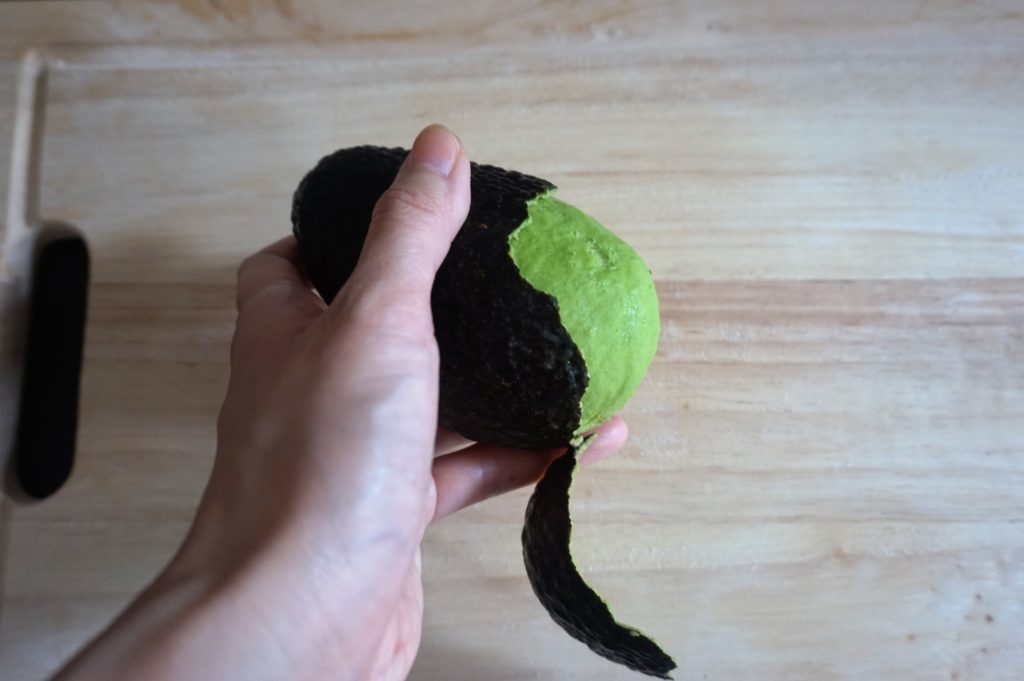
Photo by Weichen Yan
When the avocado’s texture is just right, the skin should come off easily.
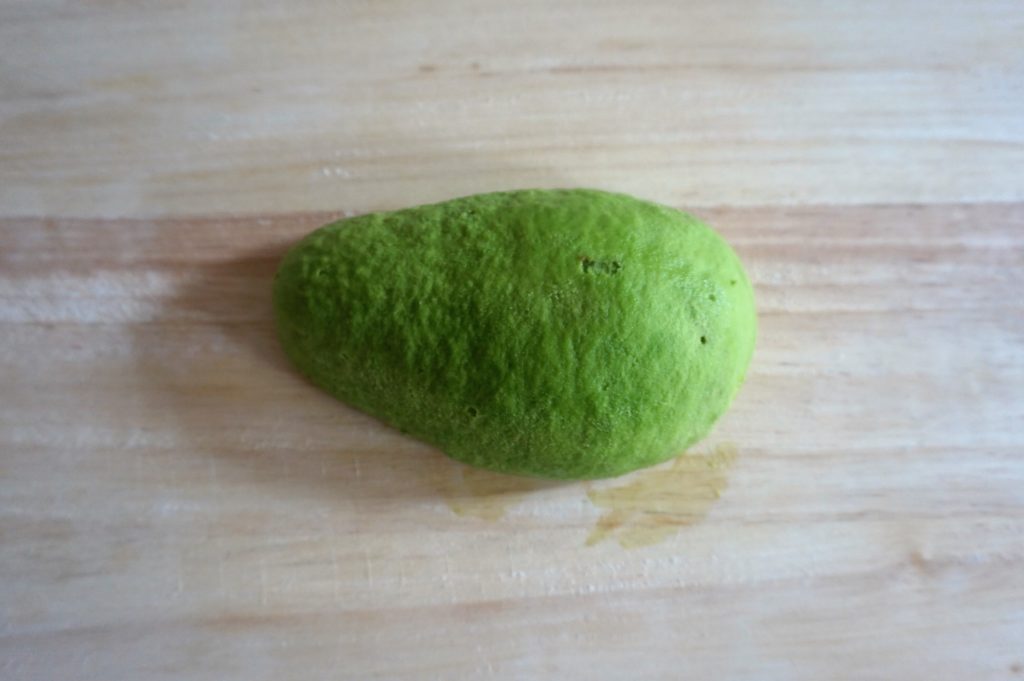
Photo by Weichen Yan
Step 4: Choose a good knife
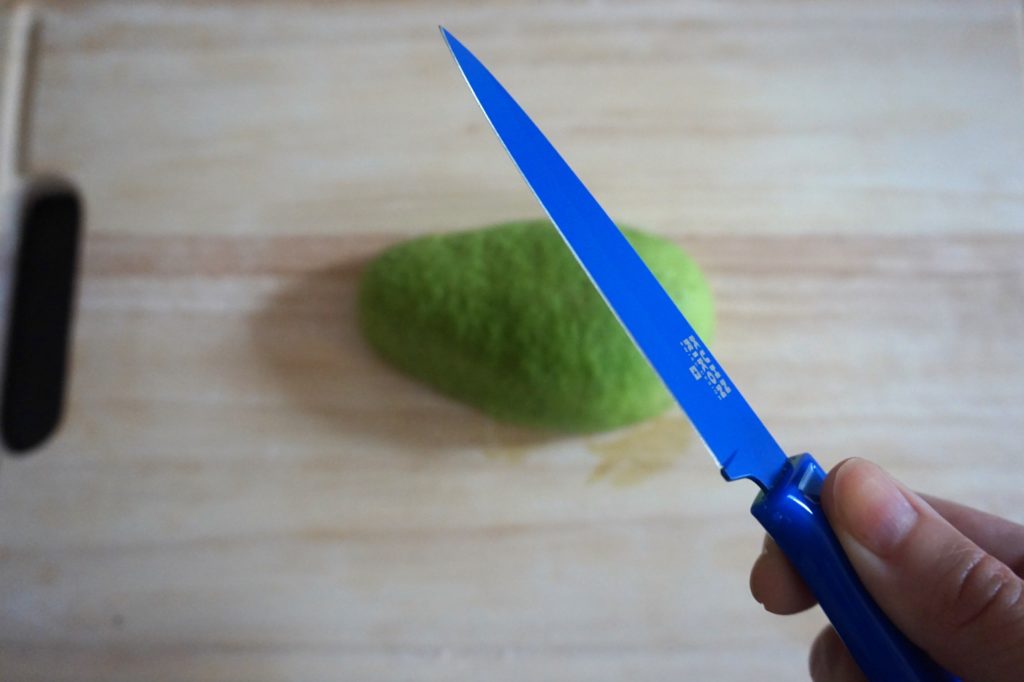
Photo by Weichen Yan
Using a good knife is just as important as having the right avo for making the perfect avocado rose. I have made avocado roses using everything from a butter knife to a Chinese cleaver, but I find that small ceramic knives (pictured here) and small serrated knifes work best. Ceramic knives also have the added benefit of being non-stick, so your avocado slices come out extra clean.
Step 5: Slicing the avocado
Start slicing from one end: start from the right end if you’re right-handed.
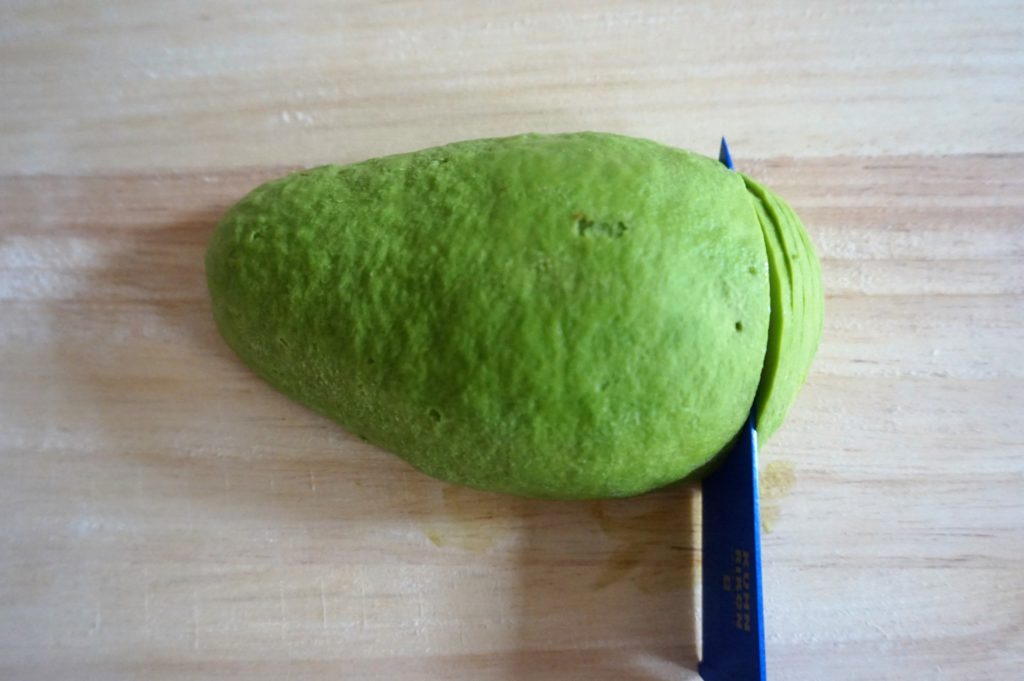
Photo by Weichen Yan
Keep slicing.
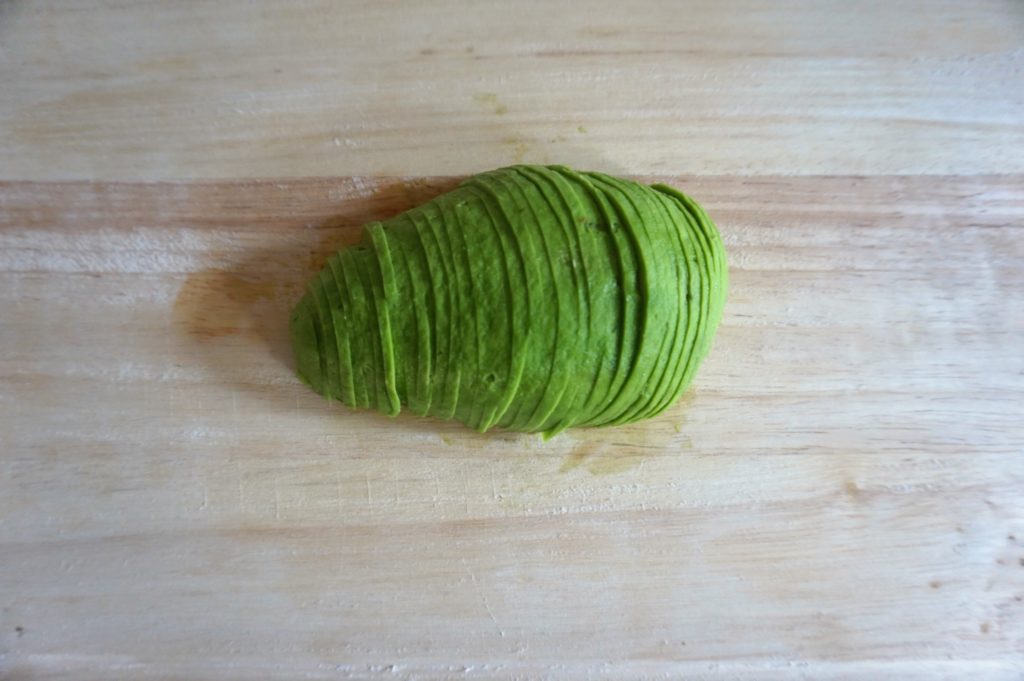
Photo by Weichen Yan
Step 6: Get the avocado ready for rolling
Working from one end (again, I find it easier to start from the right as I am right-handed), gently start spacing out the avocado slices.
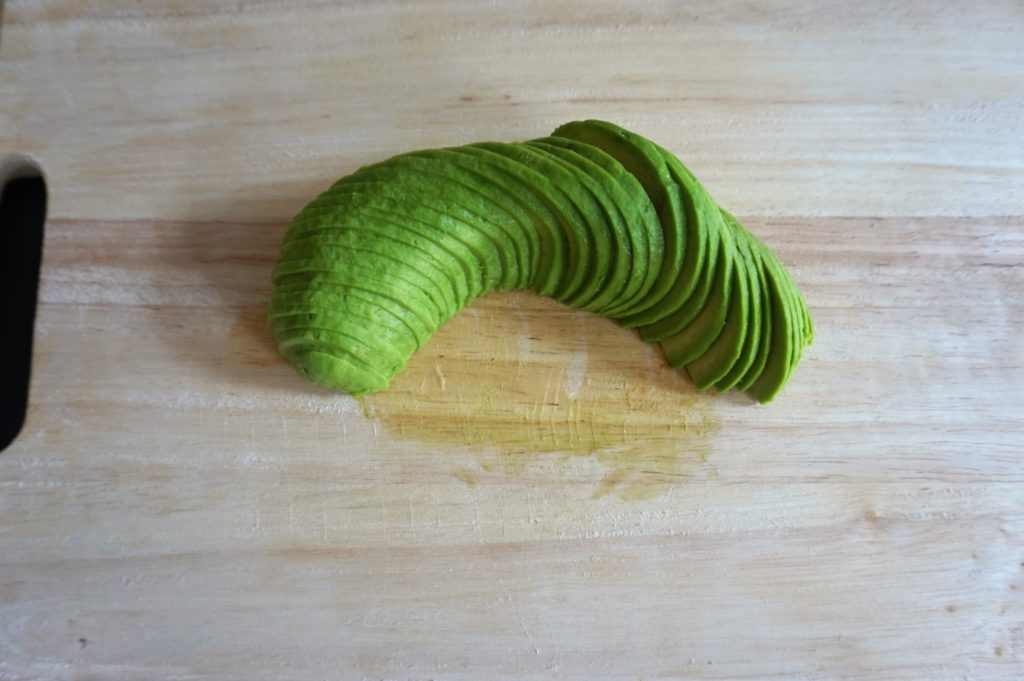
Photo by Weichen Yan
Keep working in one direction, the avocado will naturally shape into a downward U shape, which is perfect for rolling in the next step.
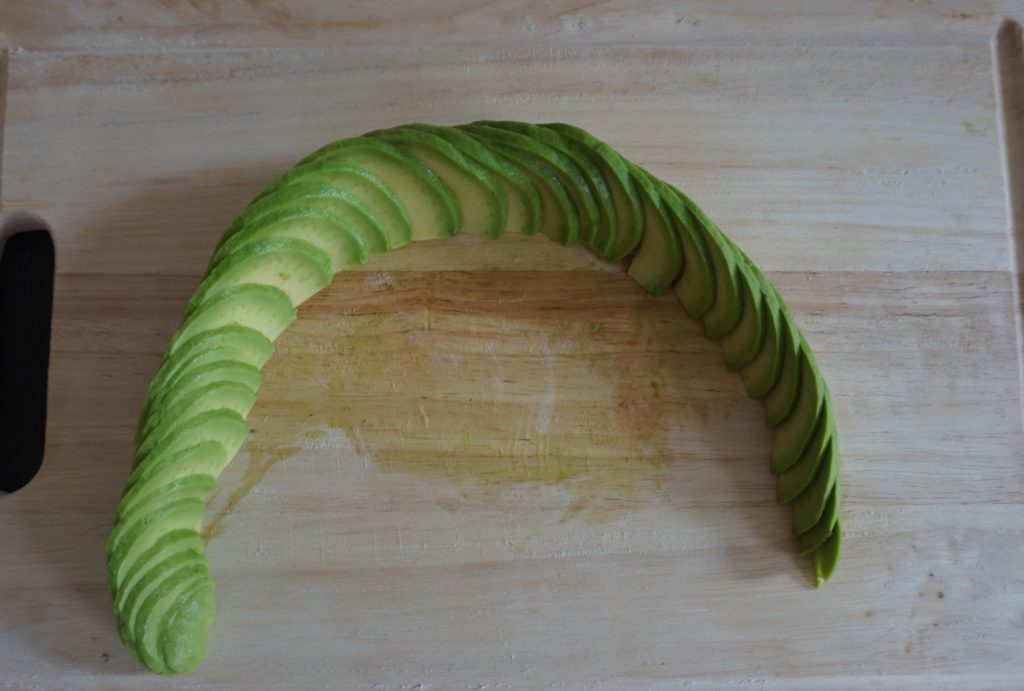
Photo by Weichen Yan
Step 7: Rolling the avocado rose
Let’s get rolling – start from the left and work in a counter-clockwise motion.
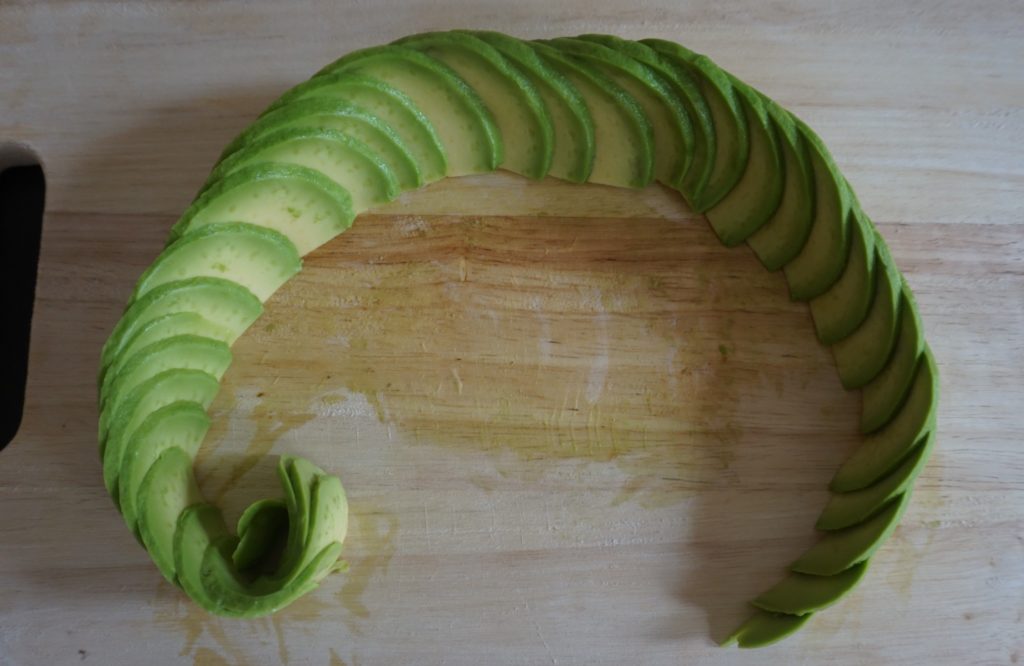
Photo by Weichen Yan
Keep rollin’
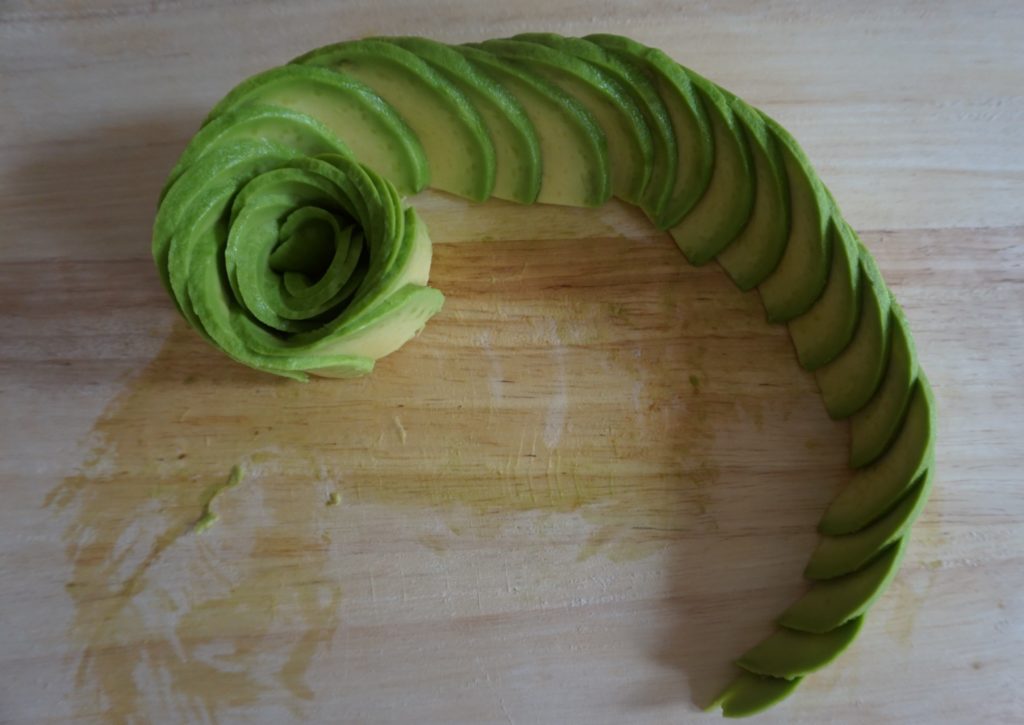
Photo by Weichen Yan
And…voila!
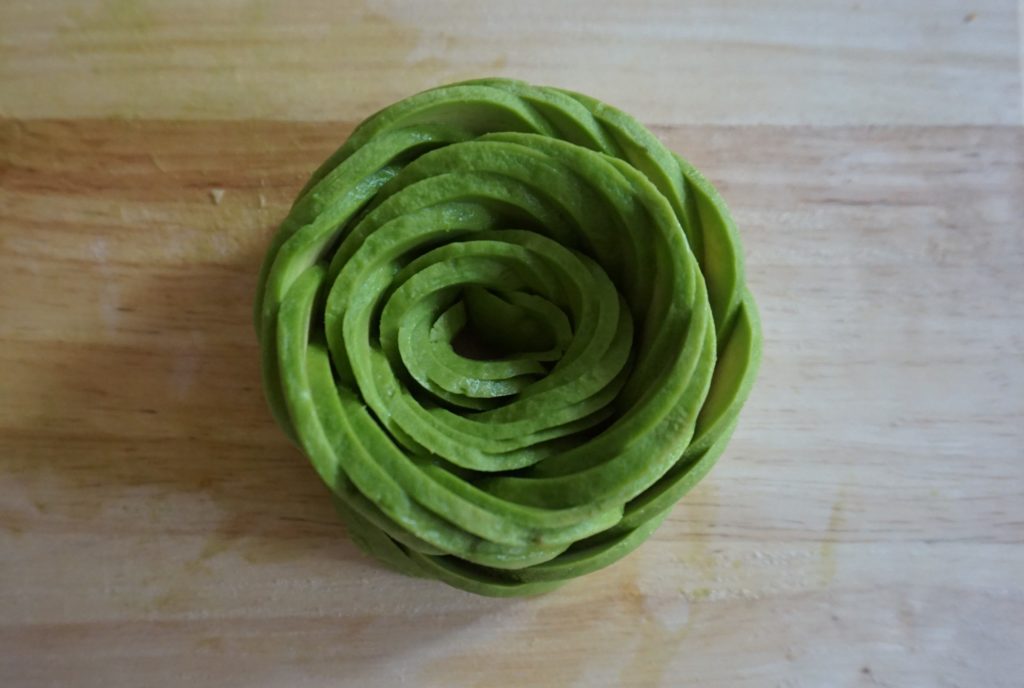
Photo by Weichen Yan
Step 8: Eat it
Just kidding! First you need to take a photo for the hashtag #avocadotoast. Avocado loves sprouted grain toast: I think avocado looks aesthetically more pleasing against the dark, grainy texture of sprouted grain toast. Moreover, sprouted grain is more nutritious because the sprouting process unlocks the nutrition inside the protective shell of grains. You can read more about the benefit of sprouted grains here.
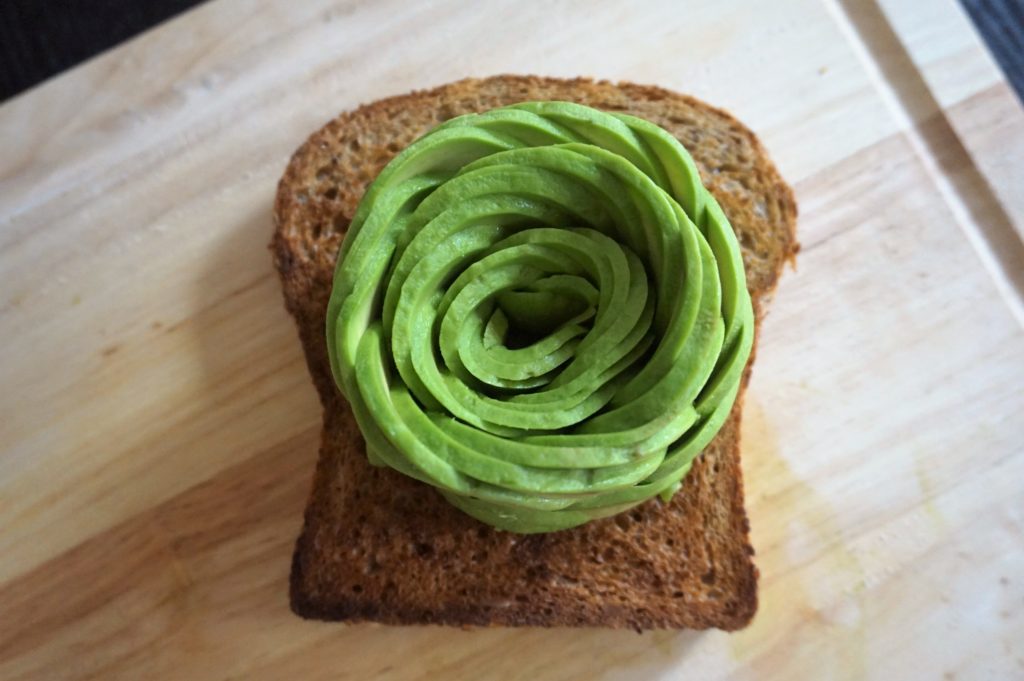
Photo by Weichen Yan
Or, get more creative if you want to dress your avo toast up for Instagram:
Happy avo toasting!


