


Egg whites are the basis of multiple desserts, including French macarons, soufflés, and flourless cakes. And, for the vegans out there, chickpea water can also be used instead, whipped to the same volume and technique. The only problem is, whipping either one is kinda a difficult thing to master. One minor mistake can wreak havoc on the entire recipe, leaving you with a broken promise of a dessert that could’ve been. Fortunately, I’ve made my fair share of meringue-based sweets, so I’ve learned quite a few tricks here and there.
Follow these tips to ensure that your egg whites whip up like they’re supposed to – you can thank me by letting me try the finished product. (JK, not really.)
1. Separate your eggs carefully
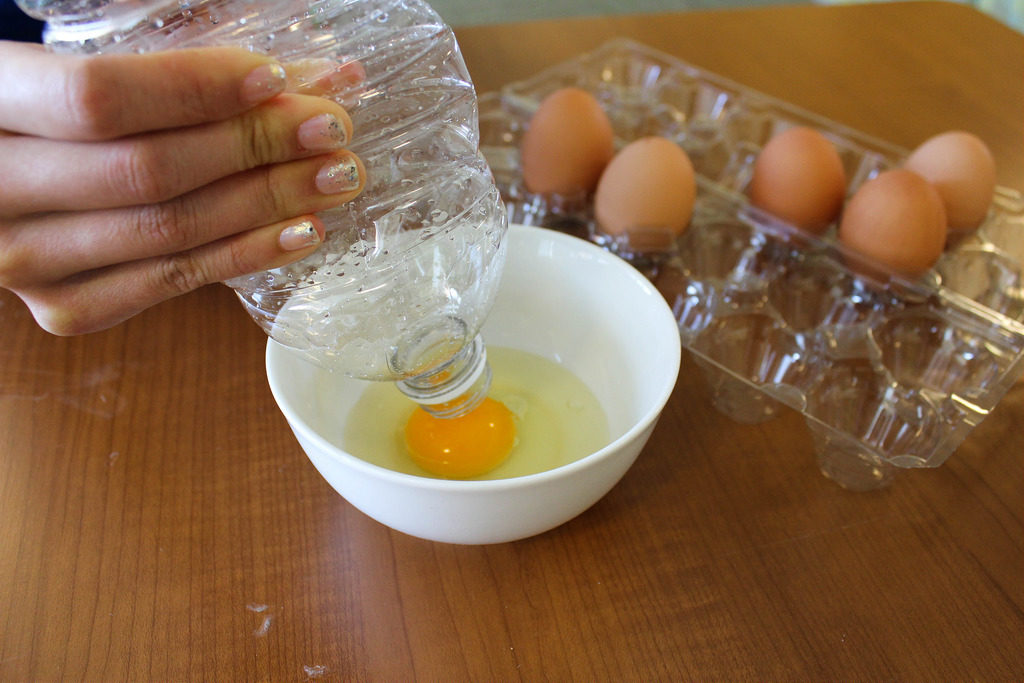
Photo by Chelsea Choi
This is perhaps the most important step out of all. No matter how you do it – whether it be from eggshell to eggshell, with your hands, or with this hella cool bottle trick – make sure you don’t split the yolk. The whites won’t whip up if there’s any drops of fat from the yolk. This also means that your bowl and beaters should be super duper clean, too.
2. Use room temperature egg whites
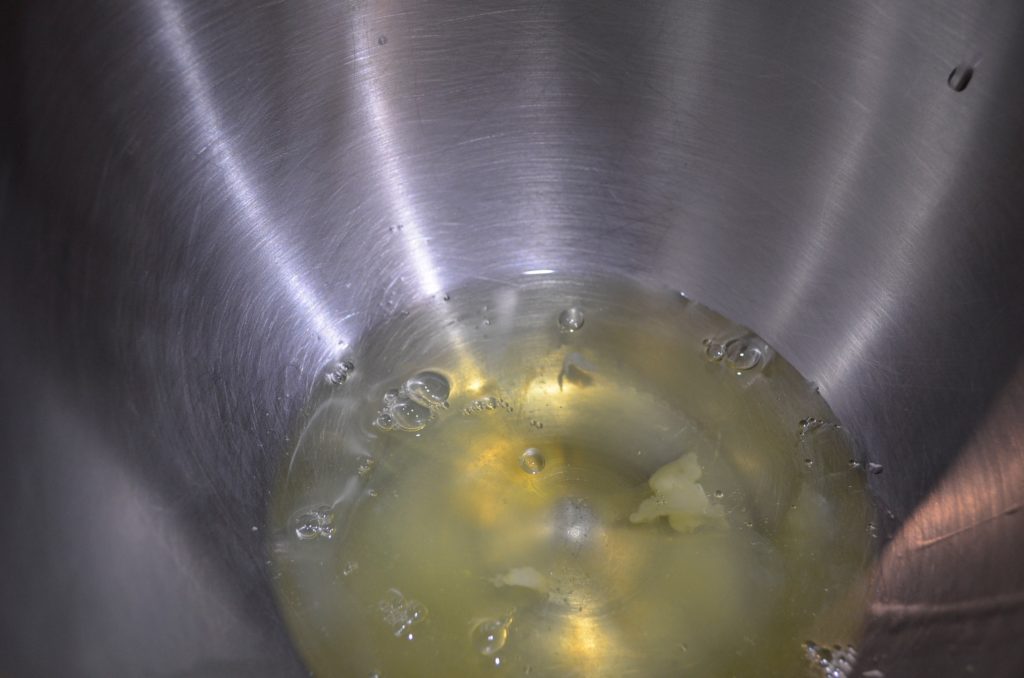
Photo by Jedd Marrero
You can usually just separate your eggs and leave the whites out at room temperature for at least thirty minutes. This ensures that the meringue gets a nice, big volume, because you want your whites to be as fluffy as they can be.
3. Start slow, then pick up speed
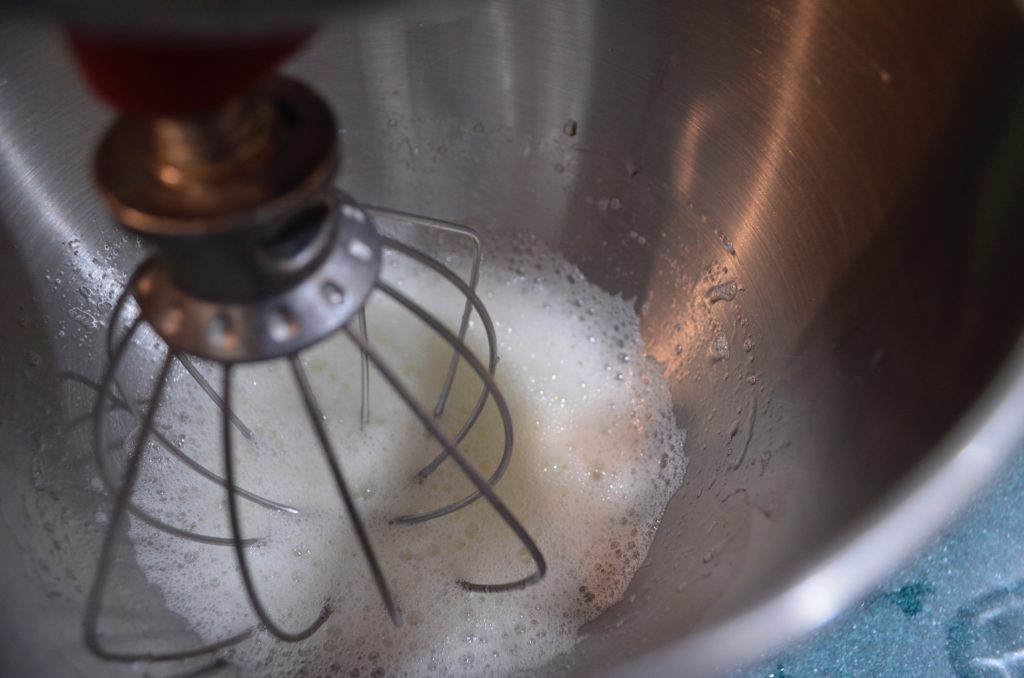
Photo by Jedd Marrero
Because all good things in life come to those that wait. No really, if you start slow and slowly build up the peaky tension, you’ll get more volume. Spend a minute or two on every number on your mixer. This results in a more fluffy and airy product, which is better than having a dense, tough dessert. If you want a little help with stabilizing your whites, you can always add a little cream of tartar.
4. Add your sugar only when the egg whites start foaming up
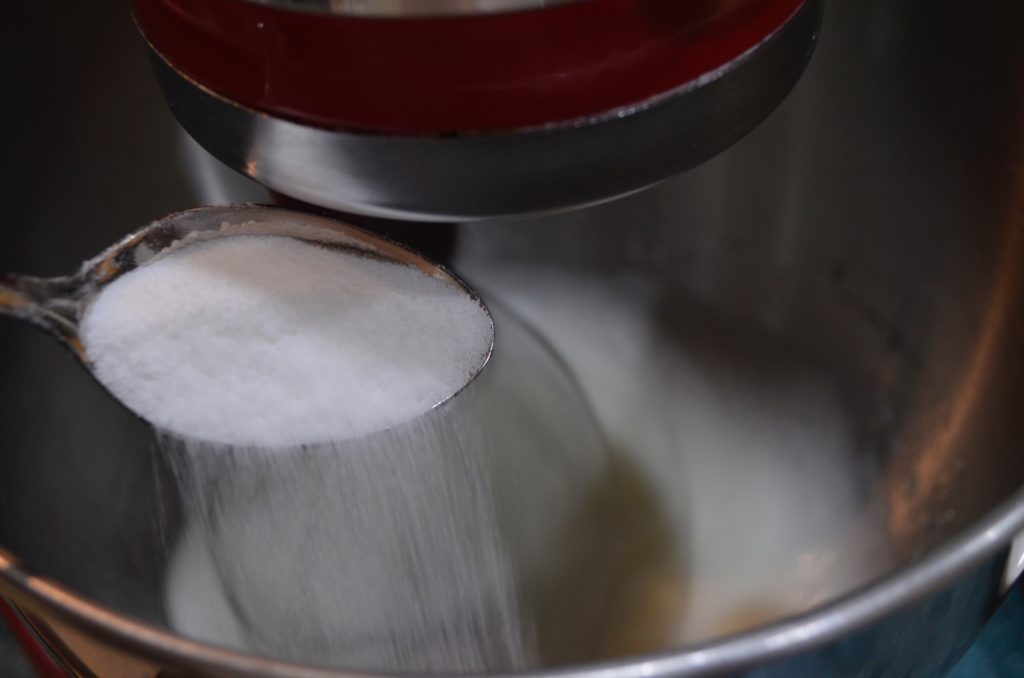
Photo by Jedd Marrero
When your egg whites get all bubbly, add your granulated sugar. Again, add the sweetness in a little at a time, which will ensure that it will disperse evenly throughout the meringue.
5. Soft peaks form when the meringue falls after lifting the beater
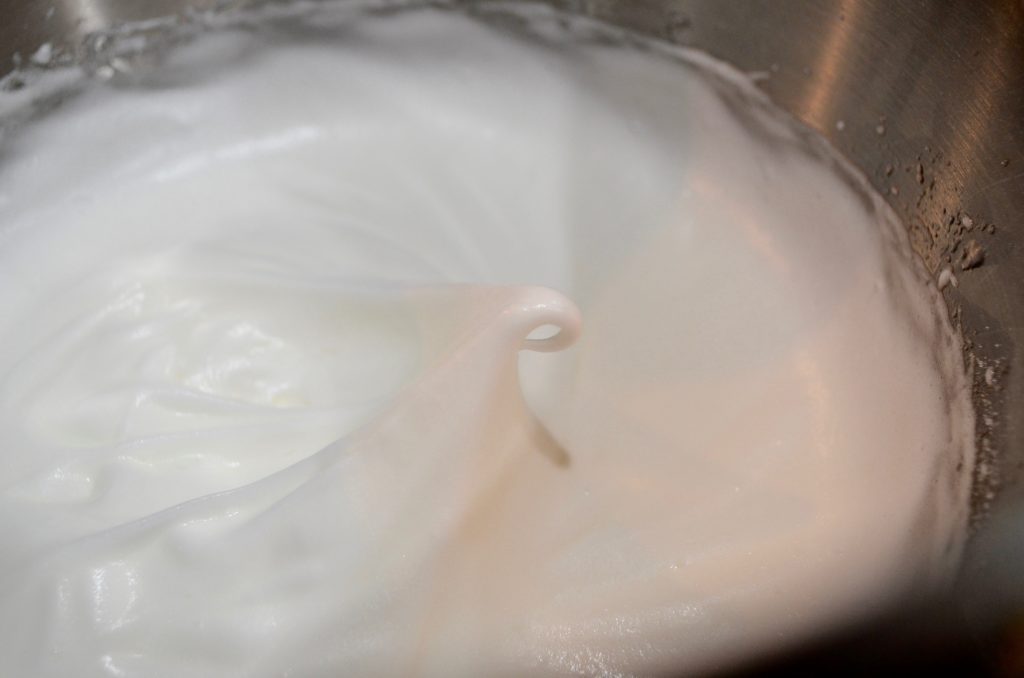
Photo by Jedd Marrero
See how there’s a little curl on the top? These peaks are soft, so if your recipe asks for soft peaks only, you should stop here. When you pull away with the beater, the meringue isn’t firm or sharp, but rather smooth and rounded.
6. Stiff peaks form when the meringue stays firm after lifting the beater
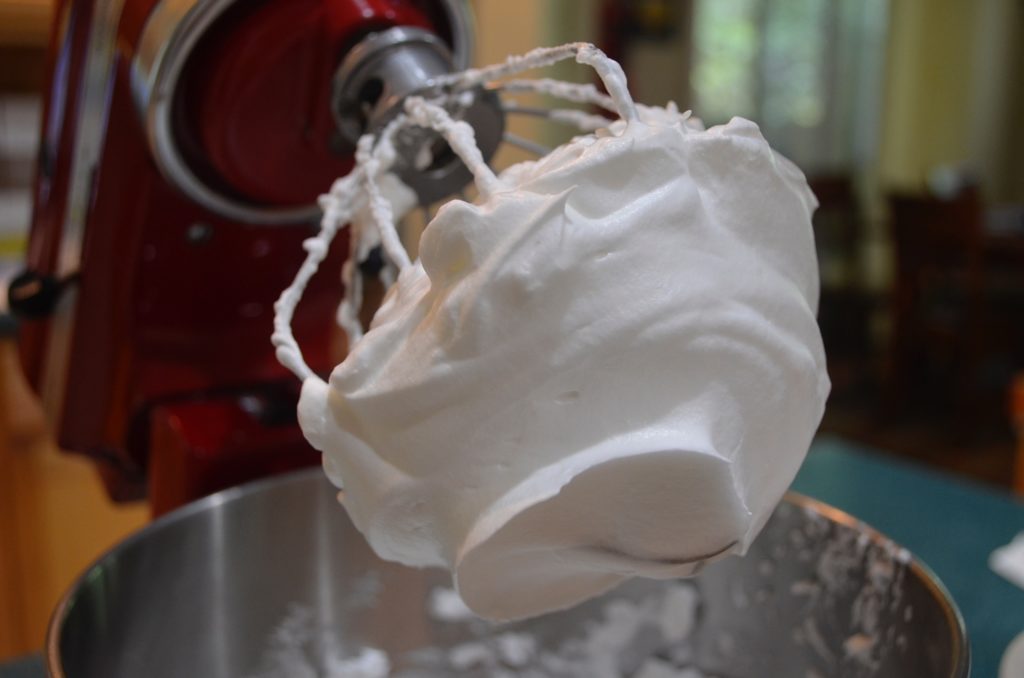
Photo by Jedd Marrero
The peaks this time should stay put and don’t curl down. But you can also see how stiff the meringue is against the beater – it holds its shape firmly. This is pretty much the last stage that recipes will ask for, because beyond this point, you just end up with a soupy mess.
7. If it starts getting liquidy again, stop beating right away
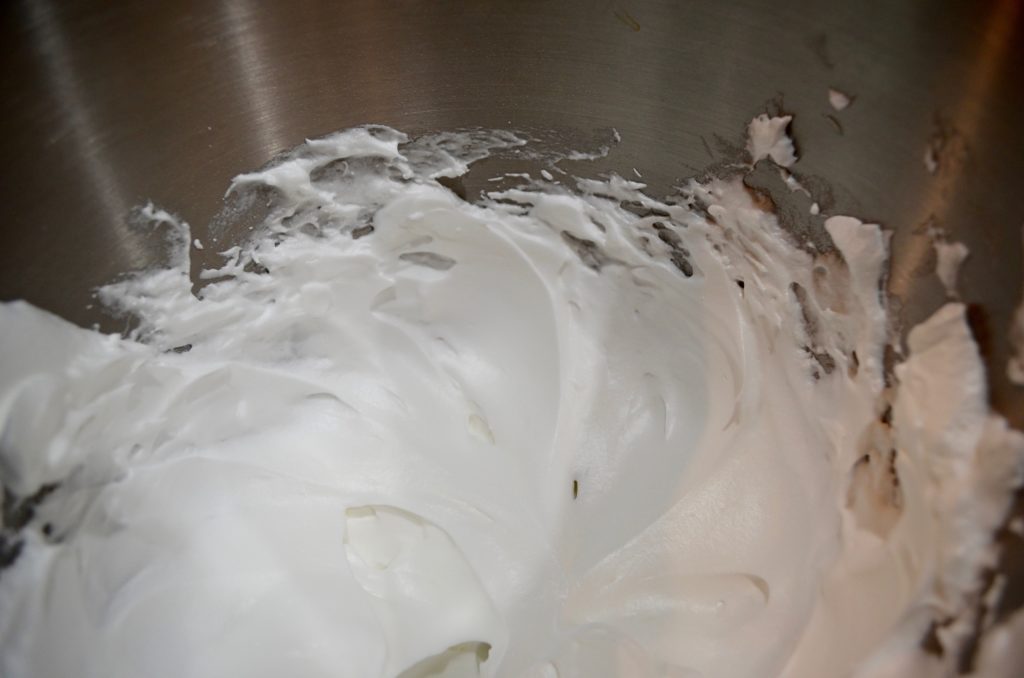
Photo by Jedd Marrero
See how everything is smooth and even? If you overbeat the egg whites, you’ll start getting some separation between the liquids and solids. This is commonly known as “weeping,” due to the presence of excess liquid, but really, I’d be weeping too if this happened to me.