


What do pizza, donuts, and cinnamon rolls have in common? Besides being the reason why I can’t fit into my old jeans, they’re all made with yeast, which is a bacteria used in all sorts of different types breads to help them rise. This adds a pleasant texture to bread, allowing it to be light, airy, fluffy, soft, and delicious.
Although the finished product may be great, the process of making the dough can be tricky. Remember, yeast is a bacteria, making it a living organism. This means if you kill the bacteria, you kill the recipe. I know that sounds scary but the task is not that daunting once you understand yeast.
How does it work?
Gif courtesy of tumblr.com
You can find yeast in virtually all grocery stores. For your convenience, they come in pre-measured packets ready for whatever you want to bake. Well just not quite ready – you have to wake it up first. This is simply done with water: not too cold or they won’t wake up, but not too hot or they’ll die. The sweet spot temperature is 100 to 110°F, otherwise known as lukewarm. Basically a little higher than your body temperature.
Just like you and me, yeast has to eat. Oddly enough, the bacteria also enjoys feasting on sugar, and in turn, they release carbon dioxide. This process is called fermentation.
Testing your yeast
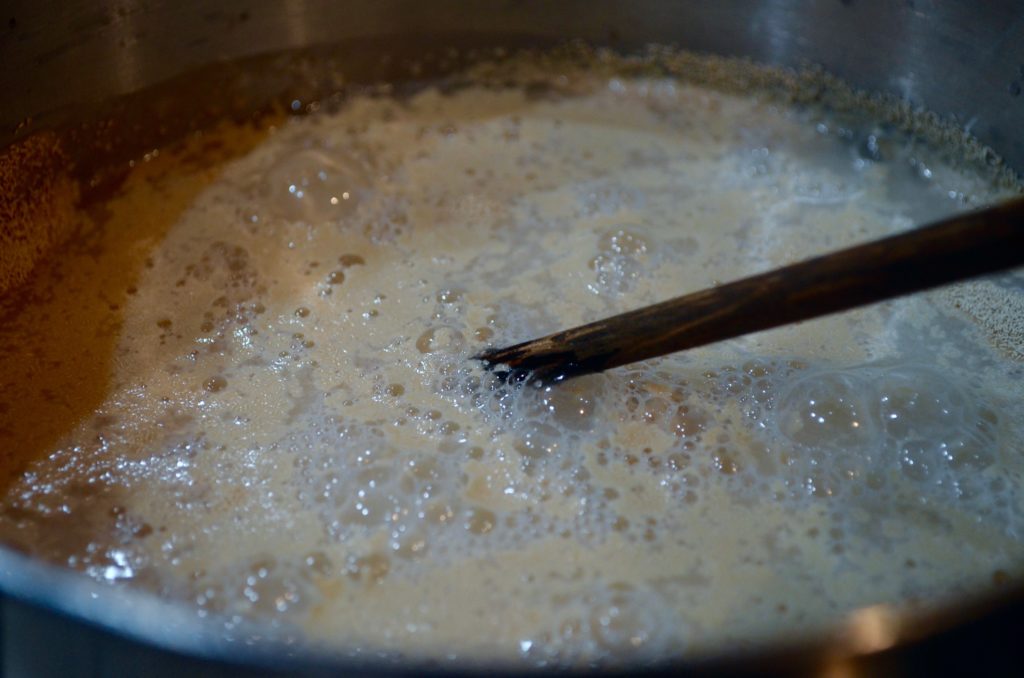
Photo by Jedd Marrero
So we just learned about fermentation and all its glory, but what happens when yeast doesn’t ferment? Then, sadly, your bread won’t rise. That’s why you proof the yeast to make sure it’s alive and active. Basically, you test it in warm water and sugar. If the mixture foams up, you’re good to go. If not, get new yeast. Expiration and storage are factors that can add on to the dough’s inability to rise.
Kneading
GIF courtesy of firstwefeast.com
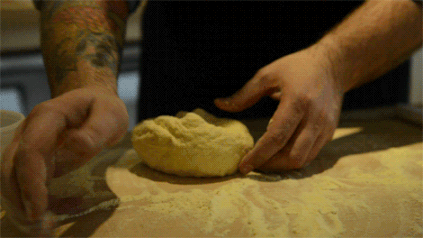
An important component to making dough is kneading. This is where the dough is pressed, stretched, folded, turned at a 90° angle, and repeated for about ten minutes. This is done to strengthen and combine the protein strands found in wheat, called gluten. It helps contain the carbon dioxide released in fermentation in the bread so you don’t end up with heavy and dense bread. This eventually results in an elastic dough that keeps it shape and a chewy bread.
Types of yeast
Pay attention to the type of yeast you purchase, because the difference can make or break your final product.
Active dry yeast
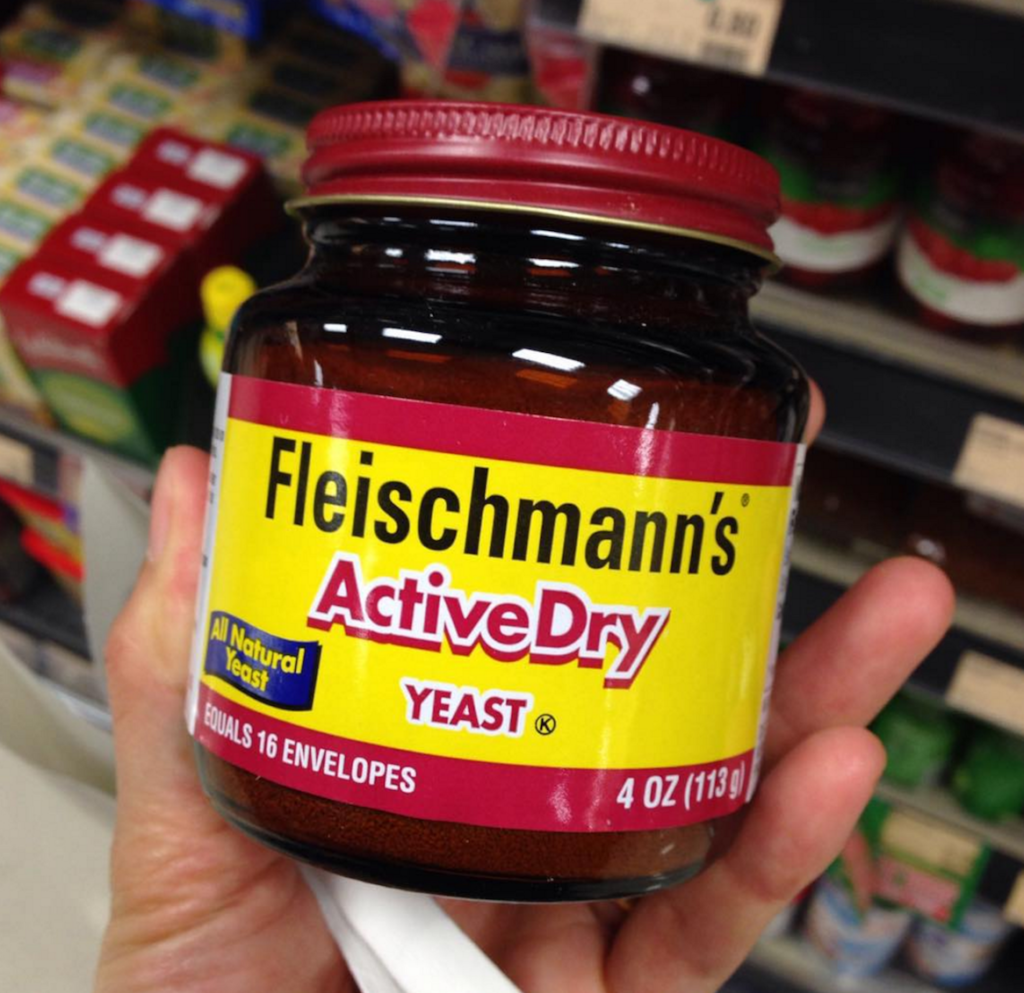
Photo courtesy of @blessed.1965 on Instagram
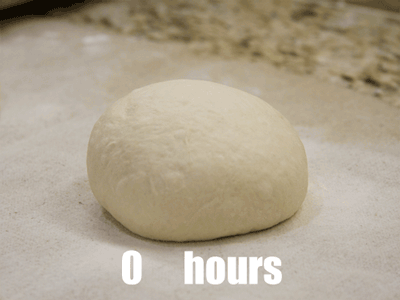
When using dry active yeast, you should let the dough sit and double in size after kneading before you put in the oven. Ideally, you leave it in a greased bowl with a damp cloth covering it. This can take anywhere from 45 minutes to 2 hours or so depending on the conditions, though a nice warm area will bring you faster results.
If you’re not in a rush, you can prepare your dough the night before and let it rise slowly in the refrigerator to bake for the next day. This method is perfect for breakfast cinnamon rolls, like these fluffy ones.
Instant yeast
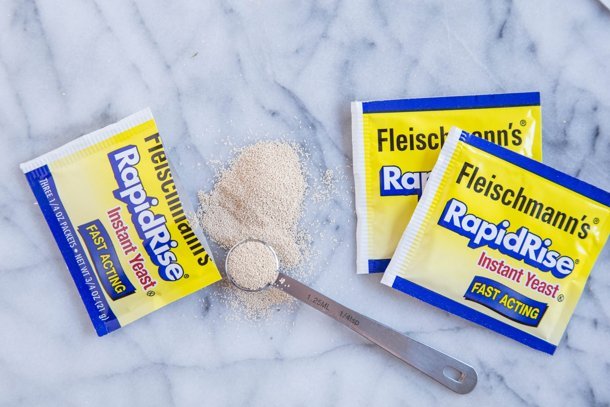
Photo courtesy of thekitchn.com
Instant yeast has smaller granules and is ready to go out the package. It can be used interchangeably with the active dry version but there is no need to proof. Just add it straight into your flour and add in your wet mixture. Let the dough rise for about 20 to 30 minutes before it goes in the oven. This is perfect for speeding up the process of making these mouthwatering chocolate chip cookie dough-stuffed pretzels.
Cake yeast
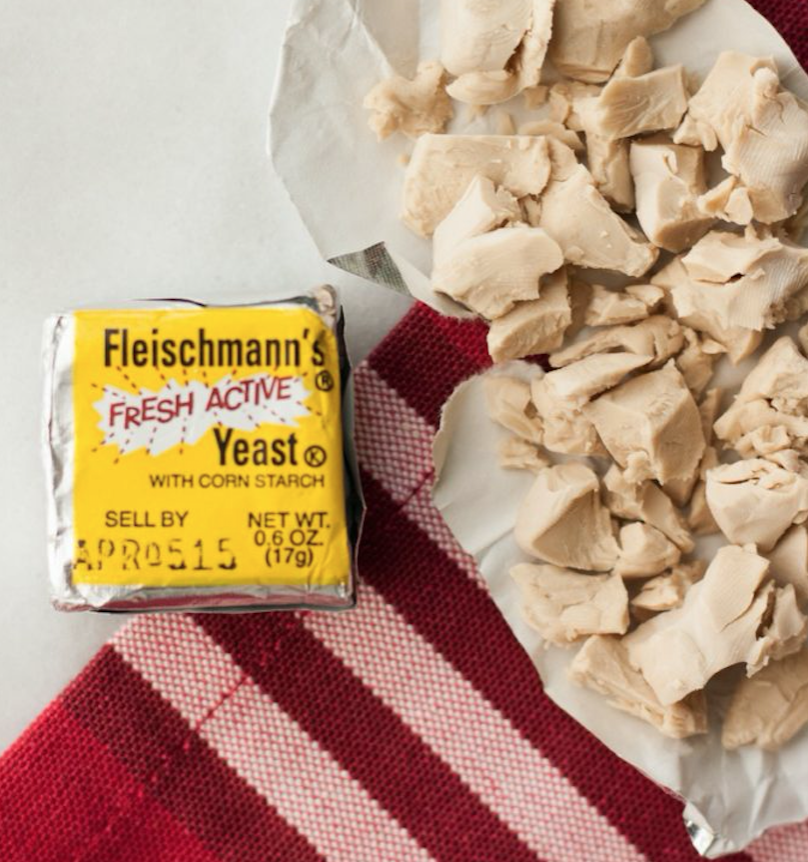
Photo courtesy of pinterest.com
Although you will probably go mad looking for it, I thought it would be nice to mention. This form of yeast is pretty much obsolete since technology allows us to have it in a preserved packet, but it’s in a more natural and traditional form and expires in about a week. You most likely won’t use it, but this is what is used commercially.