


When I think of fudge, my mouth immediately waters.
Unfortunately, those little symmetrical squares of happiness are often laden with sugar and other processed ingredients. What if I told you that you can make your own fudge, in your apartment or dorm, with only 5 ingredients and none of that nasty junk?
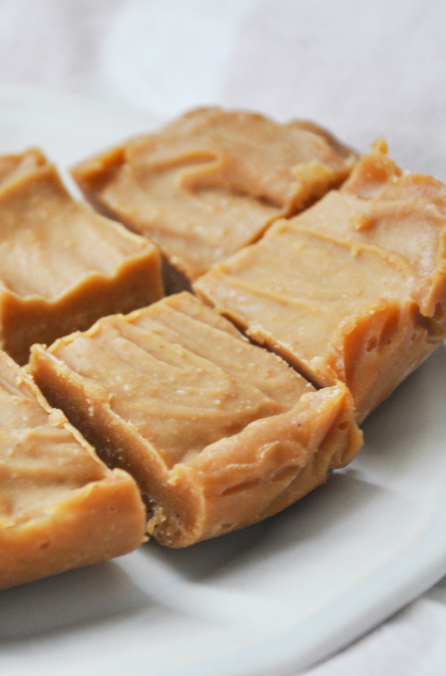
Photo by Caitlin Shoemaker
The secret ingredient to these magical squares of sweetness is coconut oil. Full of healthy fats, coconut oil not only supports the healthy functioning of your liver and kidneys, but also helps to boost your immune system. Who knew eating fudge could help you evade the flu? Thanks to its healthy and beneficial properties, coconut oil can be found today in most grocery stores.
Since this fudge is stored in your freezer, it has a long shelf life. Try having a square as a small afternoon or post-dinner snack, especially when you’re craving something sweet.
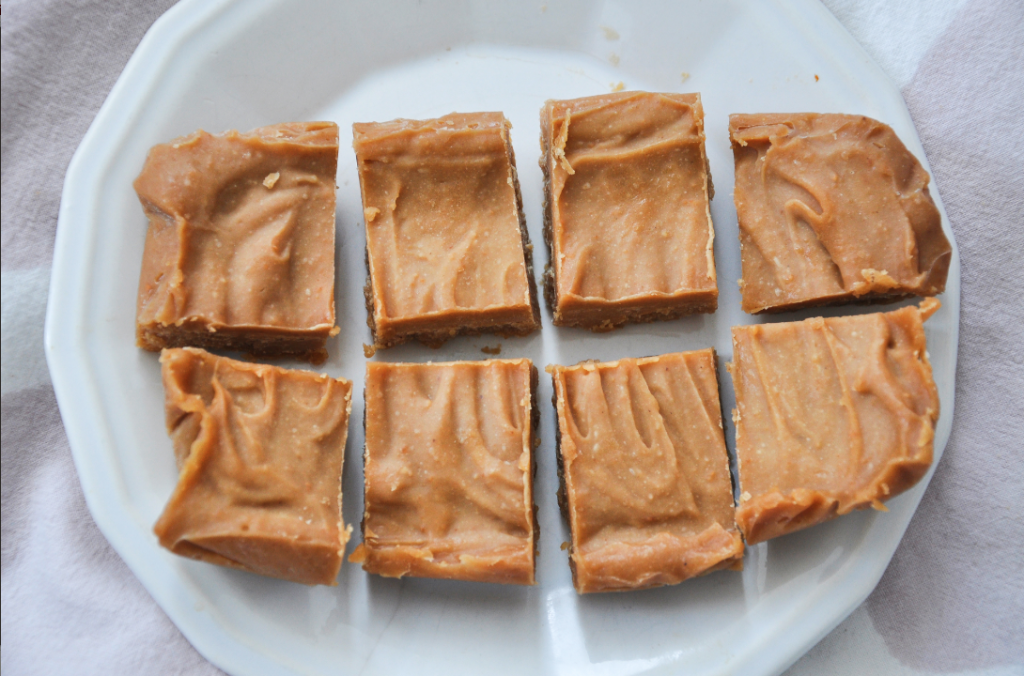
Photo by Caitlin Shoemaker
Long story short, this fudge is delicious, easy to make, and good for you. At this point, you should have already left your computer screen and started running to the grocery store to get the necessary ingredients.
On to the recipe:
Prep Time: 5 minutes
Freeze Time: 30-40 minutes
Total Time: 45 minutes
Servings: 8
Ingredients:
1/2 cup natural nut butter (we used peanut butter, but feel free to use almond, cashew, or even sunflower seed butter)
2 tablespoons coconut oil, softened or melted
2 tablespoons maple syrup or honey
1/4 teaspoon vanilla extract
Scant 1/4 teaspoon salt
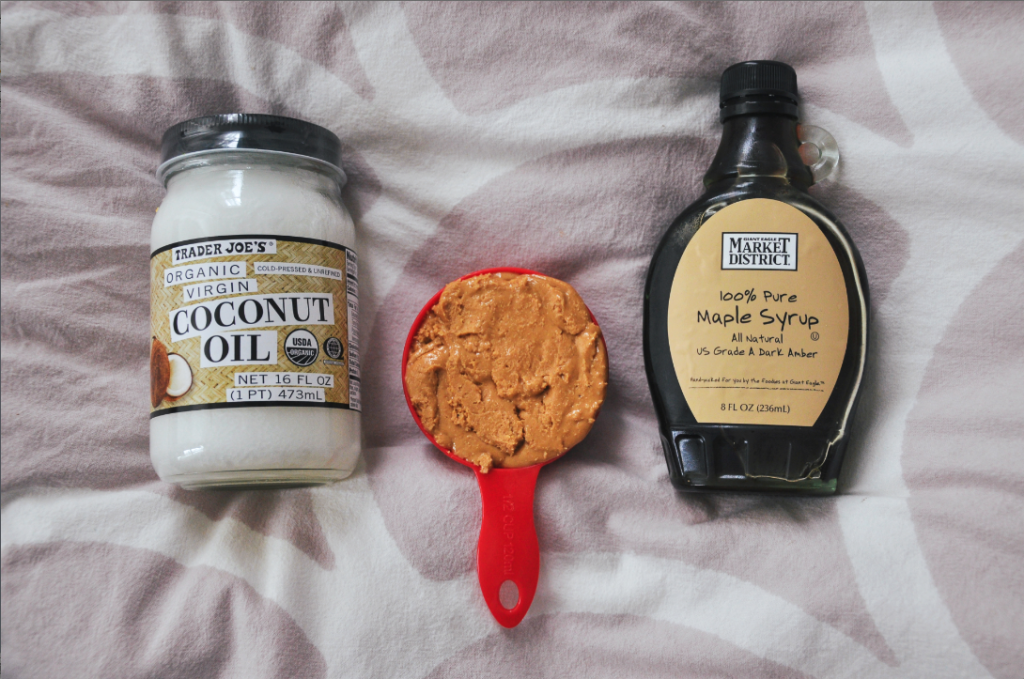
Photo by Caitlin Shoemaker
Directions:
1. Combine all of your ingredients into a bowl, and stir until well-combined. If you find your fudge is hard to mix, try microwaving the bowl for about 15 seconds – this will make everything smoother.
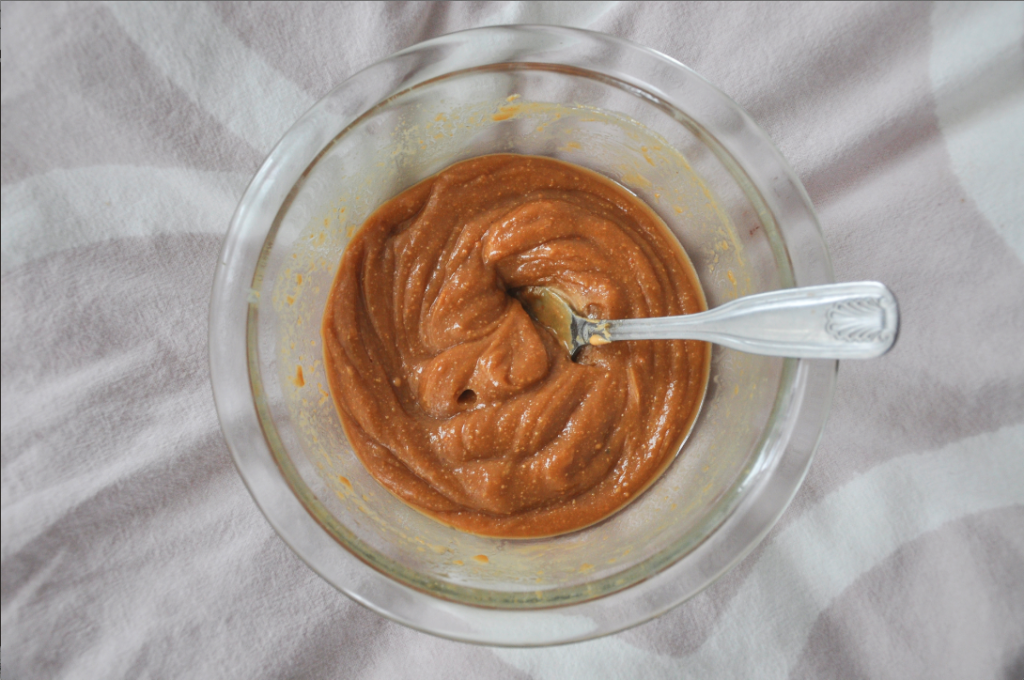
Photo by Caitlin Shoemaker
2. Pour the fudge into a container lined with plastic wrap or parchment paper. We used a standard bread loaf pan, but even plastic tupperware will work.
3. Place the container into the freezer and allow 30-40 minutes for the fudge to set.

Photo by Caitlin Shoemaker
4. After the fudge has completely hardened, remove from the freezer and let sit for 5 minutes. Using a sharp knife, carefully cut the fudge into squares (we made 8). Place the fudge into a baggie or tupperware, and store in the freezer until ready to eat. (Or, you can eat all of it now — I promise I won’t tell.)
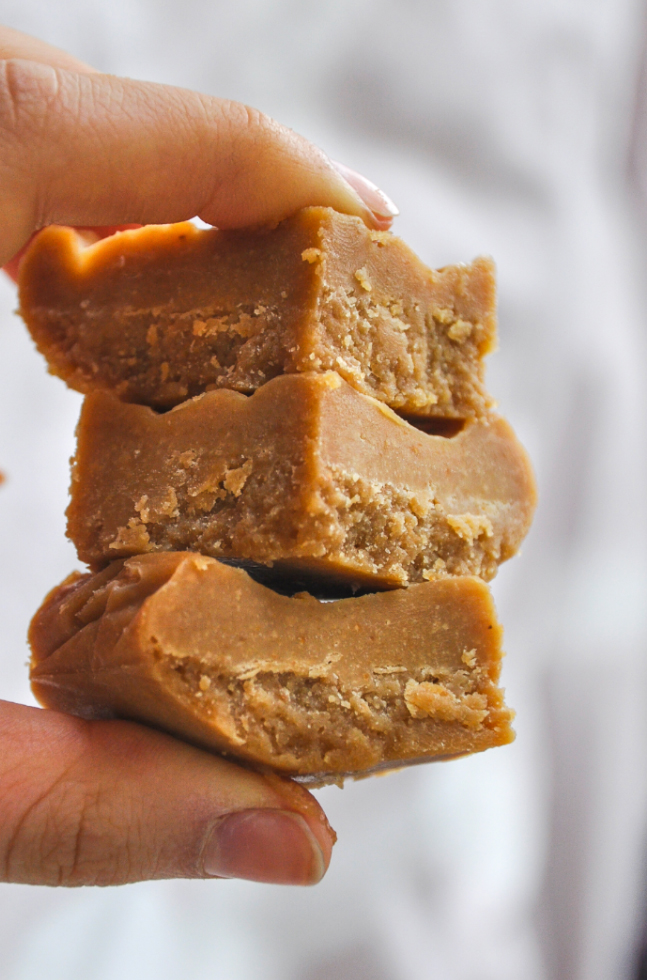
Photo by Caitlin Shoemaker
Feeling adventurous? Add a few extra ingredients to make these variations:
Happy (and healthy) snacking!