


Nilla Wafers were as much a staple of my childhood as Razor scooters and Zoey 101. Nothing beat the feeling of opening the kitchen cabinet to find that full box of Nilla Wafers glowing like an eternal sun. Two hours later, my mom would look into the empty box with shock and disgust as I lay on the couch in a state of sweet snacking bliss.
Now, I’m throwing it back to this ultimate after-school snack. Trust me, they’re just as delicious as they were when you were 10 years old, and now that you’re a slightly more competent human being (wishful thinking), you can elevate the crunchy vanilla cookie with these simple recipes.
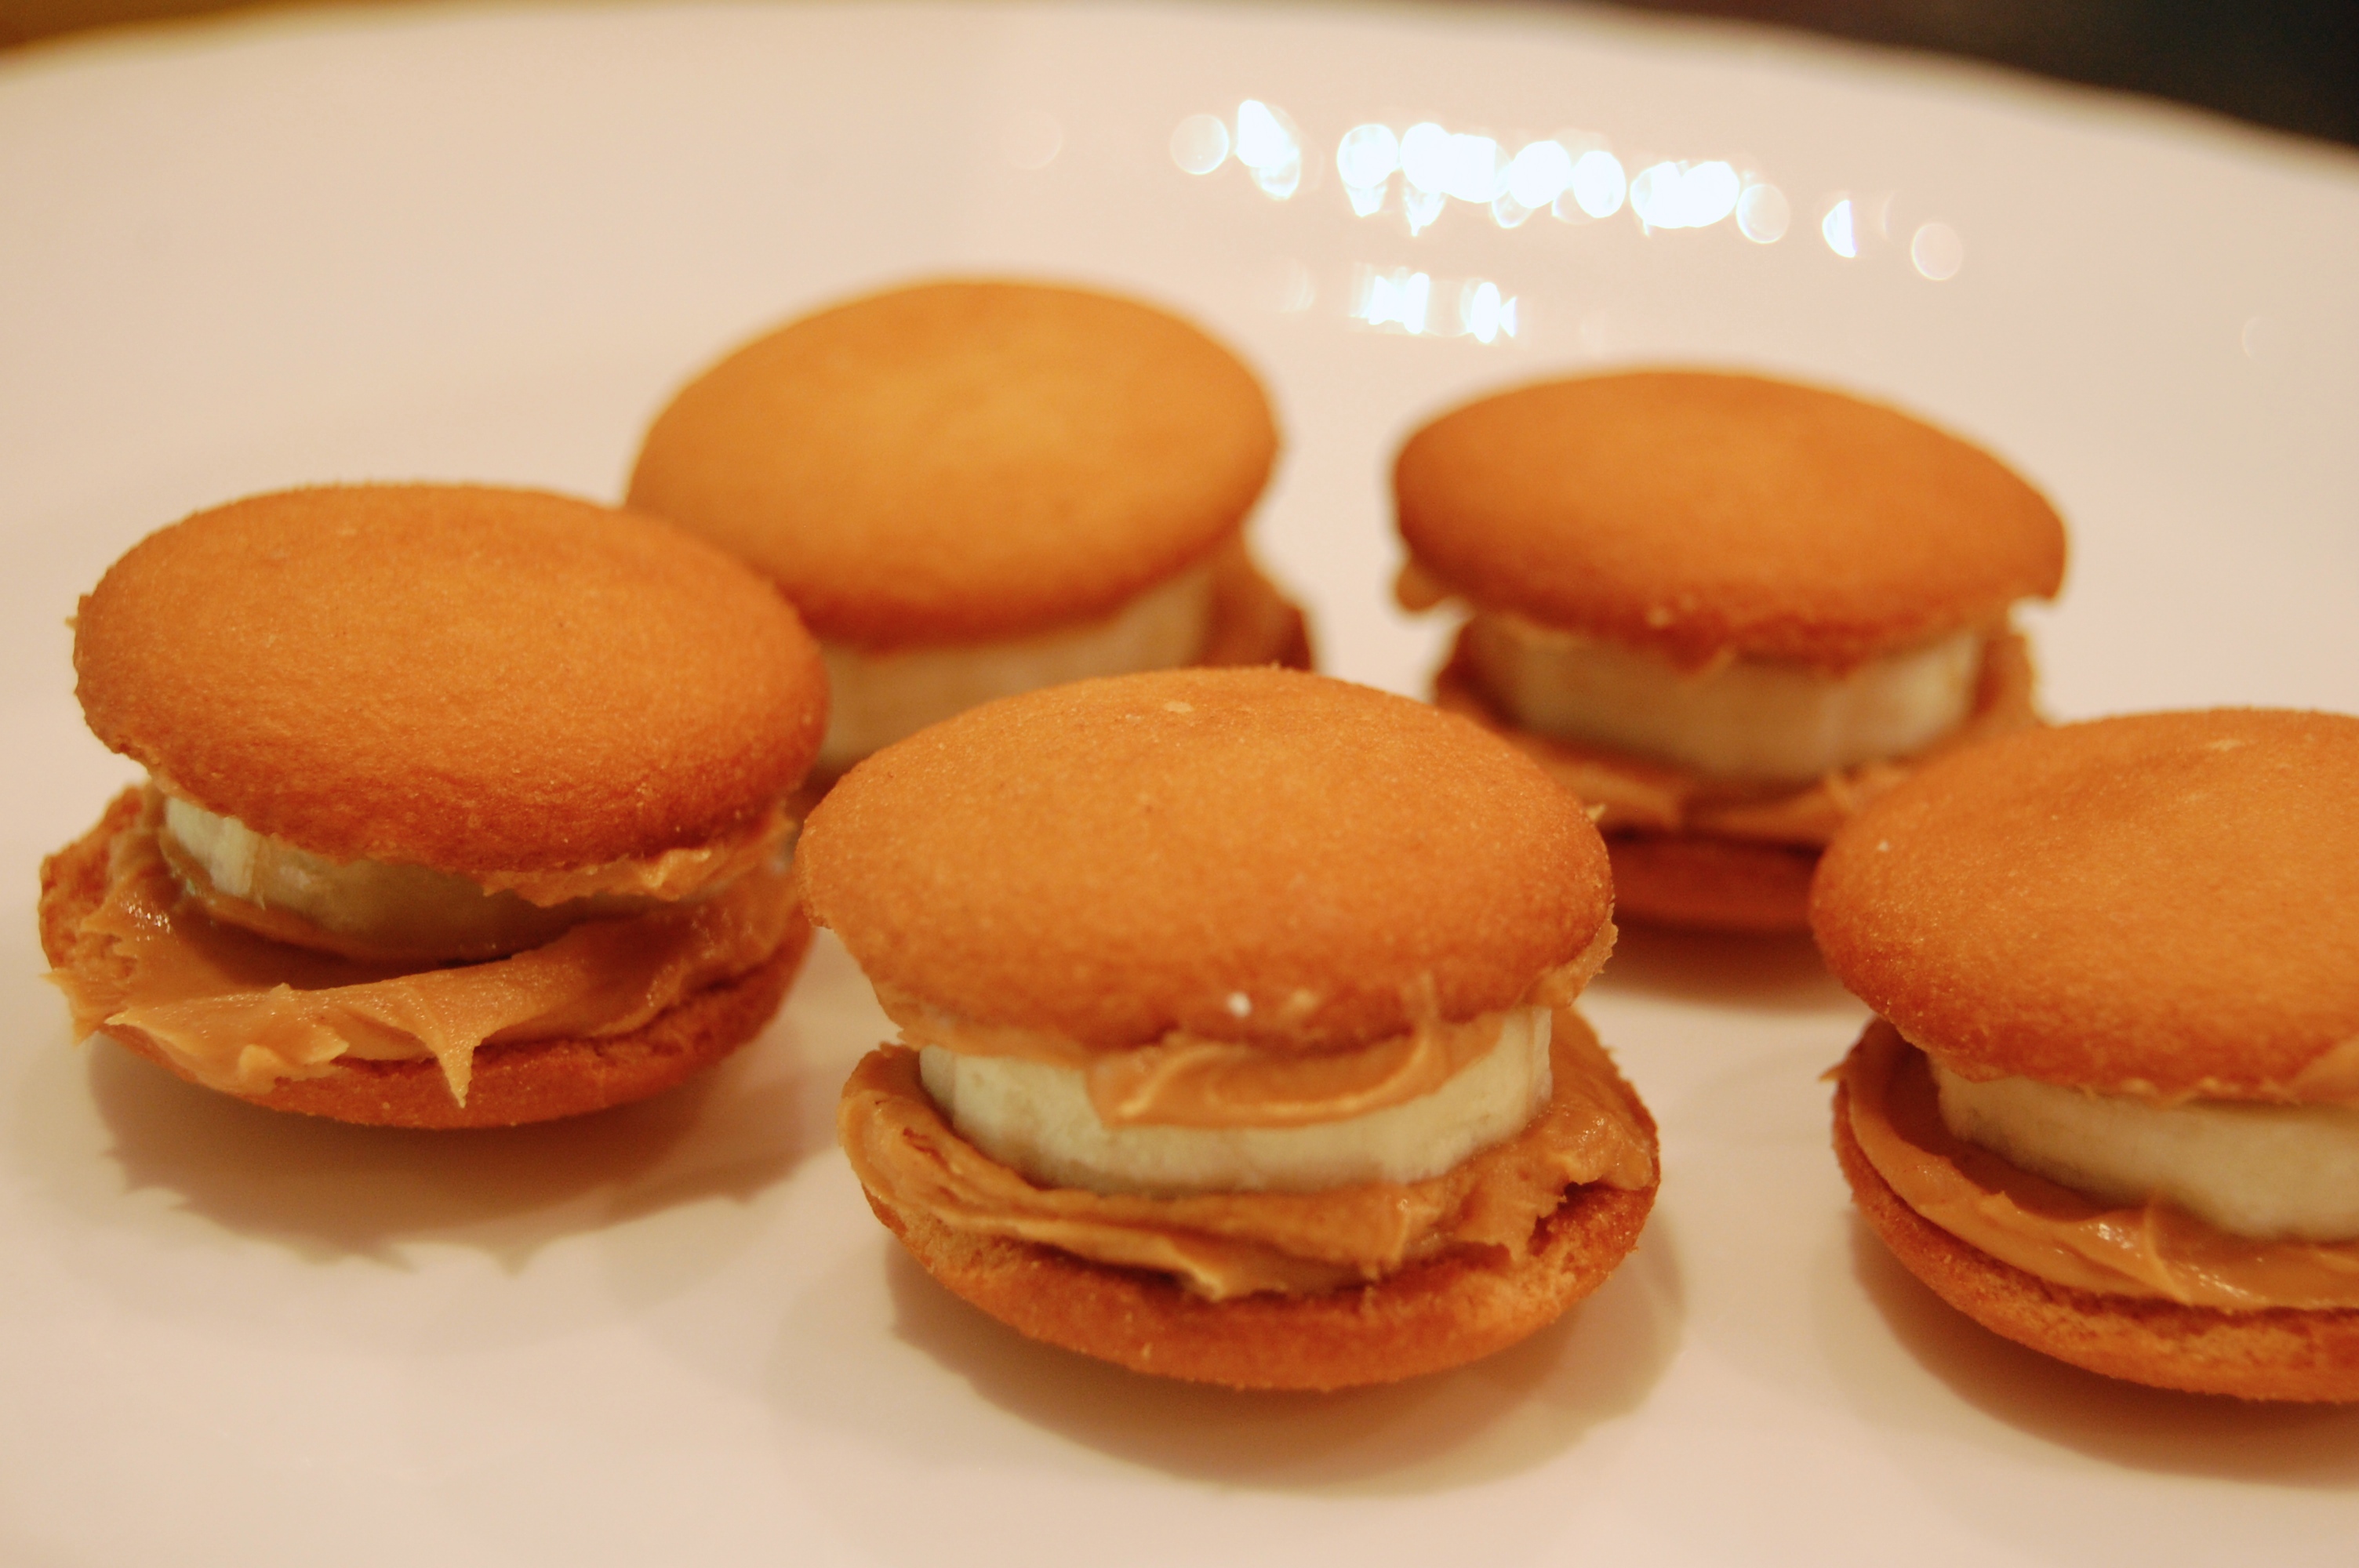
Nilla Wafer Peanut Butter and Banana Mini-Sandwiches
- Prep Time:5 Minutes
- Cook Time:0 Minutes
- Total Time:5 Minutes
- Servings:1
- Easy
- 10 Nilla Wafers
- 1 sliced banana
- 2 tablespoon peanut butter
Ingredients
-
Step 1
Smear the peanut butter of your choice on the undersides of two Nilla Wafers and sandwich a banana slice in between.
Nilla Wafer Yogurt Parfait
- Prep Time:5 Minutes
- Cook Time:0 Minutes
- Total Time:5 Minutes
- Servings:1
- Easy
- 10 Nilla Wafers
- 1 cup yogurt
- 1/2 cup fresh berries
Ingredients

-
Step 1
Layer vanilla yogurt with fruit (fresh berries will work well) and your choice of full or crushed Nilla Wafers.
Nilla Wafer Truffles
- Prep Time:45 Minutes
- Cook Time:0 Minutes
- Total Time:45 Minutes
- Servings:About 3 (makes 1 dozen truffles)
- Medium
- 2 cup Nilla Wafers
- 1 cup white chocolate chips
- 2 tablespoon vegetable or canola oil
- 1 pinch cinnamon sugar (for dusting)
Ingredients

-
Step 1
Pulse 2 cups Nilla Wafers in a food processor until they resemble fine crumbs.
-
Step 2
Add 1/2 cup white chocolate chips into food processor.
-
Step 3
While processing the wafers and chips, stream in 2 tablespoons vegetable or canola oil.
-
Step 4
Once the mixture reaches a smooth consistency, put it into the fridge for about 15 minutes to firm up.
-
Step 5
Once chilled, roll the mixture into balls and place on plate or sheet tray.
-
Step 6
Microwave the last 1/2 cup white chocolate chips at 20 second intervals until completely melted. Using a fork, dip each ball into the melted chocolate, and then place back on the plate or tray. Put them in the fridge for at least 15 minutes to allow the chocolate to become firm. For an additional variation, roll each ball in cinnamon sugar.

Photo by Sarah Bradach
Nilla Wafer S’mores
- Prep Time:10 Minutes
- Cook Time:0 Minutes
- Total Time:10 Minutes
- Servings:1
- Easy
- 10 Nilla Wafers
- 1 Hershey's bar
- 5 marshmallows
Ingredients

-
Step 1
Break the Hershey’s bar into pieces and place in a microwave-safe bowl. Microwave at 20 second intervals until completely melted.
-
Step 2
Smear the melted chocolate on the undersides of half of the Nilla Wafers.
-
Step 3
Cut the marshmallows in half and place one half on top of the Nilla Wafers that do not have the melted chocolate. Place the marshmallow-topped Nilla Wafers into the microwave for 15 seconds.
-
Step 4
Sandwich together the chocolate-topped wafers and the marshmallow-topped and voila!
Guilt-Free Nilla Wafers Cheesecake
- Prep Time:10 minutes
- Cook Time:12-14 minutes (plus 4 hours for chilling)
- Total Time:4 hours, 25 minutes
- Servings:Makes 24 mini cheesecakes
- Easy
- 20 reduced-fat Nilla Wafers
- 6 tablespoon unsalted butter, melted
- 1 tablespoon baking Stevia
- 2 8-oz. packages reduced-fat cream cheese
- 3/4 cup sugar
- 2 eggs, beaten
- 1 tablespoon vanilla extract
- 2 tablespoon lemon juice
- 1/2 cup semi-sweet chocolate chips, melted (optional)
Ingredients

-
Step 1
Preheat oven to 350°F. Line mini cupcake pan with mini cupcake liners.
-
Step 2
Crush the Nilla Wafers into a crumbly consistency with a food processor or blender, and then add the baking Stevia and melted butter. Mix until combined.
Photo by Sophia Clingan-Darack -
Step 3
Spoon a quarter-sized amount of mixture into the bottom of the cupcake liners and press down to form a crust. Bake for 5 minutes.
Photo by Sophie Clingan-Darack -
Step 4
While the crust is baking, in a large bowl combine the eggs, cream cheese, sugar, vanilla extract and lemon juice, and whisk or beat with an electric mixer into a smooth consistency. If desired, add the melted chocolate for chocolate cheesecake.
-
Step 5
Pour the mixture into the cupcake tin and bake for 12-14 minutes, or until the cheesecakes have puffed up and are set in the middle. Let cool for 10 minutes, and then place in the refrigerator for 4 hours or overnight (please be patient here, it’s worth it). Enjoy!
This recipe is adapted from Spoon University – BU.
Photo by Sophie Clingan-Darack