


After a crazy, but much needed week in the Caribbean with my friends, Spring Break 2k16 came to a close. I arrived back in the U.S. with unforgettable new memories, 5 more pounds on my stomach and a sunburn from Hell. I’ve been burned before and know the importance of lathering on that SPF. However, something about being on a beach with electric blue water mixed with unlimited José Cuervo made me forget about protecting my pasty self.
While looking at what felt like second degree burns, all I wanted was some aloe vera gel. Good aloe can cost up to $12, and after blowing my money on overpriced t-shirts and shot glasses, I did not have that kind of cash. Not to mention, in order to last on the shelf for months, manufacturers pump up the preservatives. So, I decided to make my own preservative-free, easy homemade aloe vera. You can too, and here’s how.
Prep Your Plant
In order to be successful in your gel making, be sure to prepare accordingly. Wash your hands and your plant and have all your tools ready. This sounds intimidating, but it’s just to ensure your gel is so fresh so clean.
Slice It Up
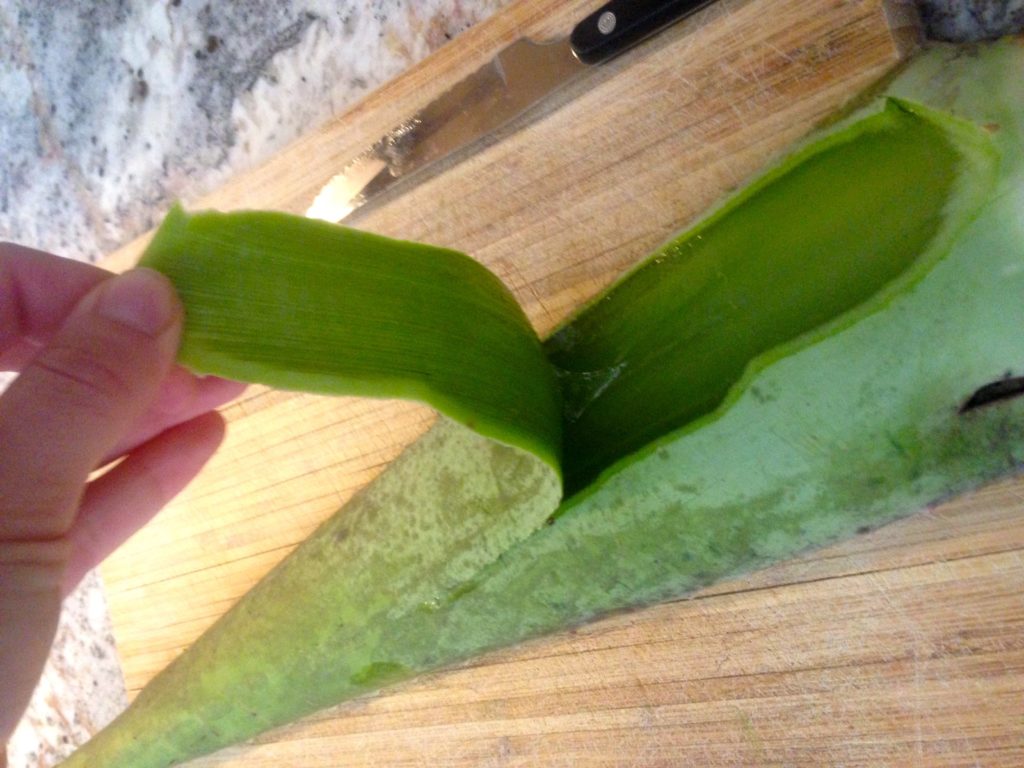
Photo by Sara Steere
The next step is to start cutting off individual leaves. Try to go for the outer ones – they tend to be more mature, which means more gel for you. Use a sharp knife to cut that baby off near the base. Also, unless you plan on sharing, only use a handful of leaves per batch. Aloe is highly perishable, and since preservatives are a no-go in this recipe, plan on your gel lasting for 1 or 2 weeks.
Hop on the Drain Train
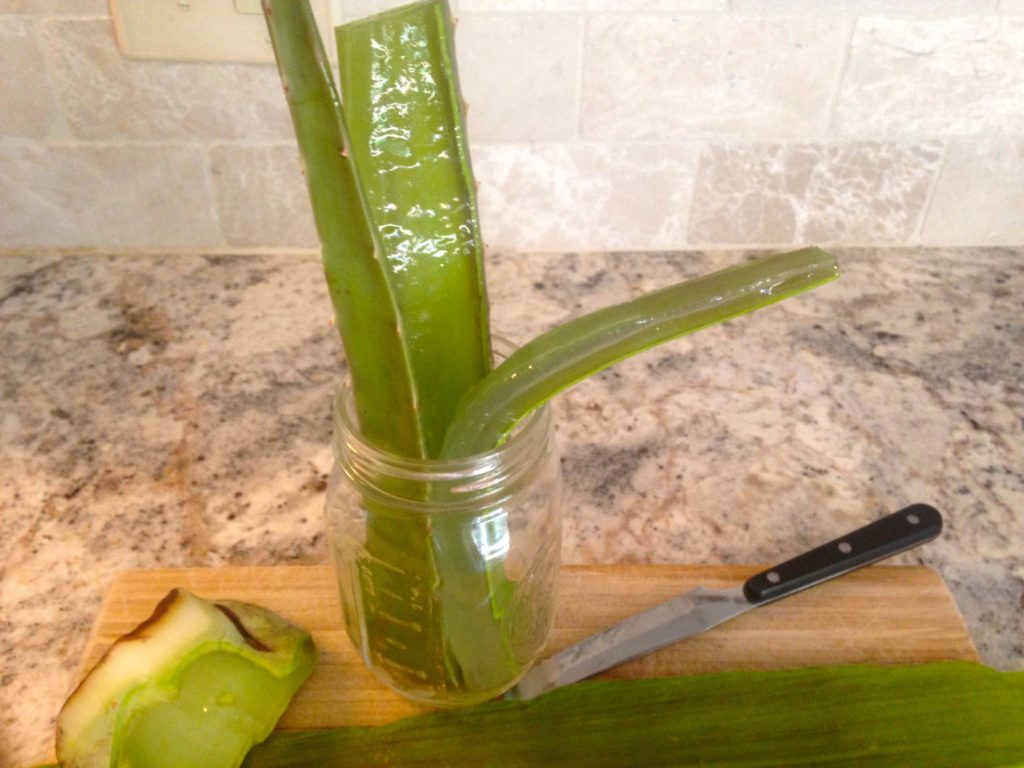
Photo by Sara Steere
To expose the gel inside the plant, this step is essential. Resin is the yellow stuff that you see inside the leaf, which contains latex (boo). Latex is known for irritating skin, which is the literal opposite of what we want here. The easiest way to do this is to stand the leaves upright in a cup, and drain them for at least 10 minutes.
That Loving Peeling
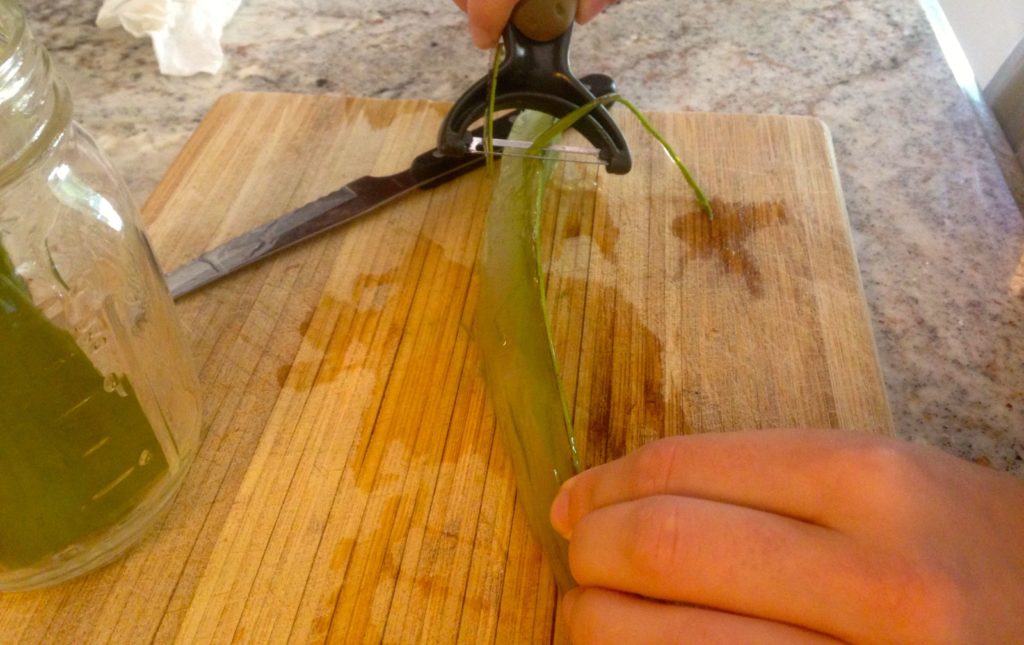
Photo by Sara Steere
This is the fun part. Peel the away green parts of the drained leaves with a veggie peeler but only on one side. In order to get to that beautiful goo, be sure to cut through the inner white layer. One you create a fun canoe shape with your leaf, you’ve hit the jackpot.
The Inside Scoop
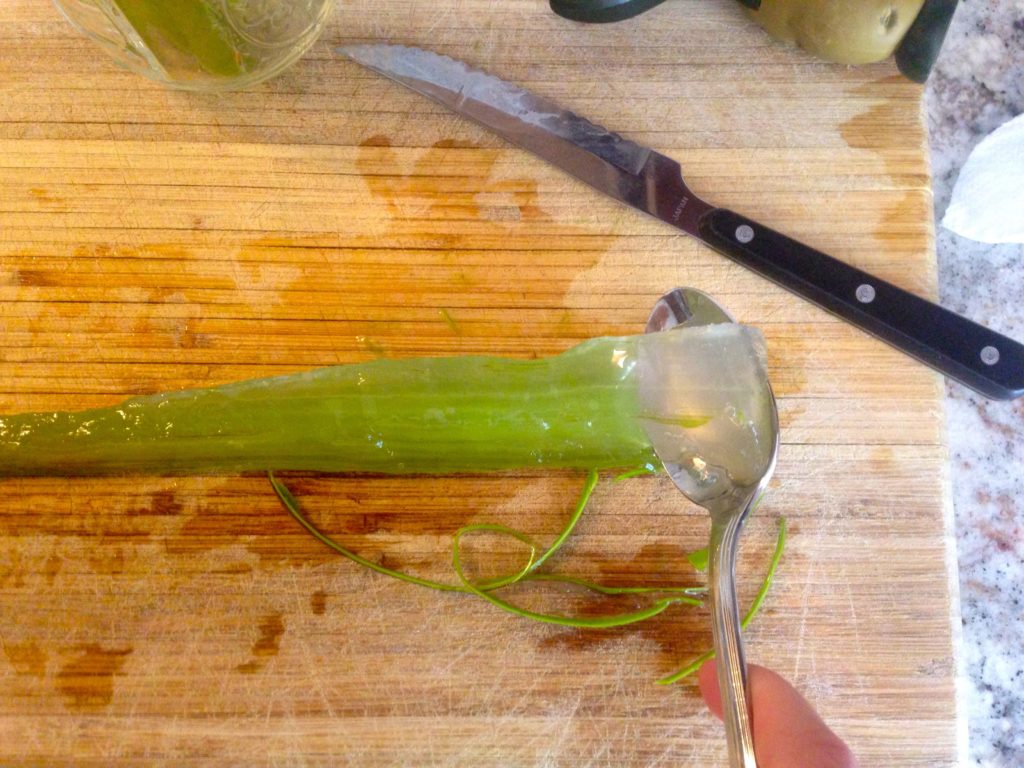
Photo by Sara Steere
By now the soft, clear gel should reveal itself. Just scoop it out with your favorite spoon, and plop it in bowl.
Blend
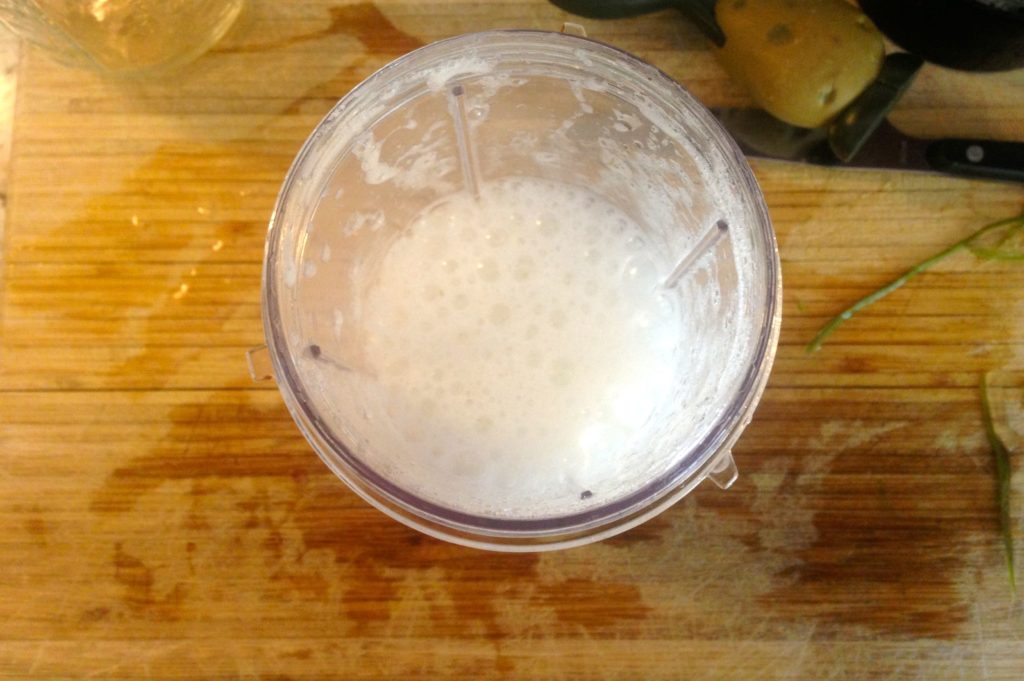
Photo by Sara Steere
The final step is to blend your gel to give it that smooth, oh-so-relieving factor. If you’re feeling like a homemade remedy pro at this point, feel free to add some vitamins to the mix. Vitamins A, C, K and E all have properties that are known to heal and soothe skin cells, so the more the merrier.
And that’s all there is to it. Once your gel is blended and beautiful, pour it into a sterile jar or squeezable bottle and rub the good stuff all over your sad burnt body. You’ll be ready to soak up some UV in no time at all – just try to remember your sunscreen this time.